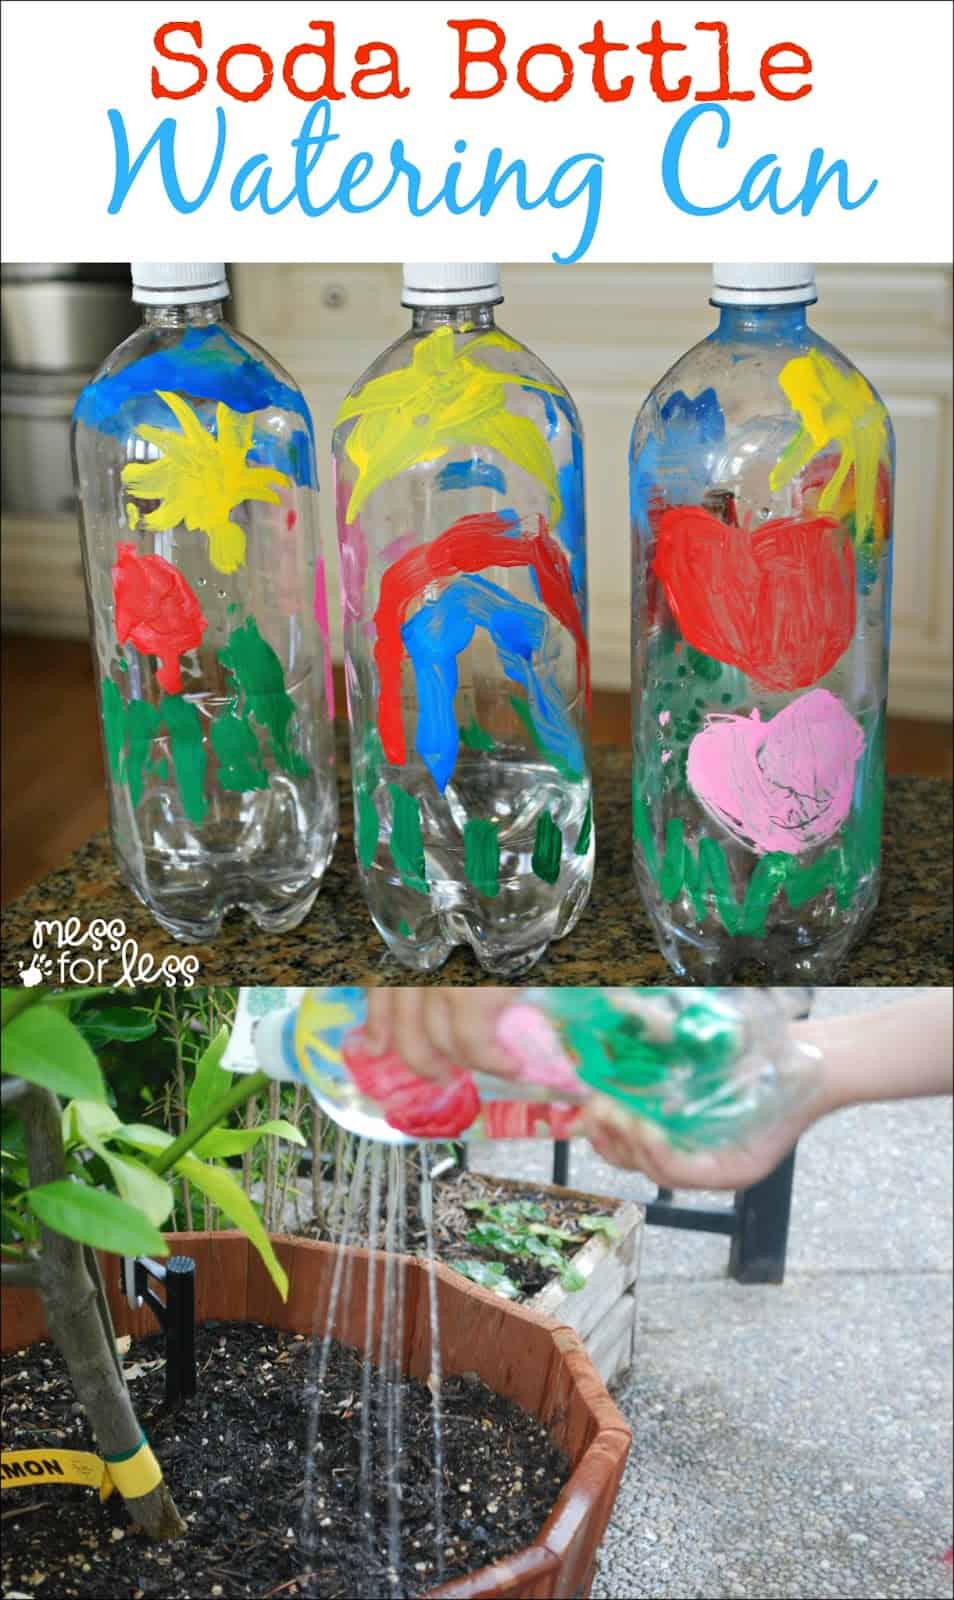
With Spring in the air, my kids have been itching to help out in the garden. We have planted seeds, pulled weeds and used a hose to water plants. This got messy at times as my kids would lose control of the hose, point it in the wrong direction or over water a plant. I decided individual watering cans would be answer and being the frugal sort of mama I am, I was inspired to make some using recycled soda bottles. We have recycled bottles in the past when we made Calming Bottles and a Crushed Cereal Rainbow Bottle. I just adore how these watering cans turned out. The kids really put effort into painting them and with a little help from me, we were able to create this colorful and useful Soda Bottle Watering Can.
You will need:
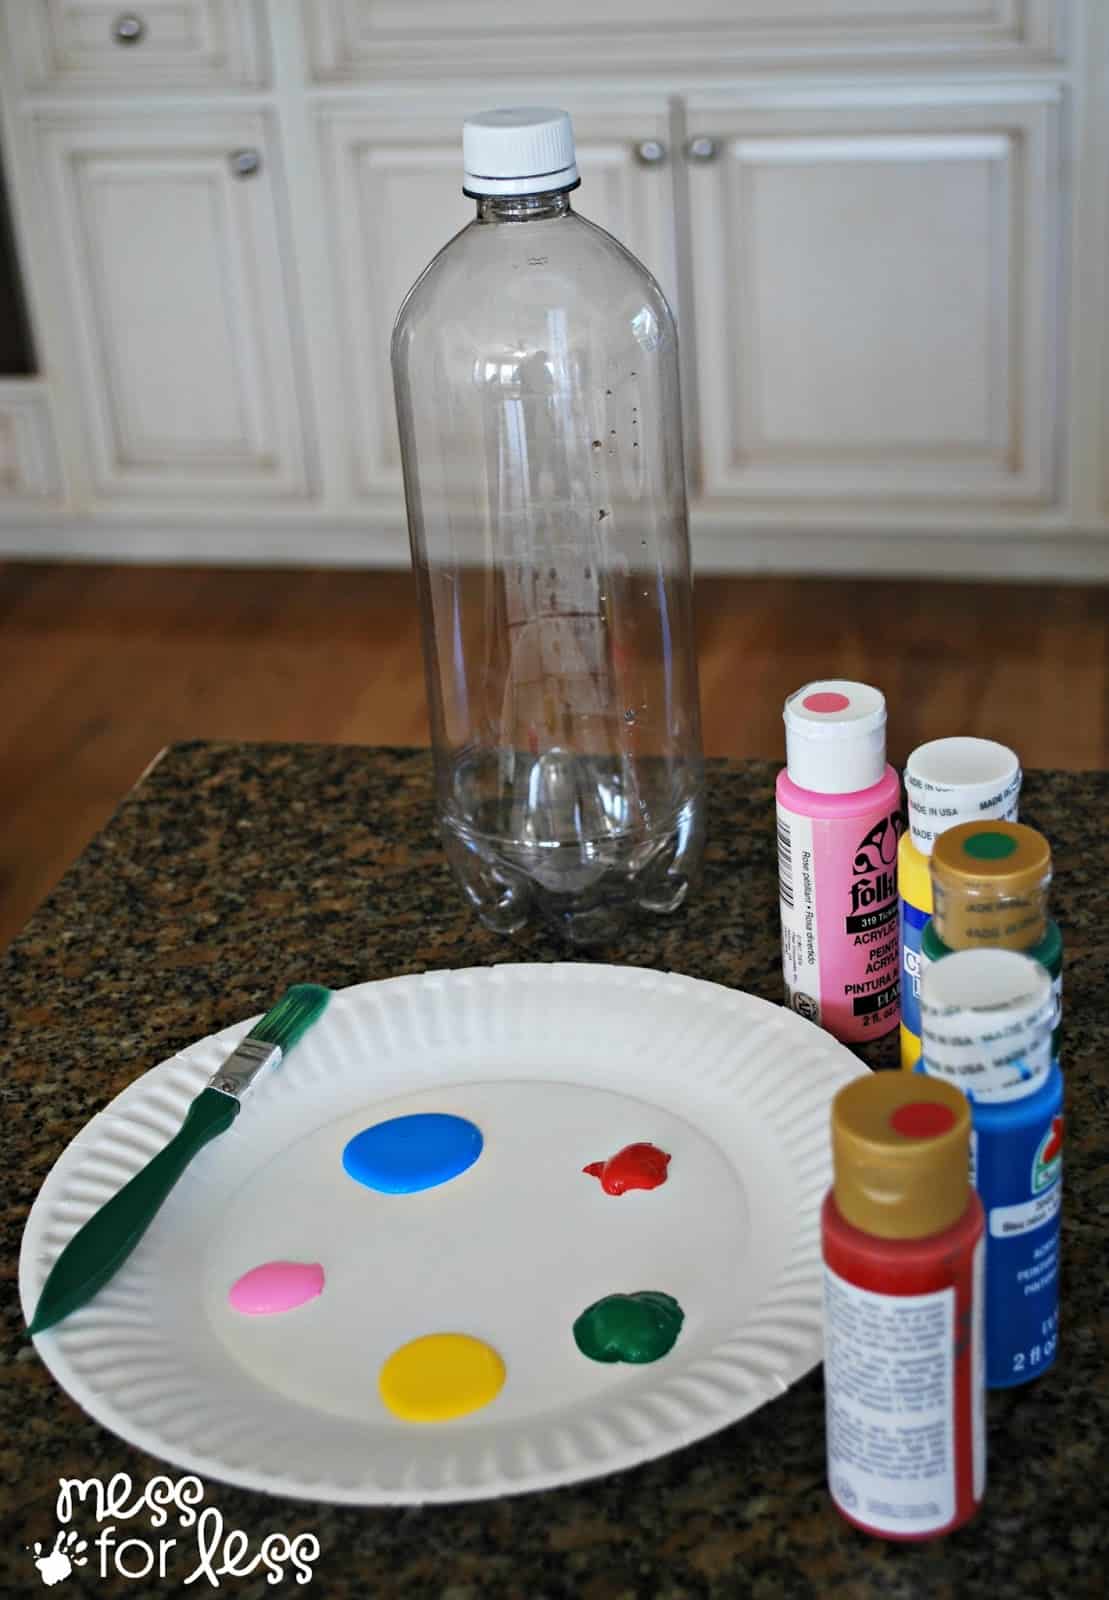
- 1 liter plastic bottle
- Paper plate
- Acrylic paint
- Paintbrush
- Nail
- Pliers
Clean out a one liter soda or water bottle and let dry. This would work with a smaller bottle as well. If you tried it with a 2 liter bottle it might be too heavy for kids to hold when filled with water.
I created a paint palette for my kids by squirting different colors of paint on a paper plate. I then provided them with the paint, bottle, a brush and a cup of water for cleaning their brush between colors.
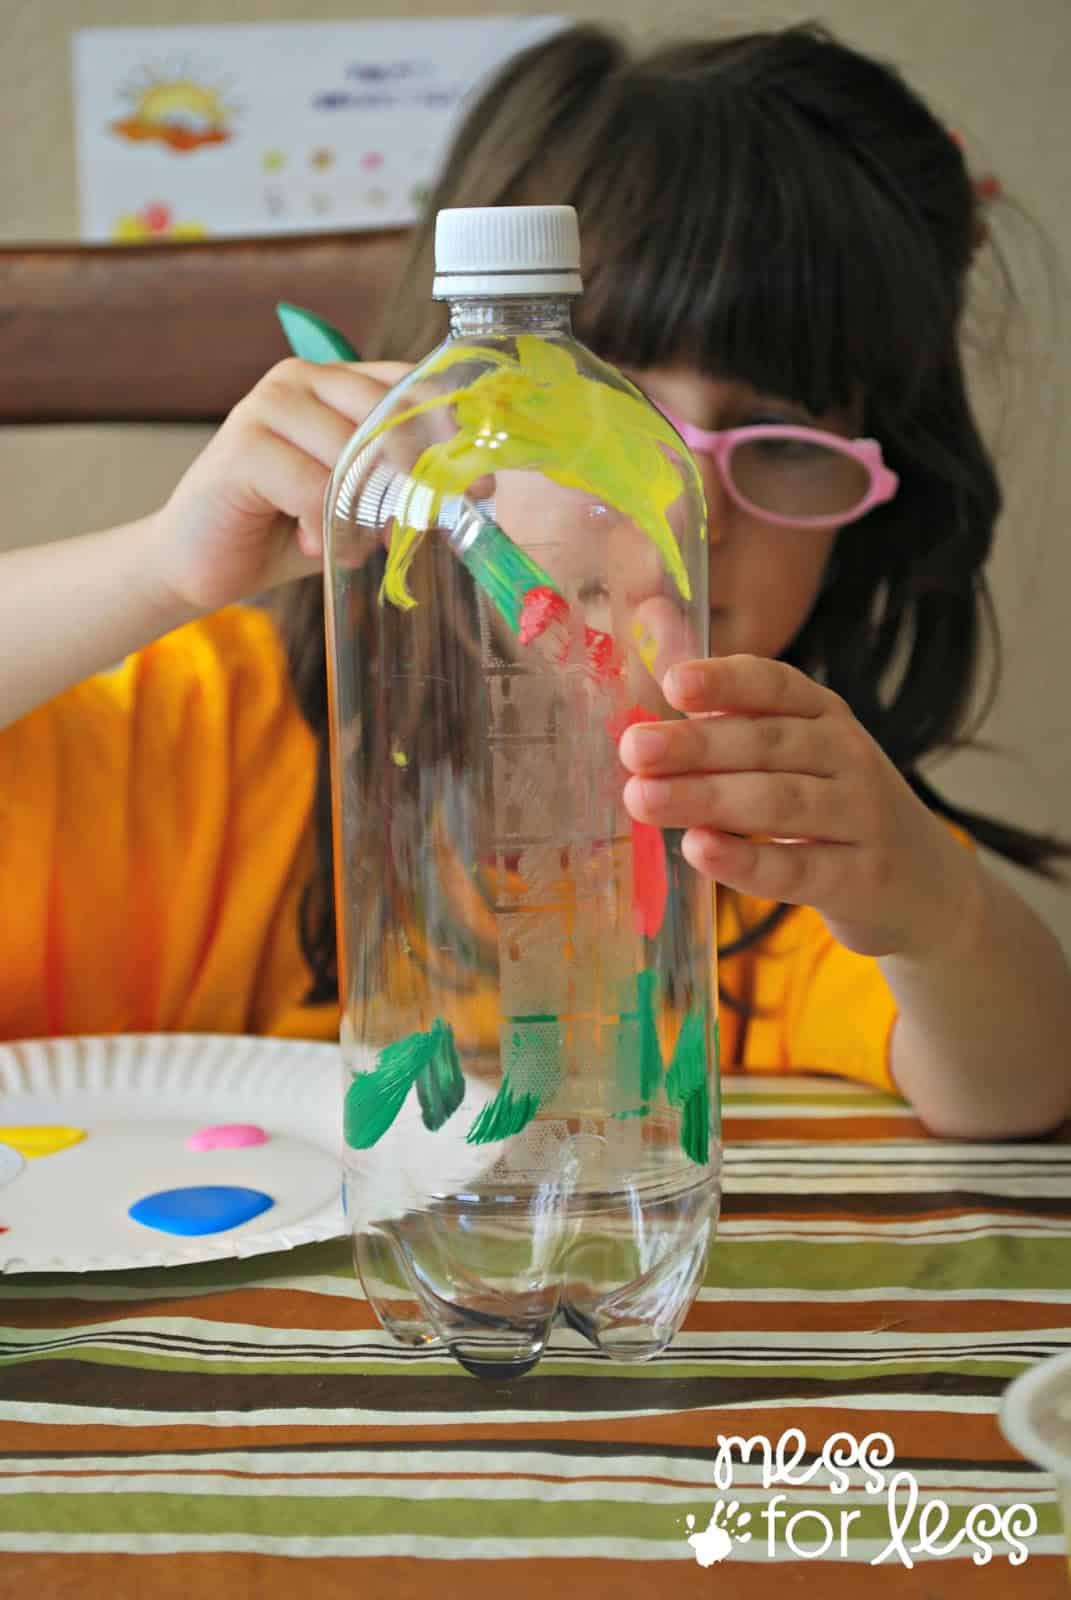
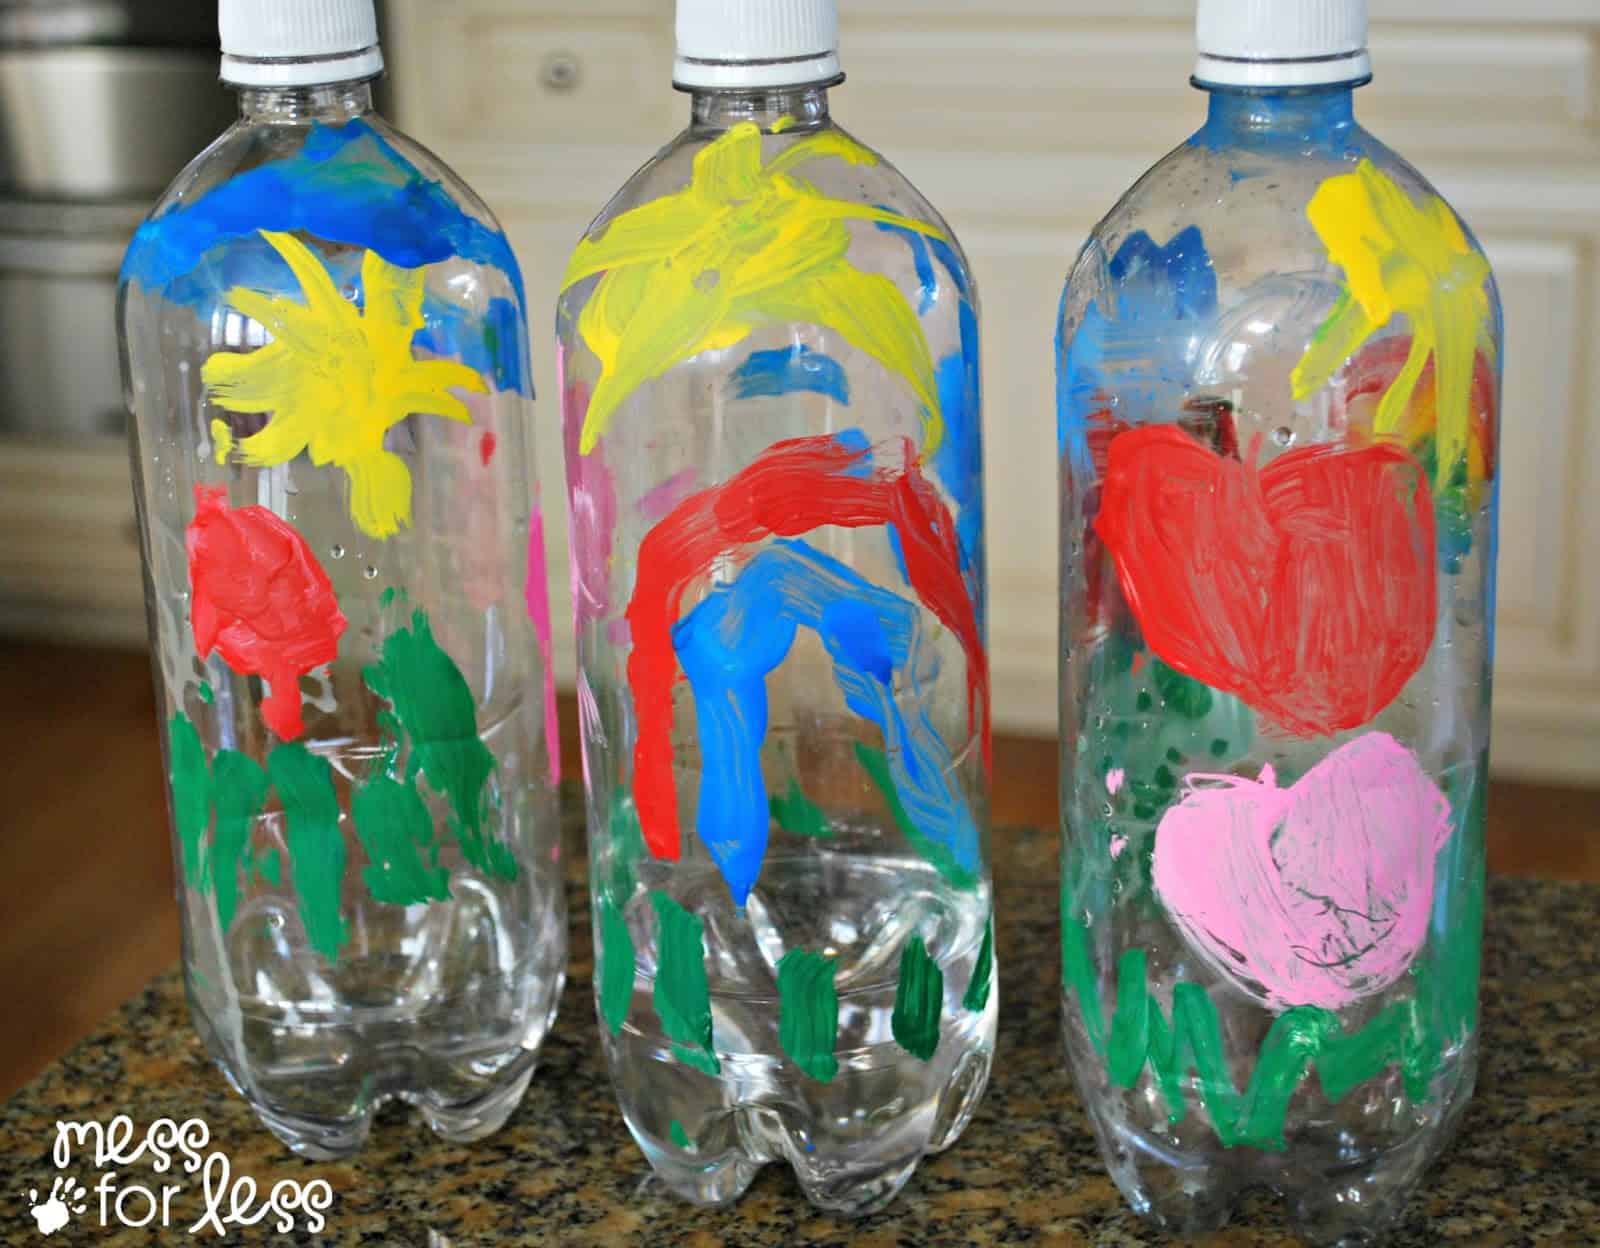
Since they would be using these bottles to water plants in our garden, my kids decided to make bright and cheery Spring themed designs on their bottles.
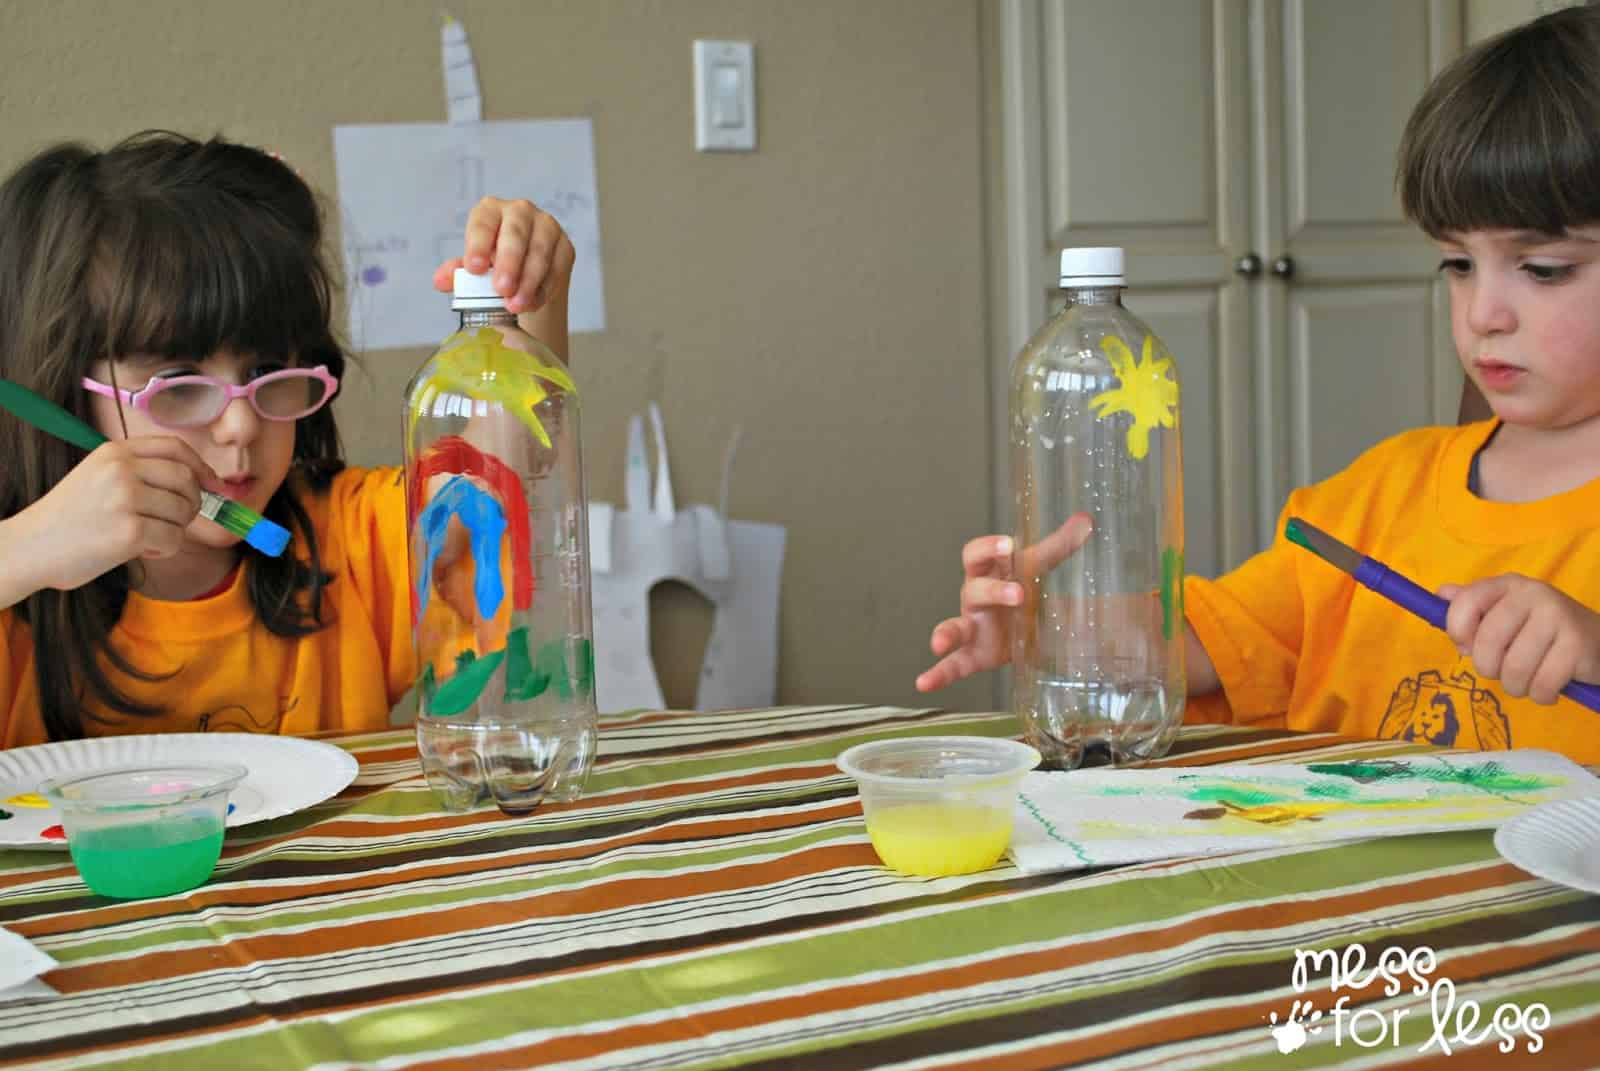
As you can see, suns, skies, and grass were featured prominently. When the bottles were done being painted, I let them dry a few hours. The thicker your child has applied the paint, the longer drying will take.
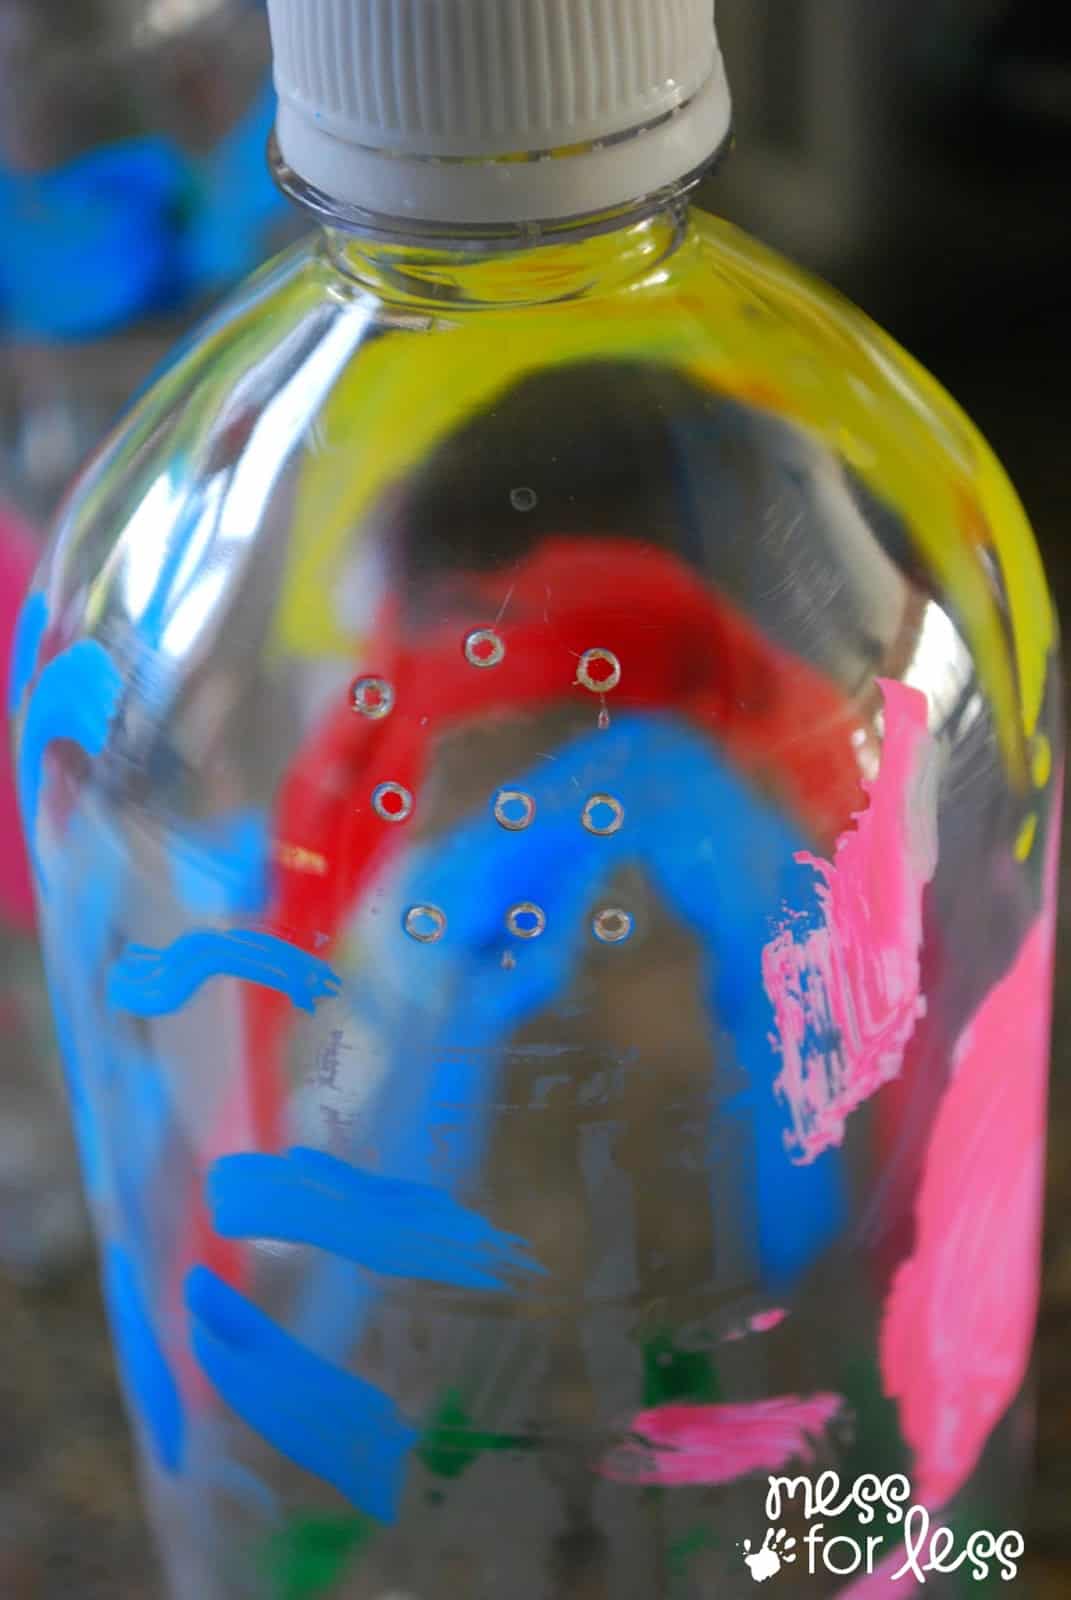
The next part is an adults only step. When the bottle is dry, you will need to make some small holes in it so children can pour out the water. I had originally thought I could make the holes by using a nail and hammer, but the bottle was so slippery I could not get the nails to penetrate. When I mentioned this to my husband, he suggested that I warm up the tip of a nail on the stove and use it to melt holes into the bottle. To do this, I held the head of nail with some pliers and held it over low heat on a stove. Then I continued to hold the nail with the pliers and pressed the hot part into the bottle where I wanted my holes. This worked perfectly as the nail made a hole right away. I was even able to make a few holes before having to warm up the nail again. 9-10 holes will give you a great water flow.
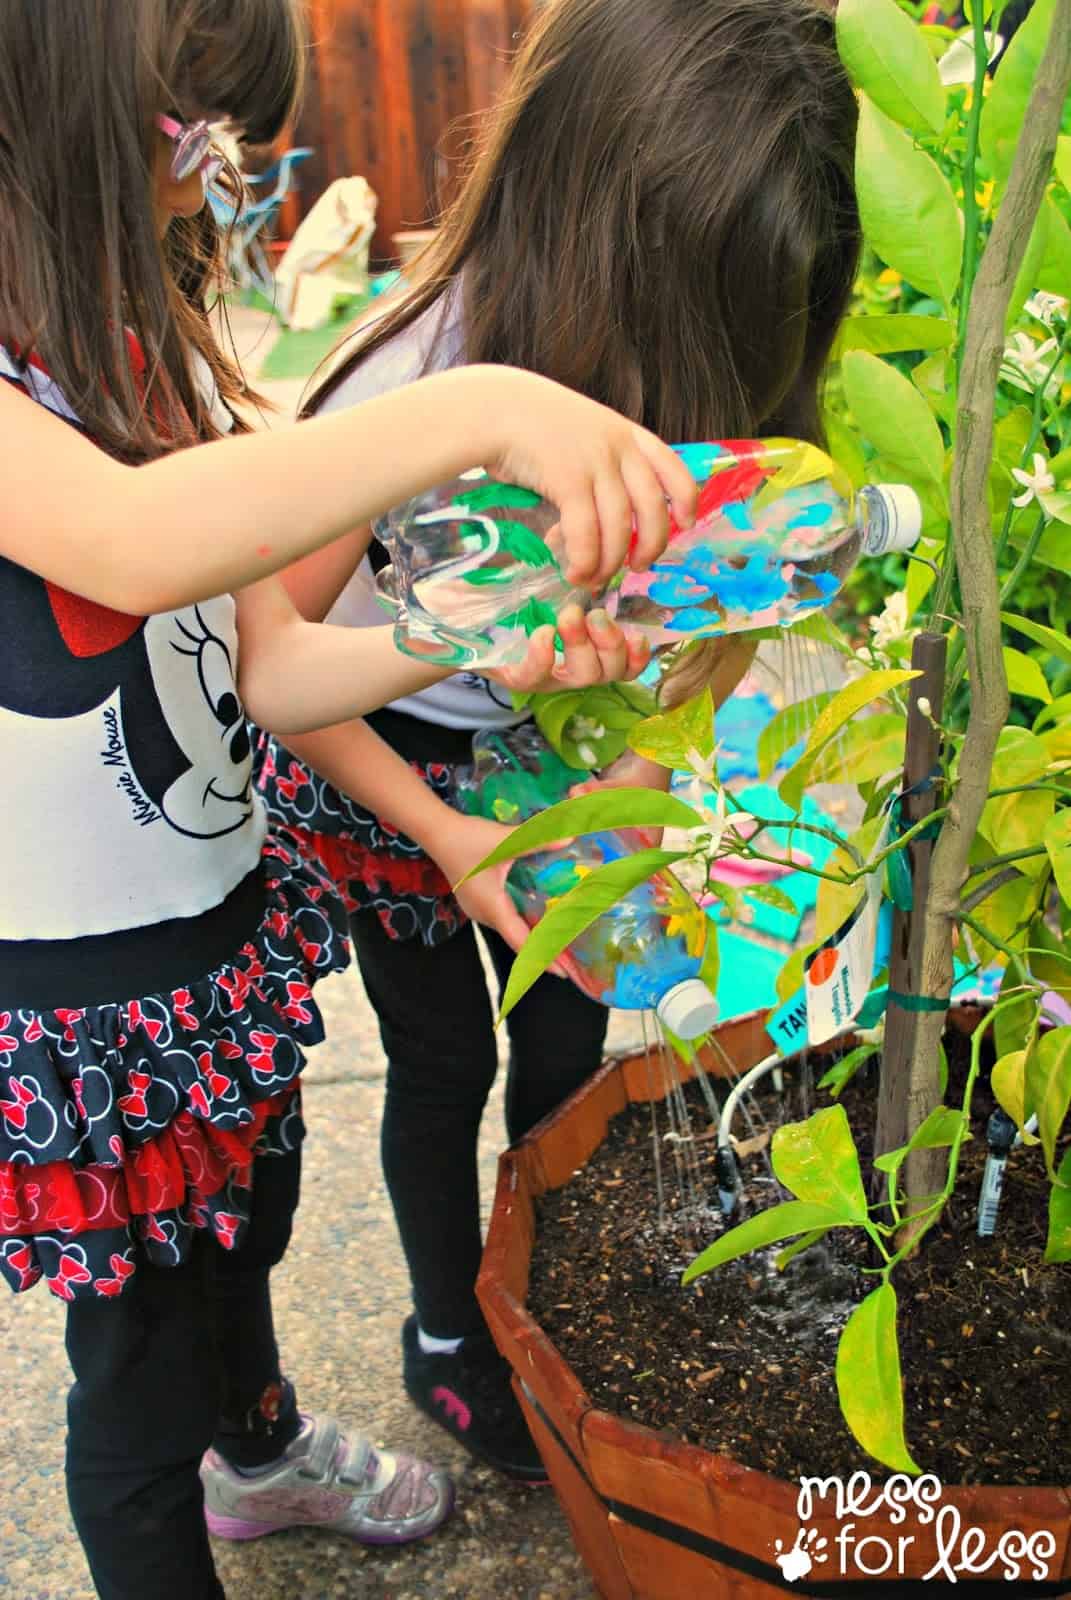
Finally it was time to fill our bottles up with water and go outside and water the plants. Twist off the cap and fill up the bottle to just under the holes you made.
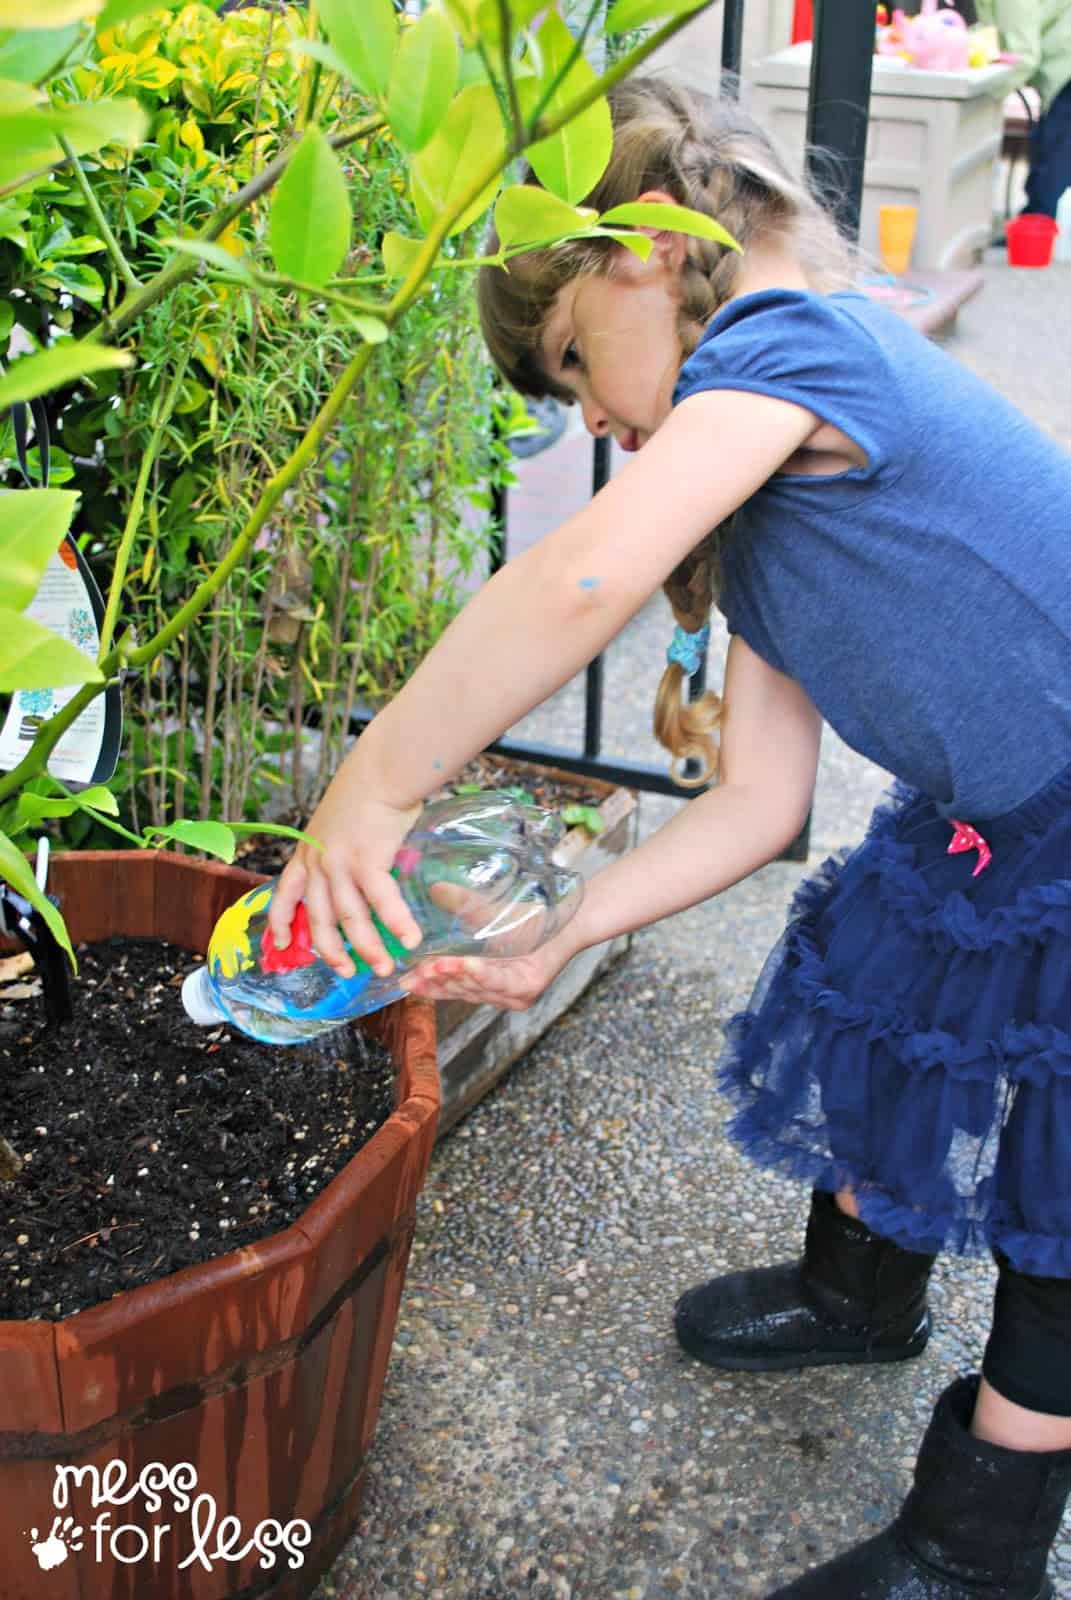
To use the bottle, just tip over where the holes are and pour. As the water in the bottle starts to go down, you can squeeze the bottle to get more out.
Try this fun project if you are looking for a way to recycle, get creative and make a frugal watering can.
For more fun with water check out:
Water Table Play Props

Leave a Reply