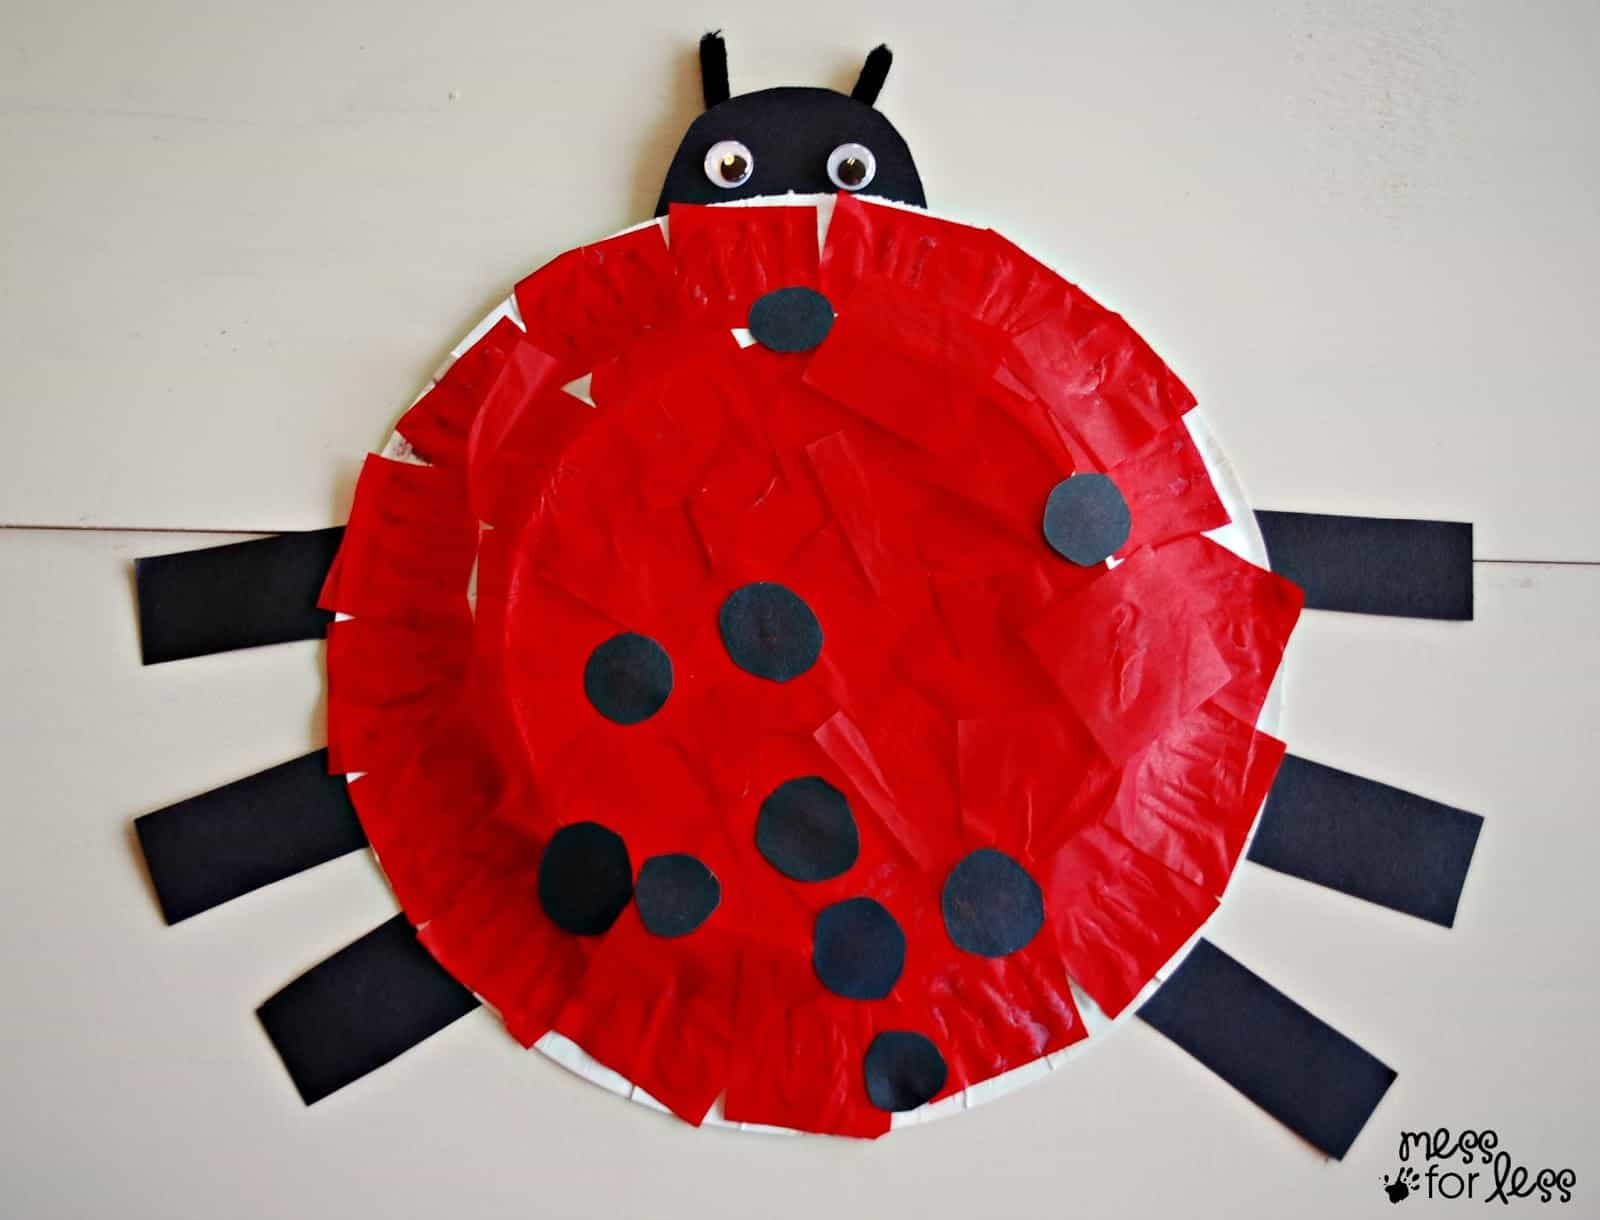
Your child will love this fun and easy Paper Plate Ladybug Craft. I love spring activities for kids like this because they use common household items like white paper plates, black construction paper, red tissue paper squares, googly eyes, and pipe cleaners to create adorable ladybugs.
This craft is perfect for busy parents who want to spark their children's imaginations. Learn how simple it is to bring these charming ladybugs to life!
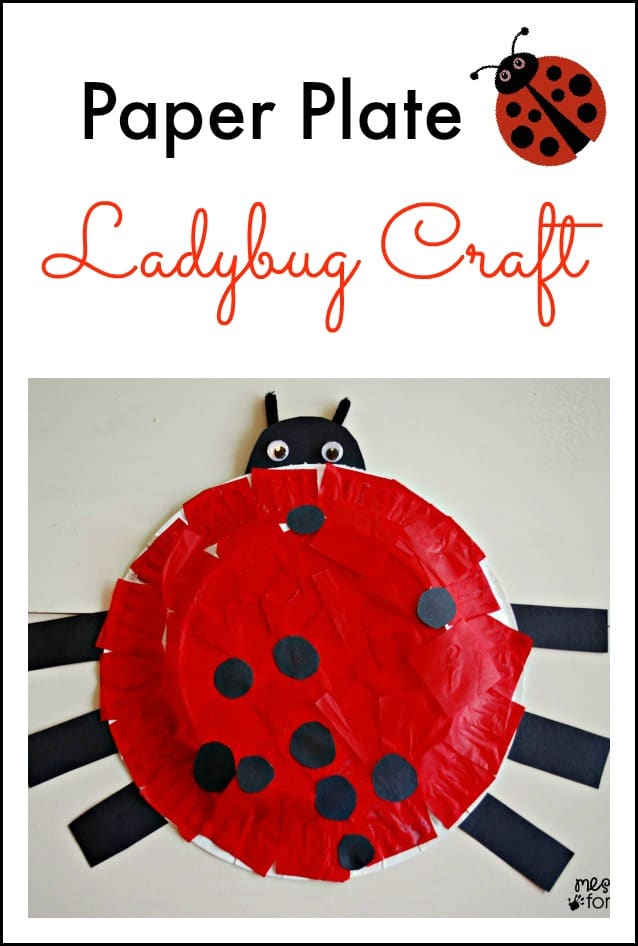
We also enjoyed these Paper Plate Baby Farm Animals. The girls had lots of fun making Paper Plate Pumpkins in the Fall and this is another fun way to use paper plates.
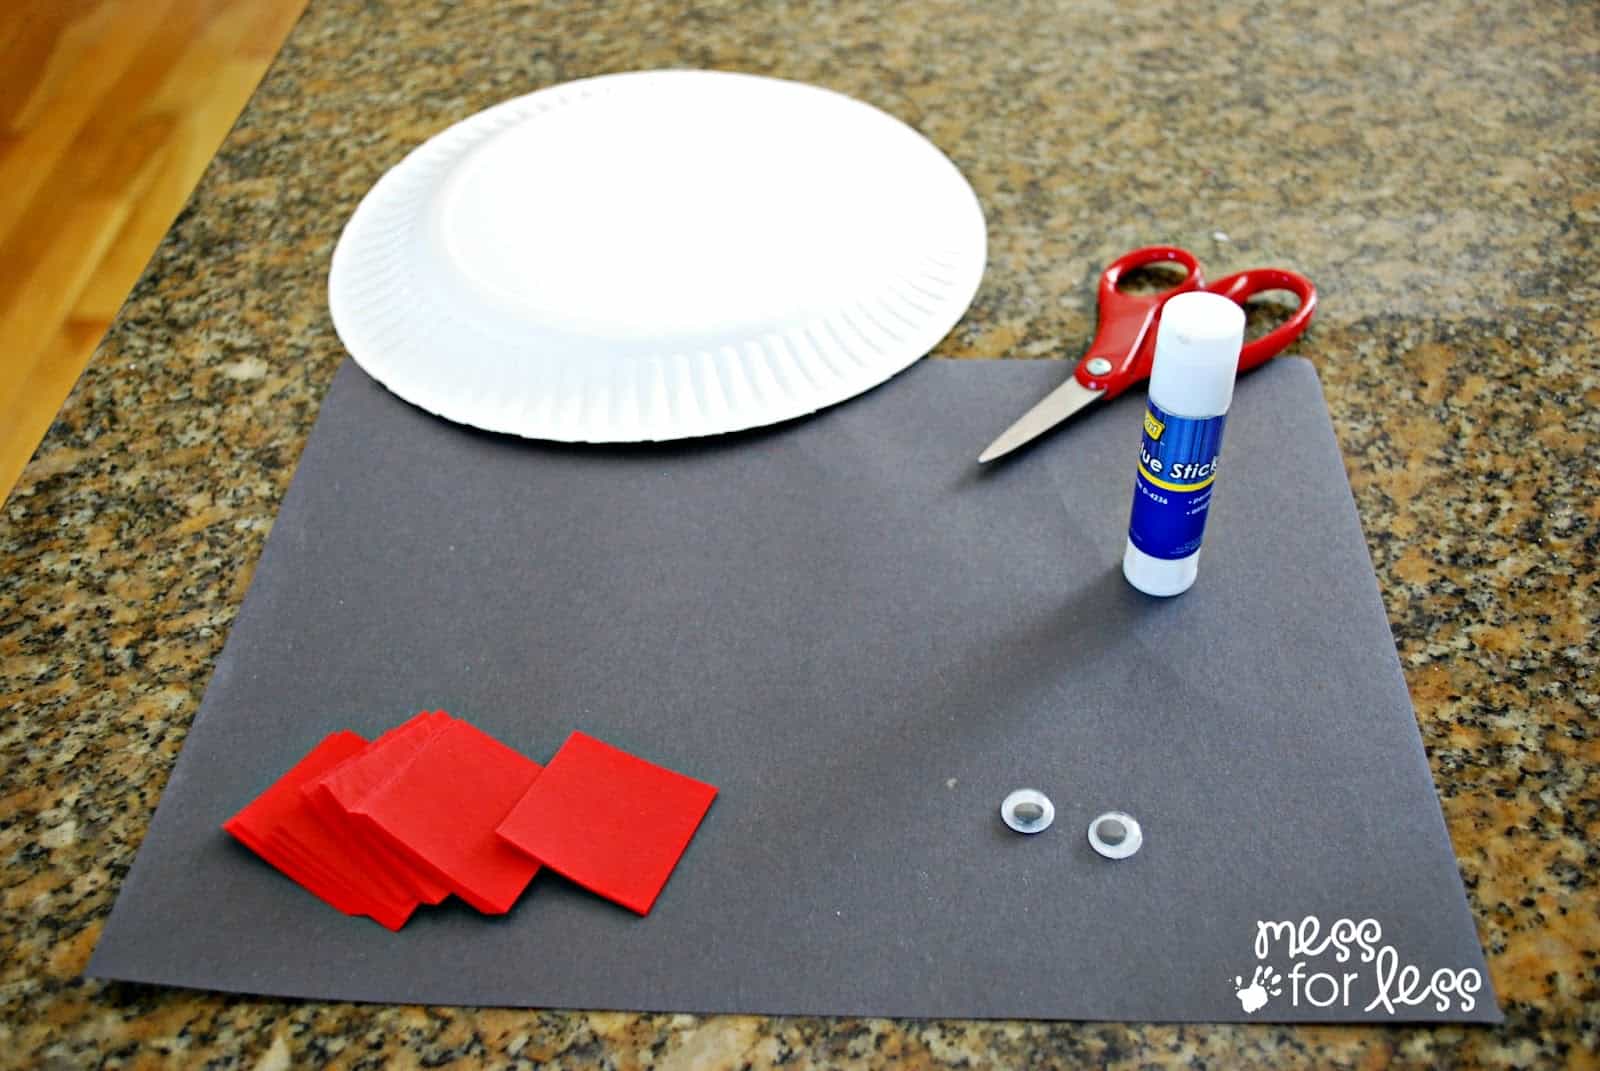
- White paper plate
- Black construction paper
- Red tissue paper squares
- Scissors
- Glue stick
- Googly eyes
- Black pipe cleaners
- Tape
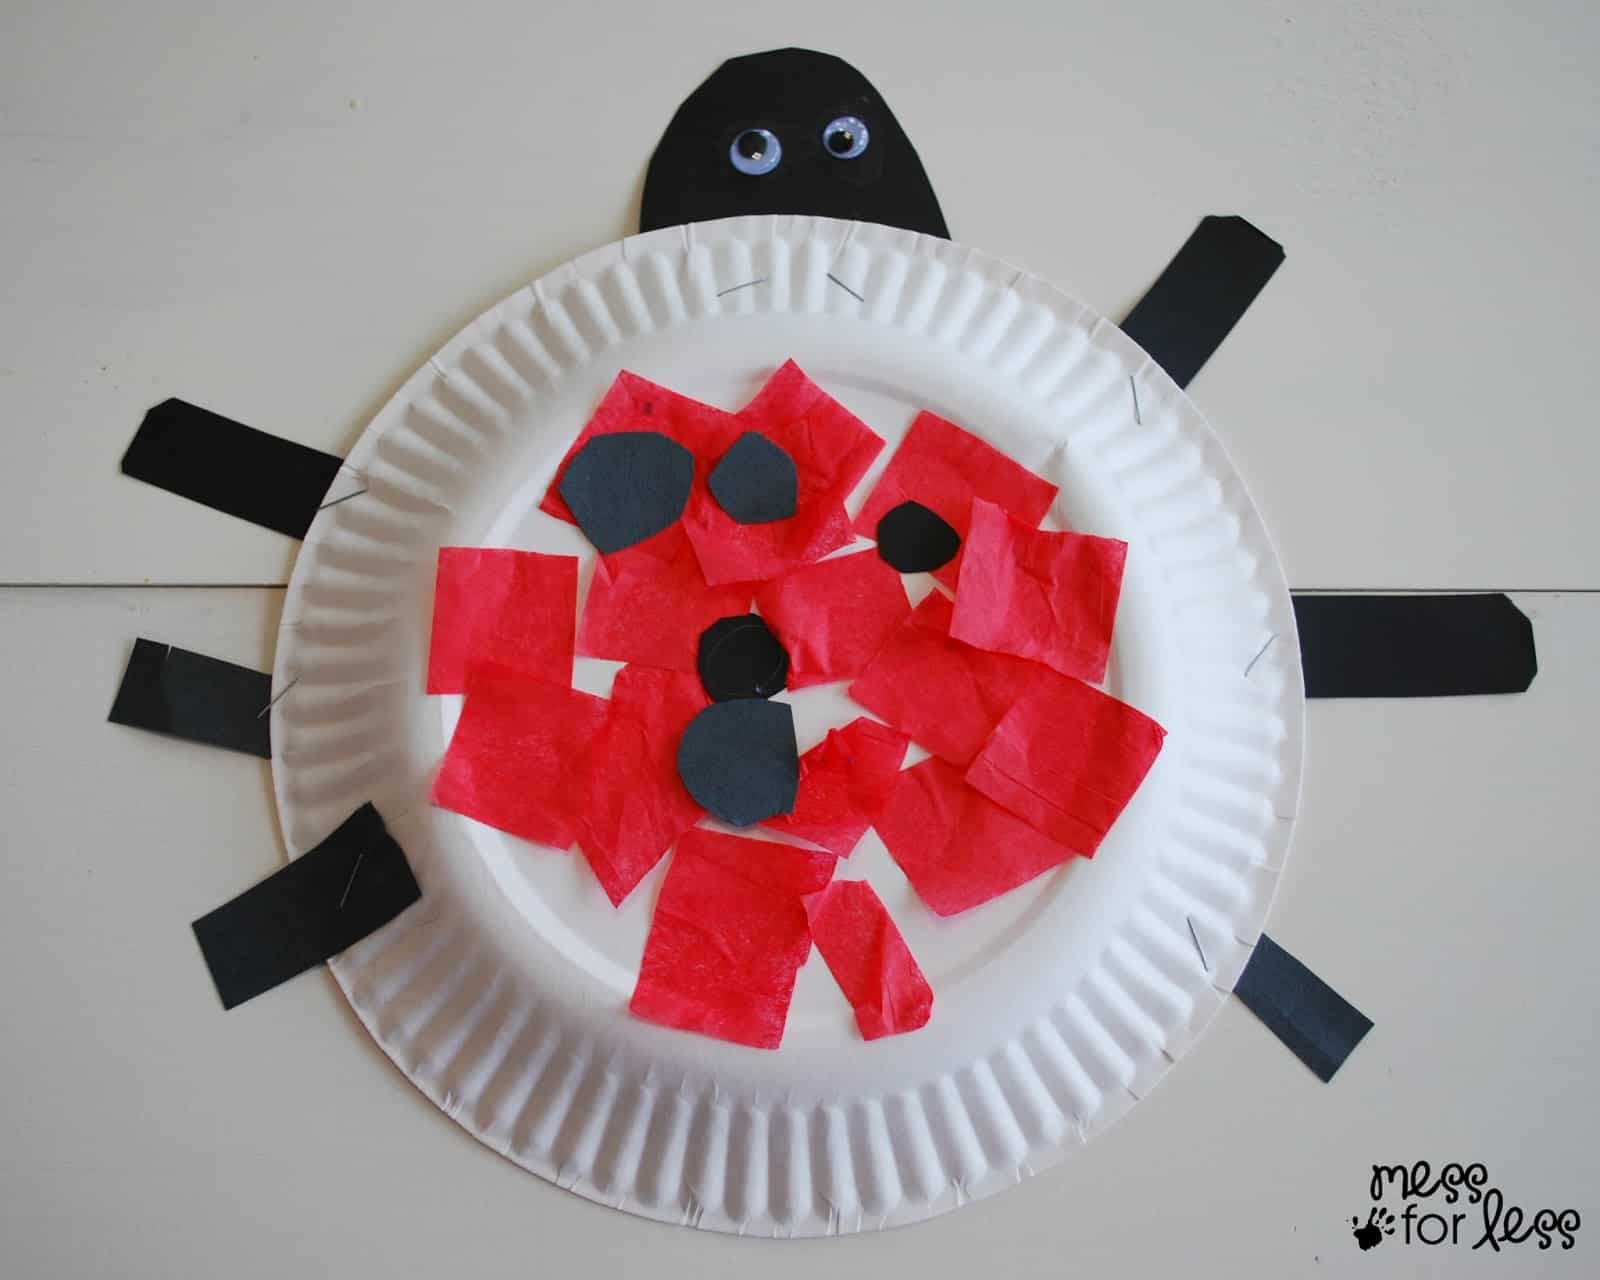
This is the ladybug that my kids made at the children's museum. They wanted to add more tissue paper since they were rushed.
When we got home I set out some plates, glue and red tissue paper squares. You can find these in an assortment of tissue paper squares (I've provided a link in the supply list) or cut your own out of red tissue paper.
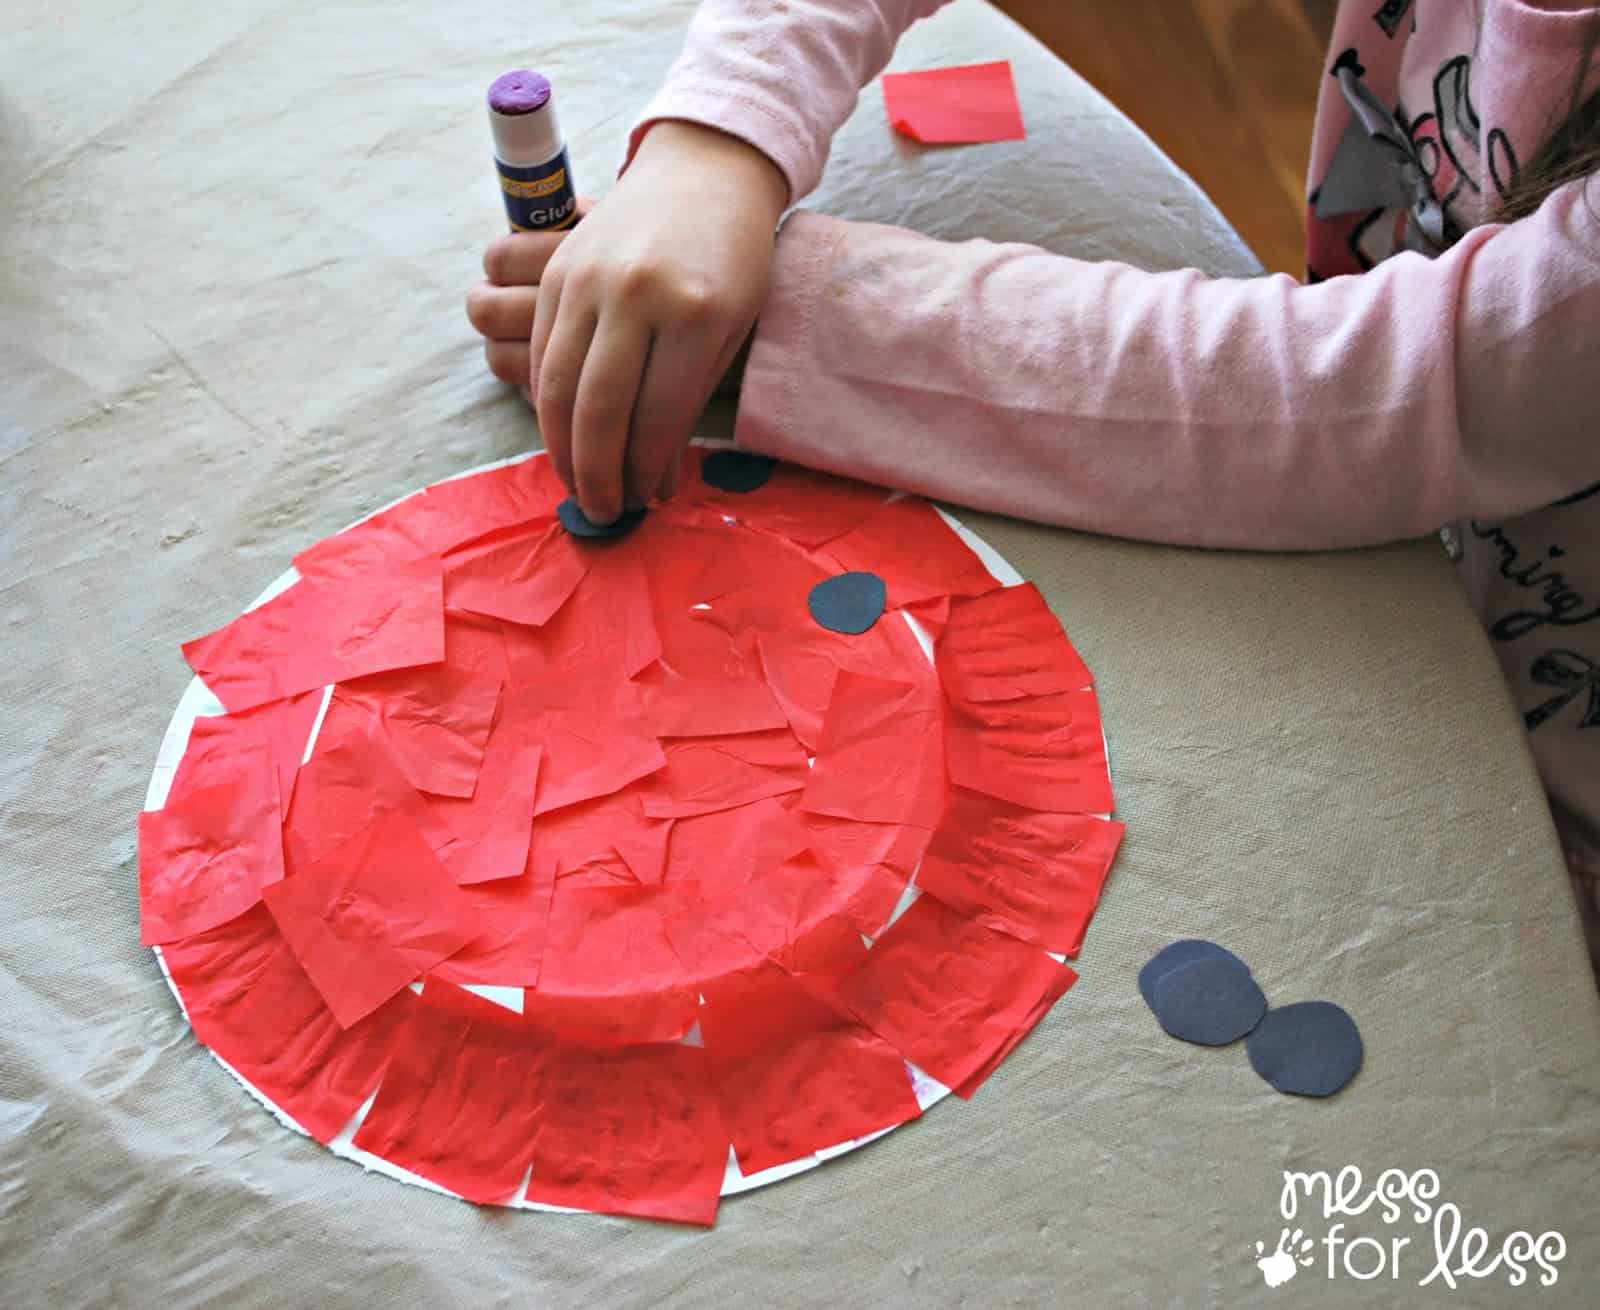
Start by having your child use a glue stick to cover the curved side of the plate with red tissue paper. While your child is doing this, cut a head, 6 legs and 8-10 dots from black construction paper. The head is a small curve while the legs are just strips of construction paper.
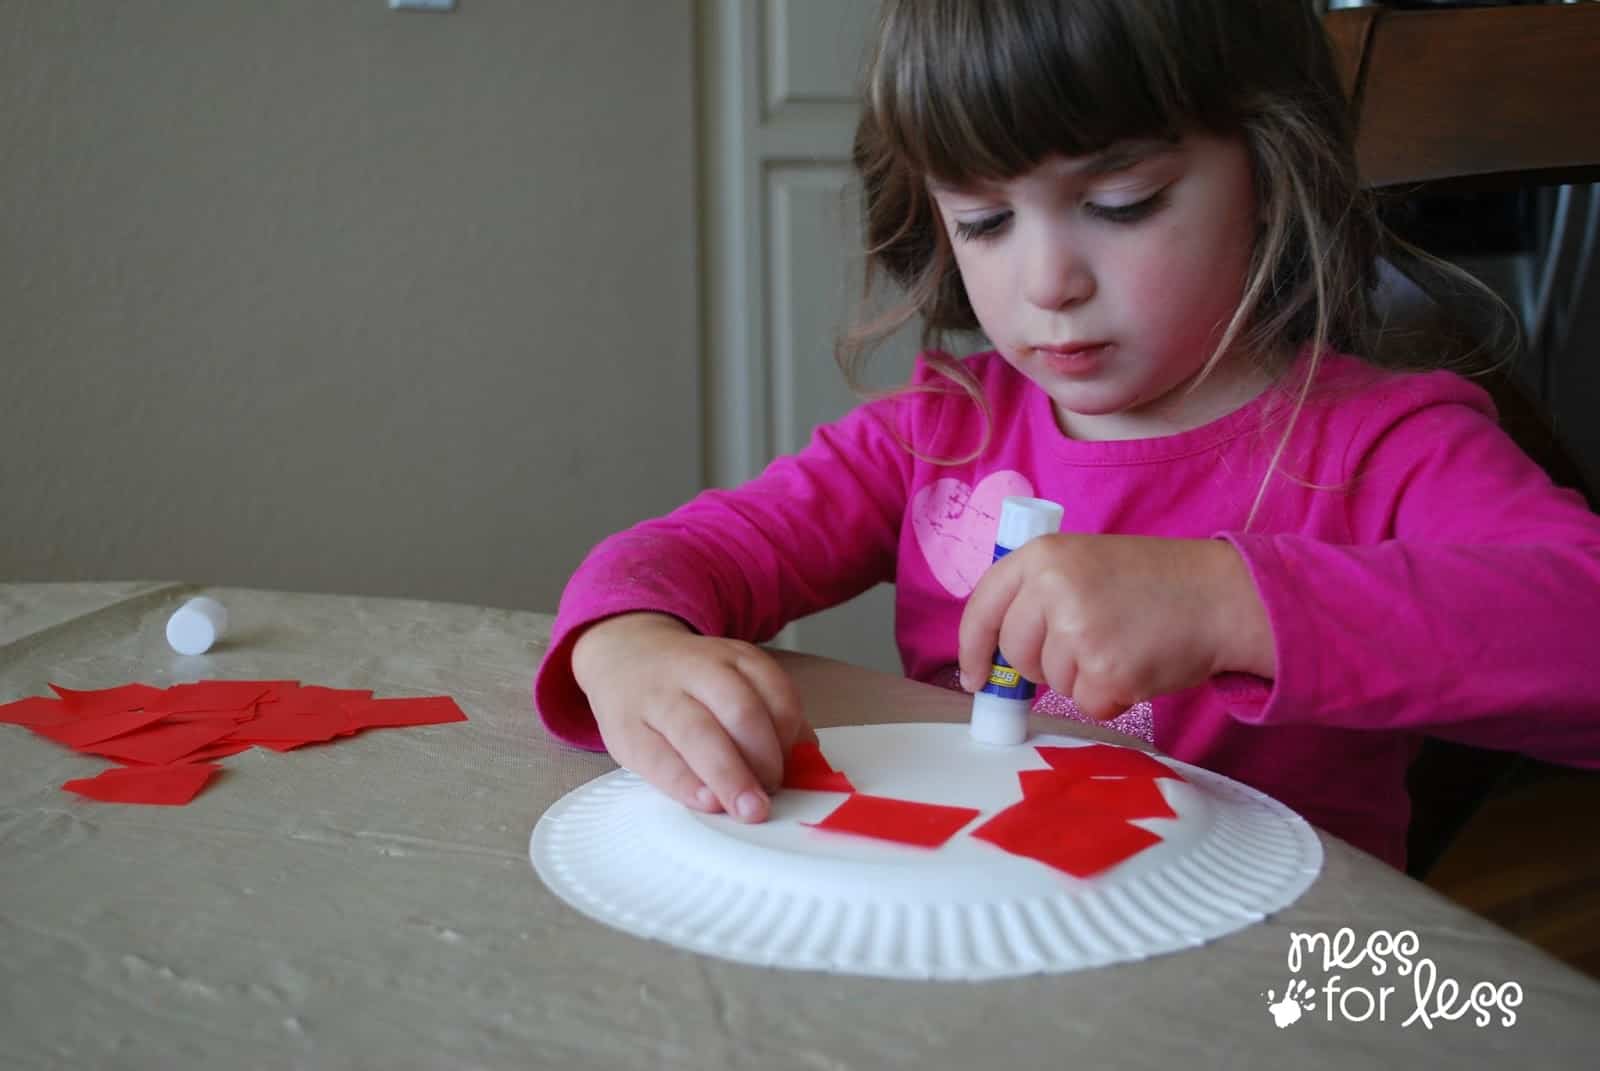
When the ladybug is covered, your child can add the dots.
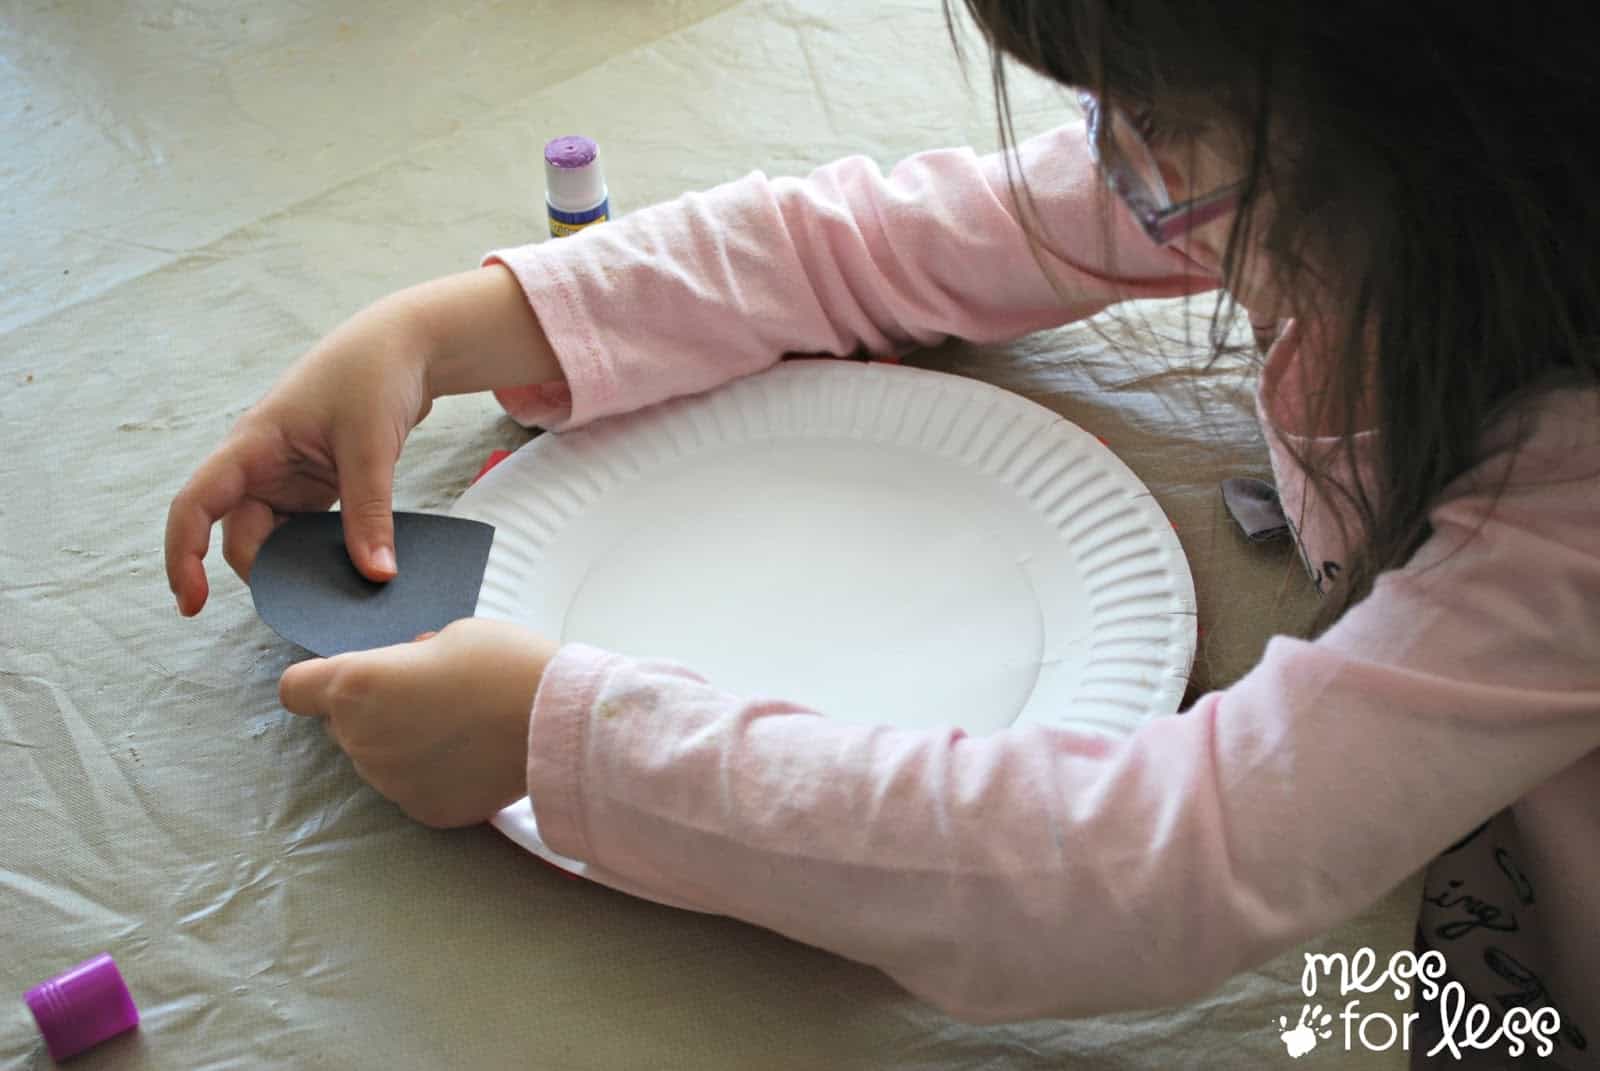
Turn the plate over and glue the head to the back of the plate so that some of it sticks out.
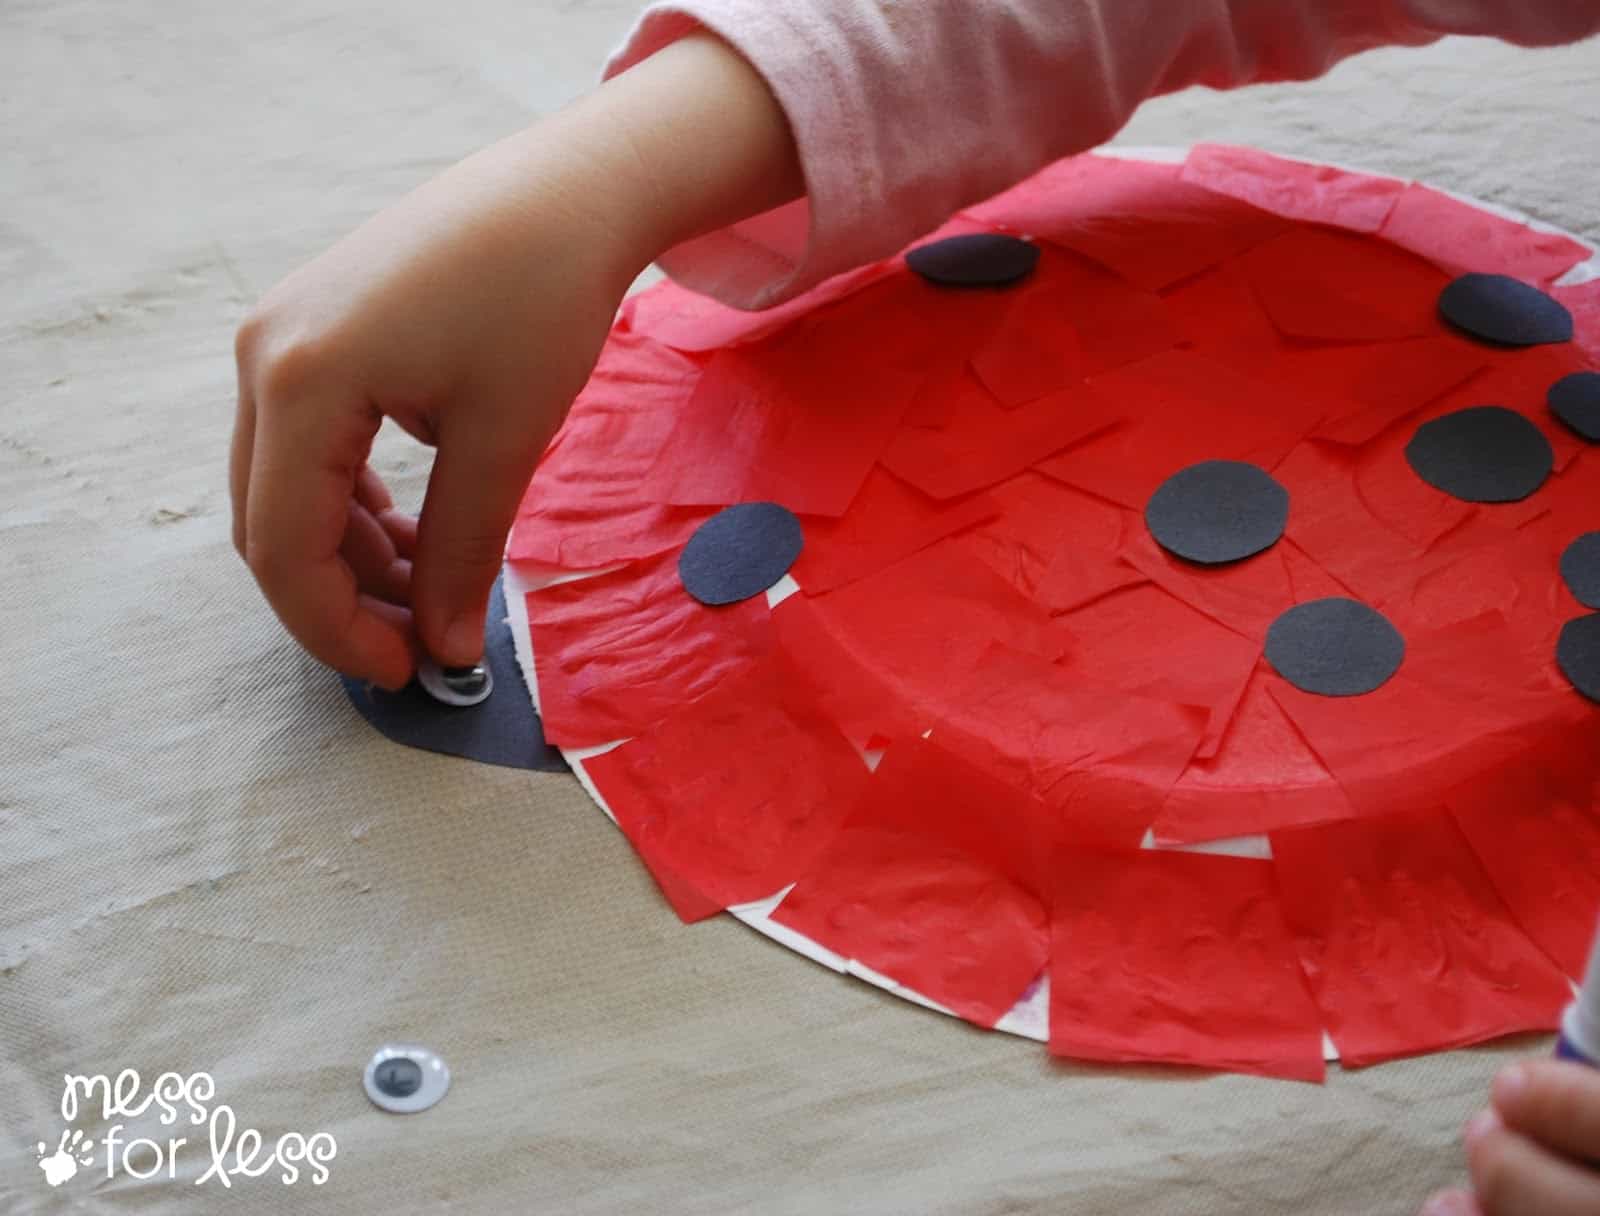
Turn over and glue the googly eyes to the head. The eyes will require some extra glue.
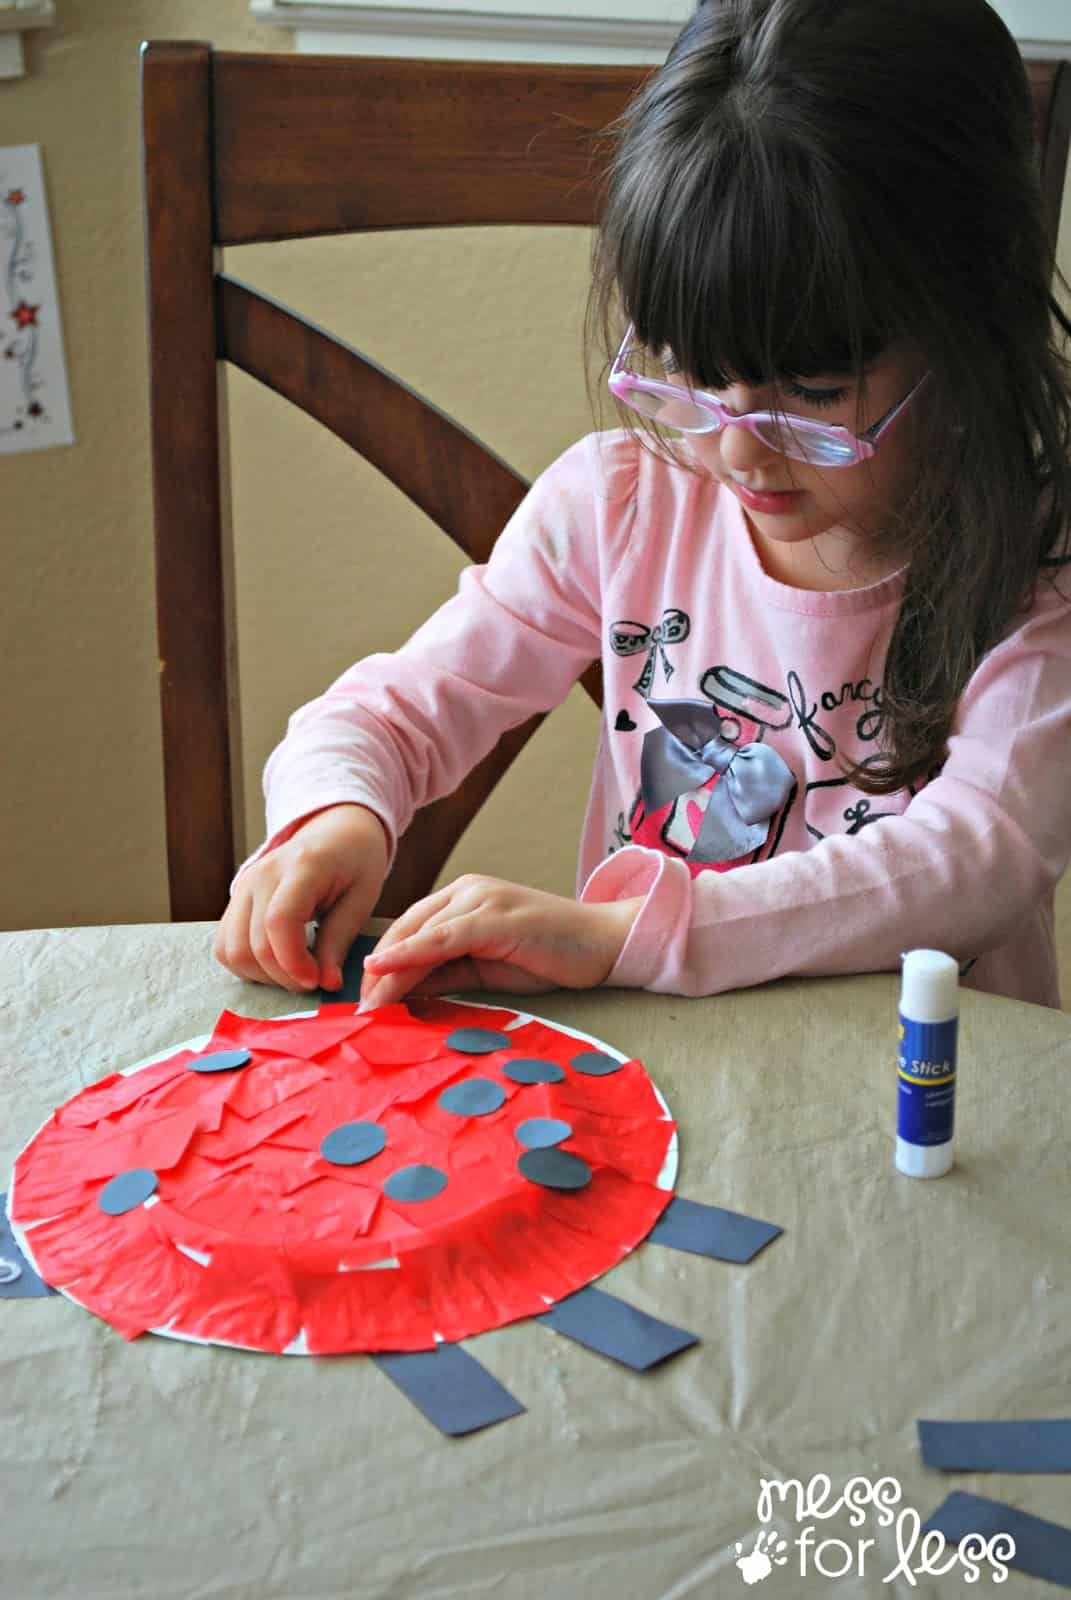
Next, glue on the legs.
One of my daughters had the idea to add some antennae, so we used two pieces of black pipe cleaners and tape. The kids have been using their ladybugs in pretend play and even in a puppet show. To make it into a stick puppet simply tape a large craft stick to the back.


JDaniel4's Mom says
This is such a cute craft. It will go so well with my Eric Carle unit.
Louanne says
Cute and easy. thanks.