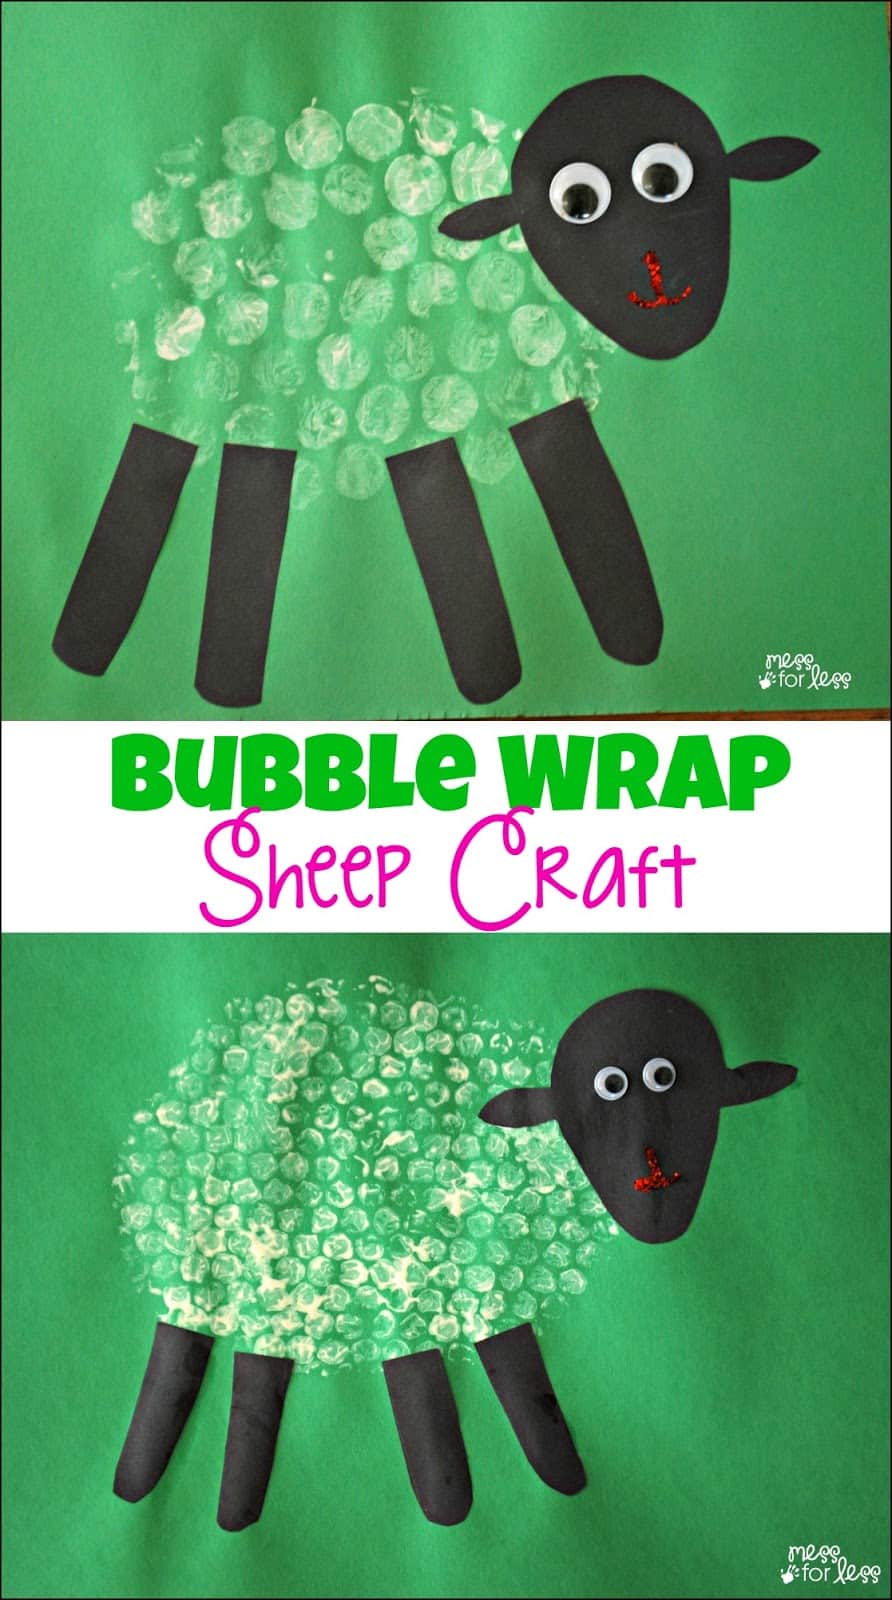
Anytime I get a package containing bubble wrap, I save it to use later with my kids. I thought it would be fun to use it to make spring activities for kids. I wanted to make a spring craft using two types of bubble wrap, and this adorable Bubble Wrap Sheep Craft was born.
For more Spring fun, make this meaningful Easter Cross Pop Up Card.
You will need:
- 12x18 construction paper in various colors
- White tempera paint
- Paintbrush
- Googly eyes
- Glue
- Red or pink glitter
- Scissors
- Small or large circle bubble wrap
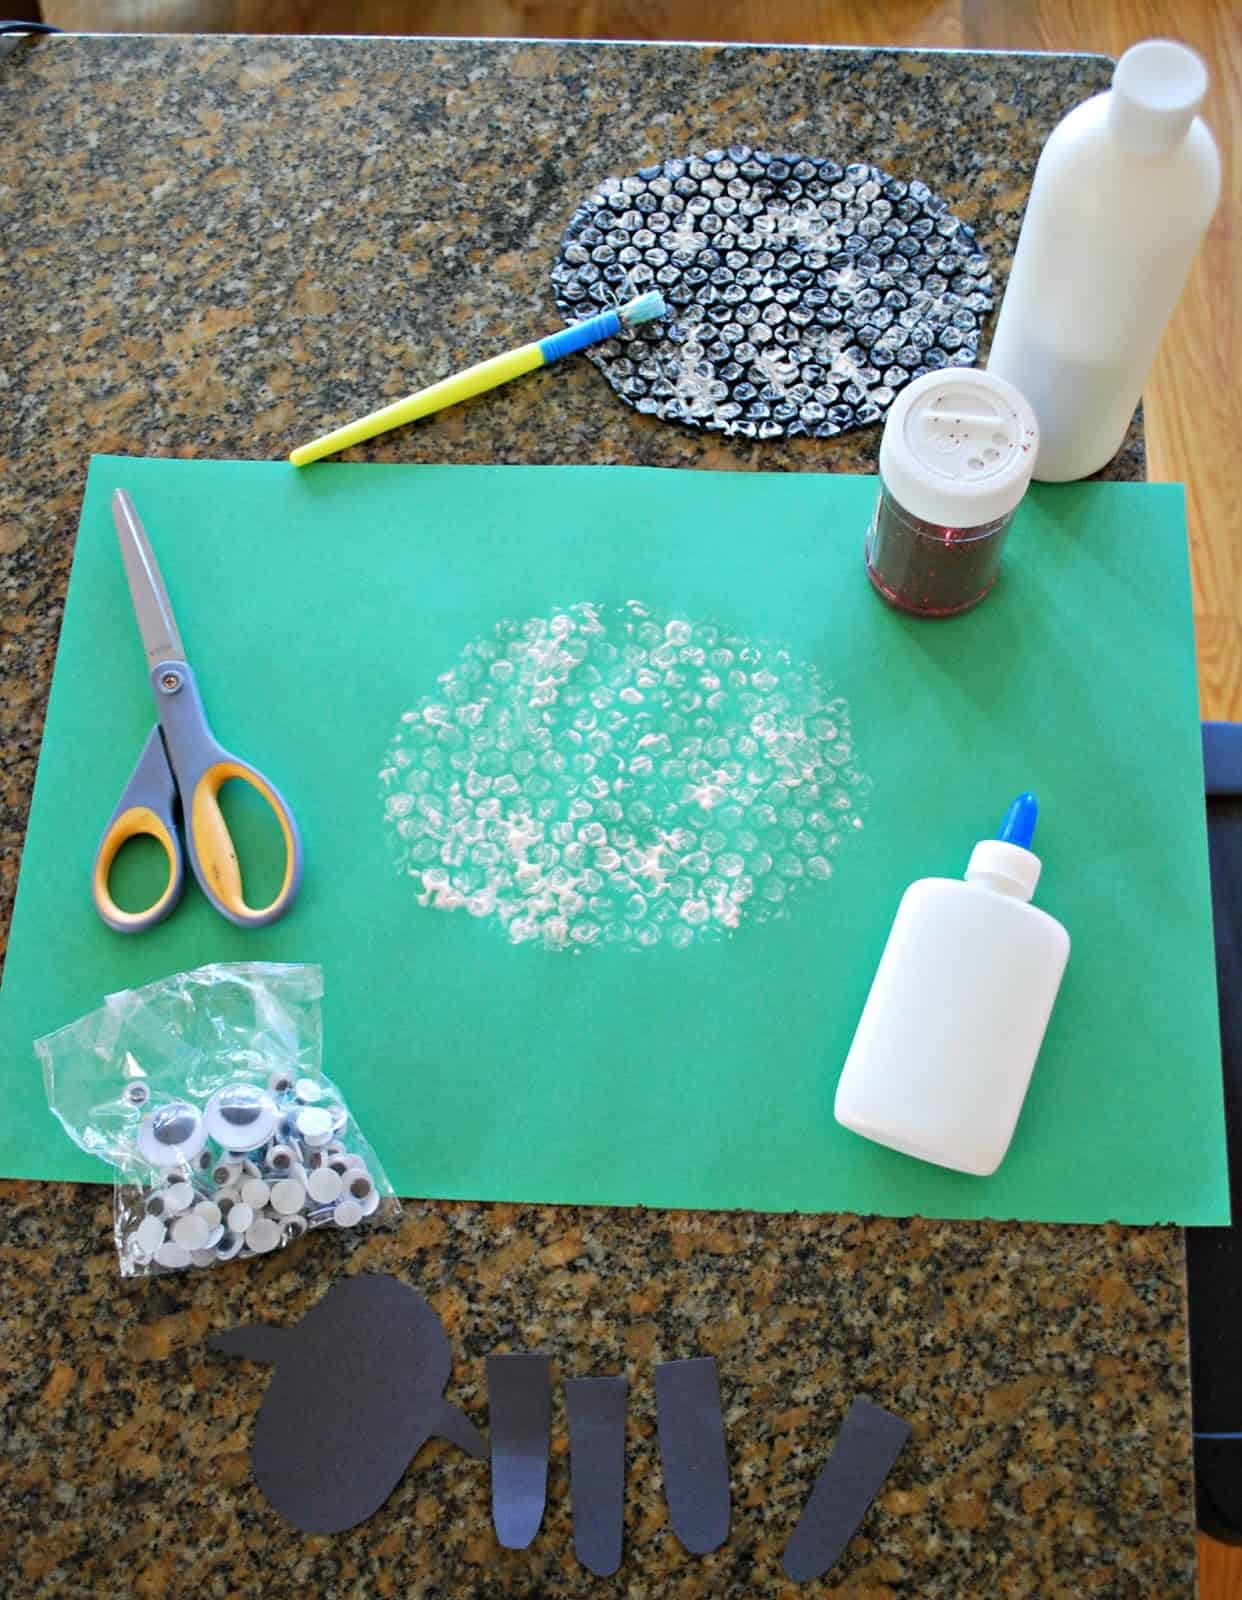
You can do this with any bubble wrap you happen to have on hand. I had a larger bubble wrap with bigger circles and a smaller one, so I decided to make a sheep with each to show you the difference. Cut out an oval shape from the bubble wrap. Make sure the size you are cutting will fit in the construction paper remembering to allow room for the legs and head.
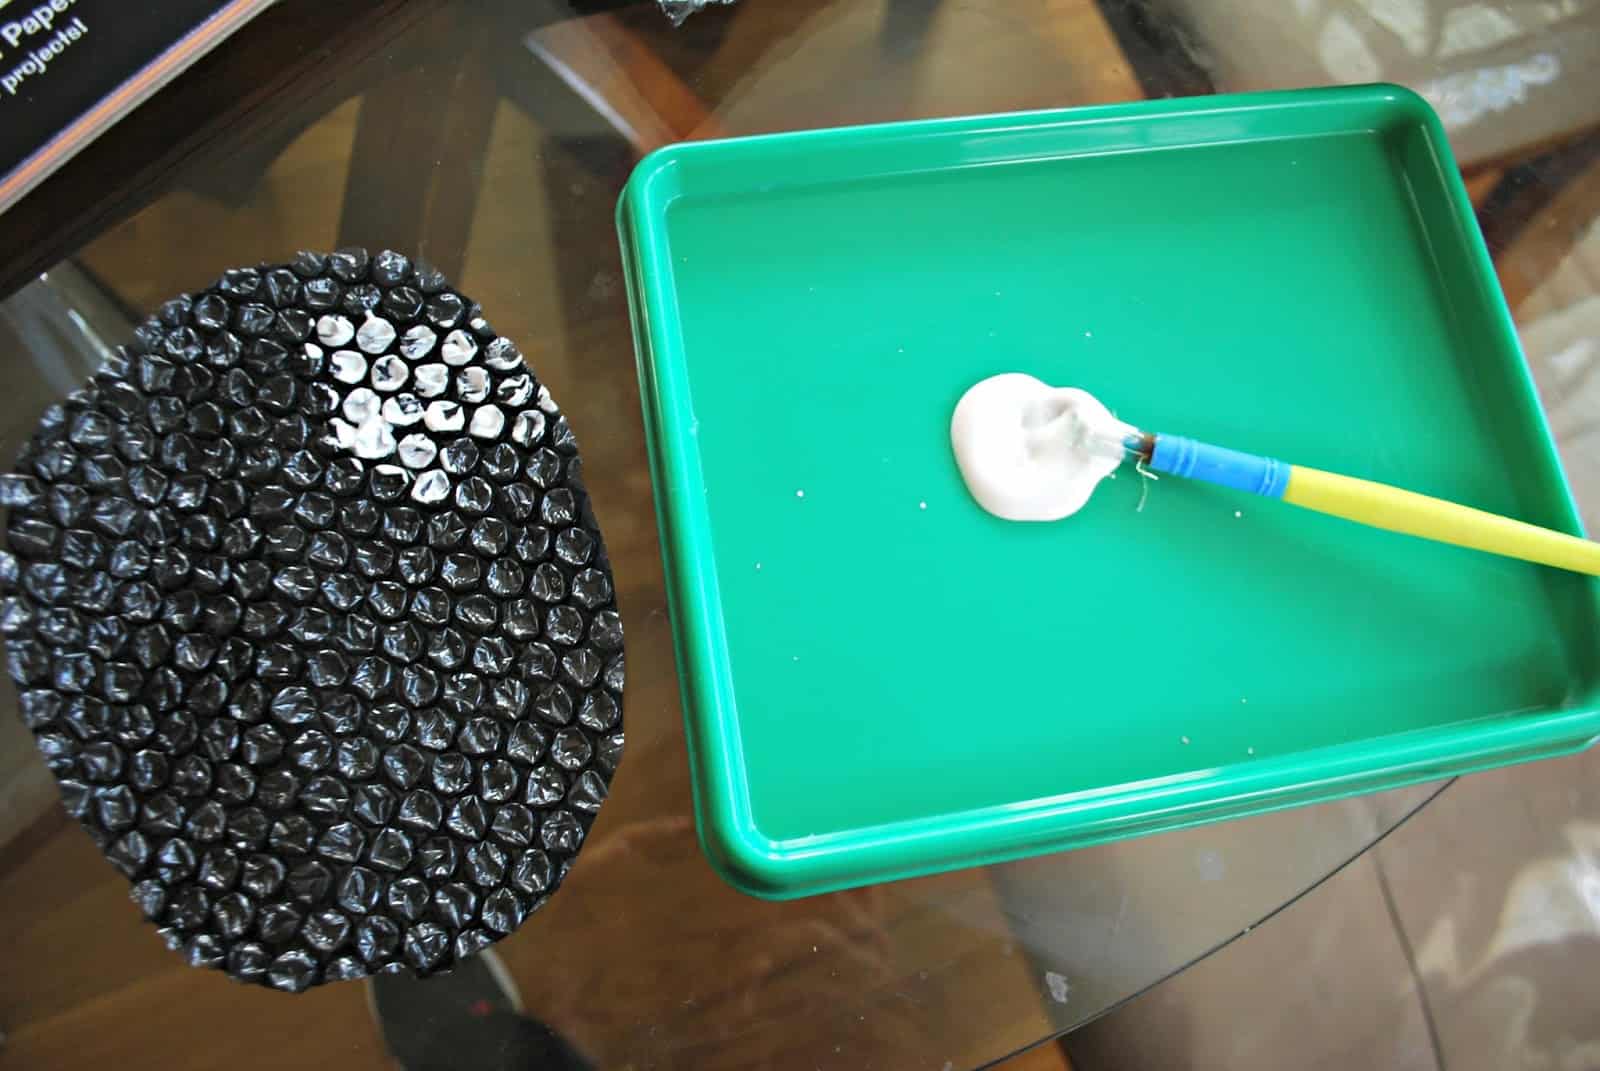
Painted the textured side of the bubble wrap with white paint. I tried to just paint the bubbles and not the space in between, though that didn't always work.

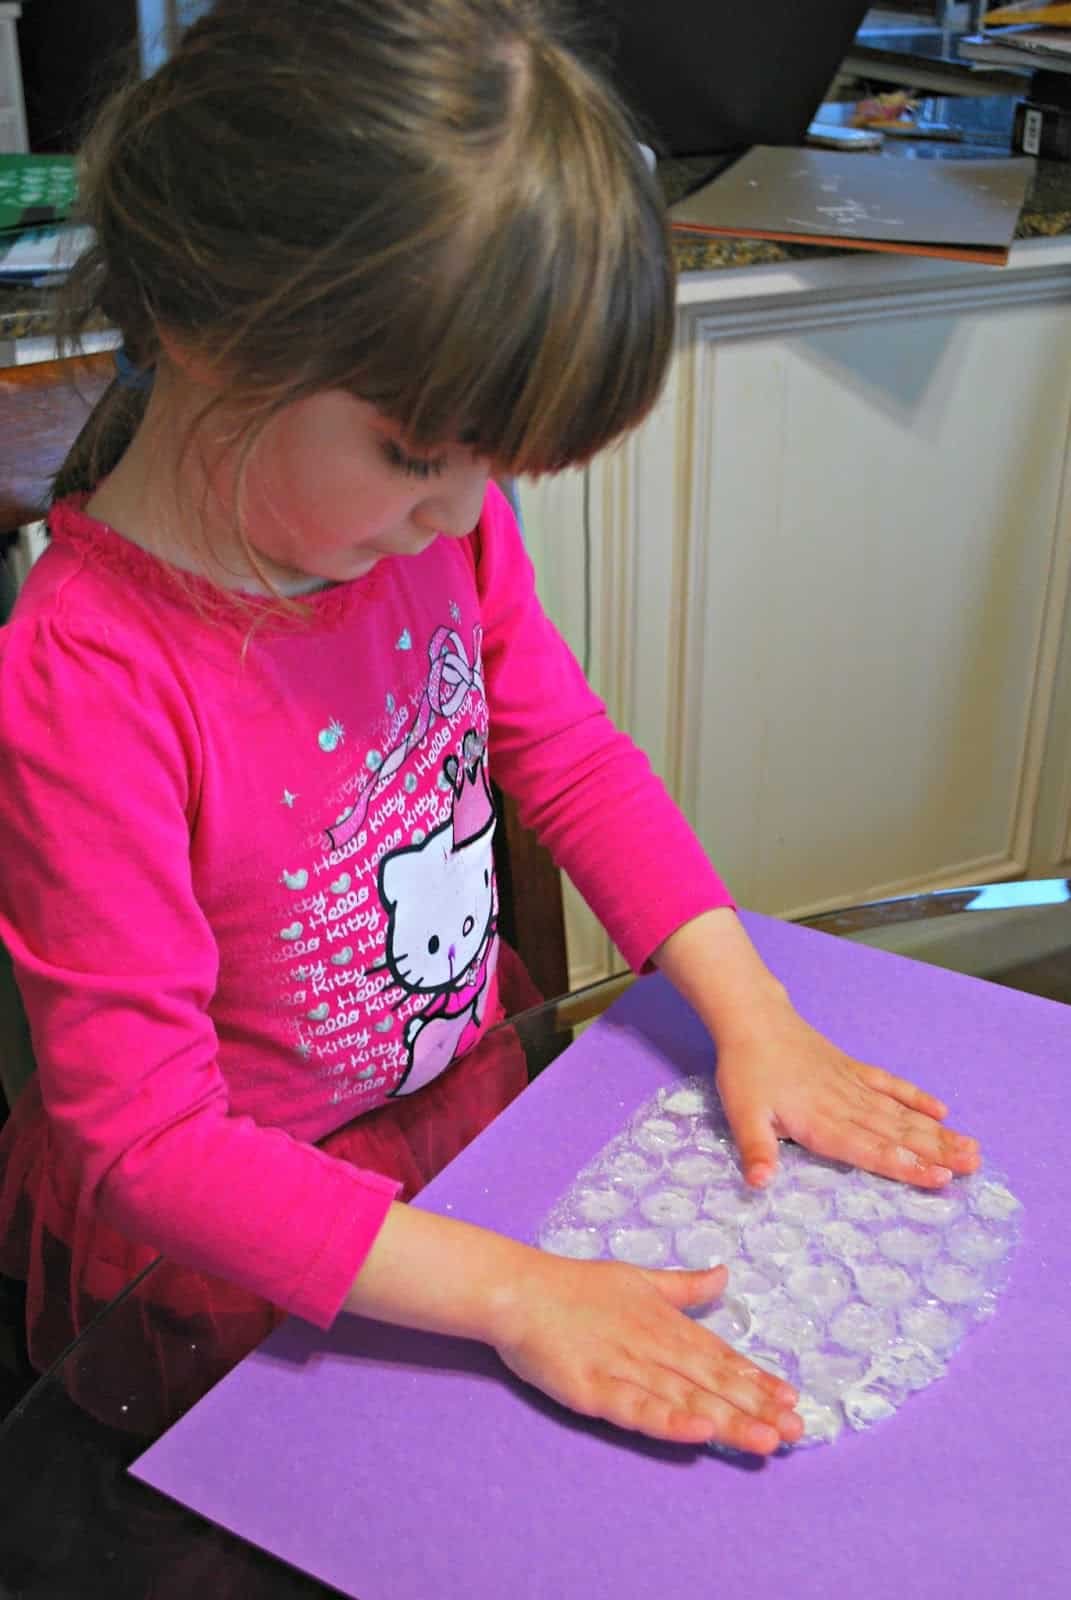
My daughter was a lot more careful than I was.
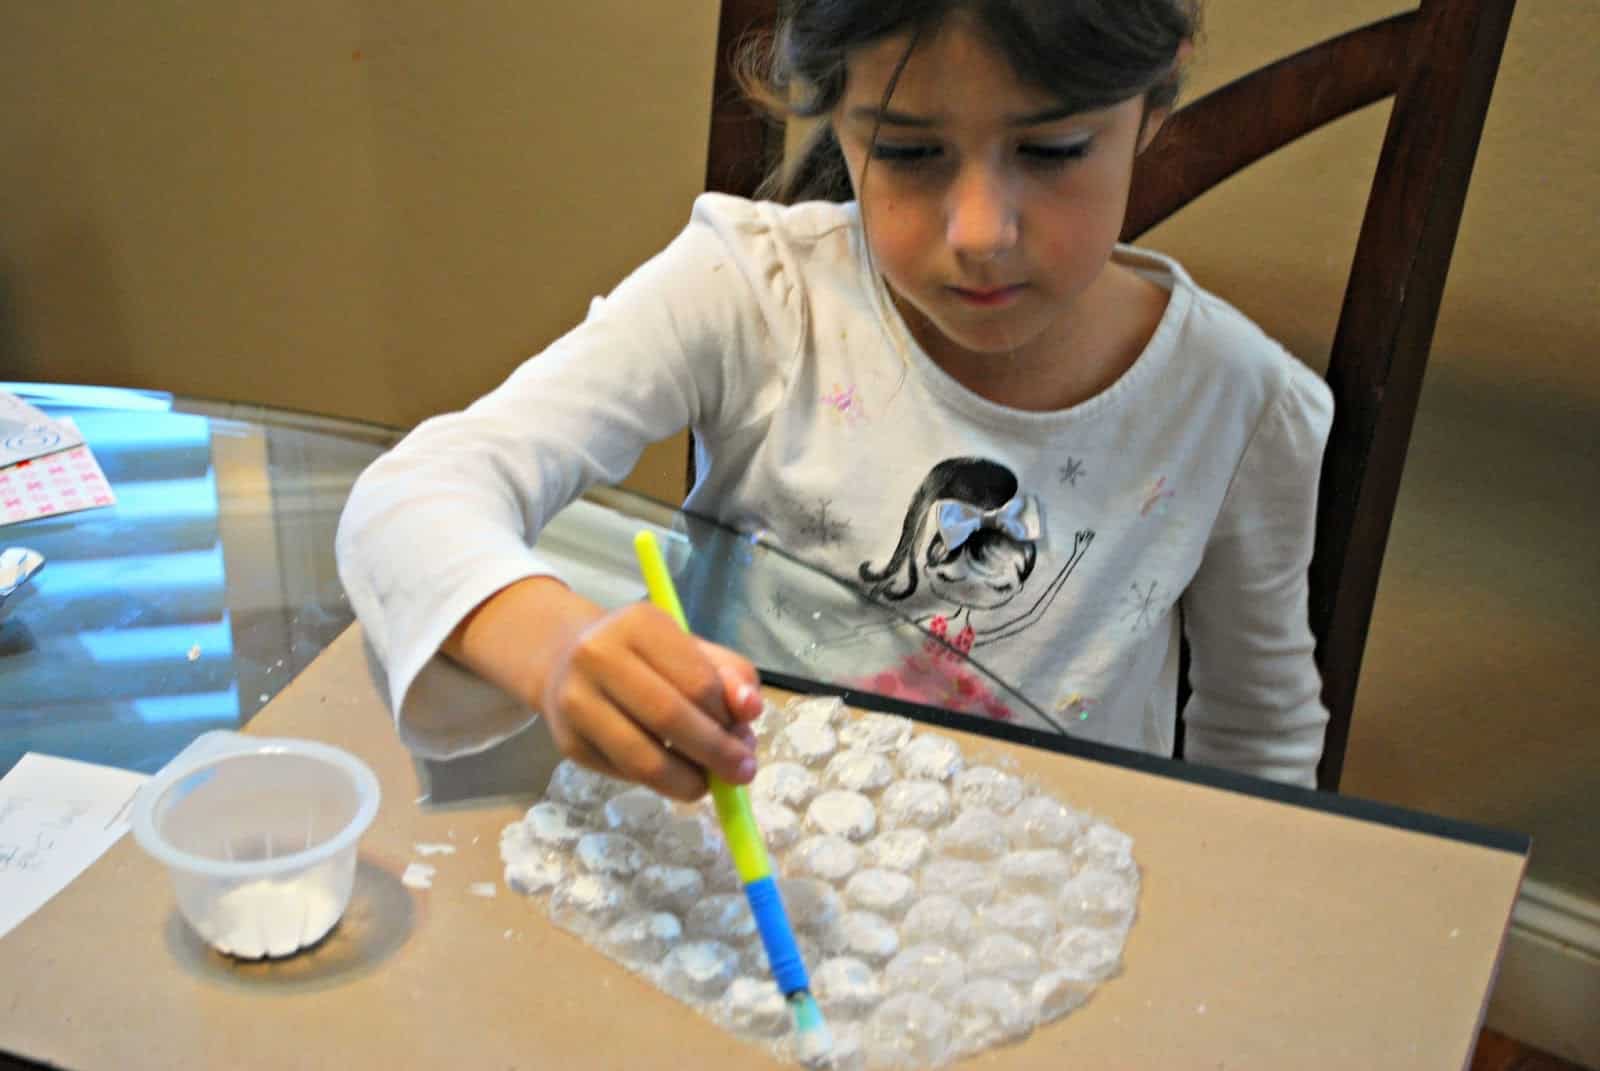
When the bubble wrap is painted, press the painted side down onto the construction paper, leaving room for the legs and head.
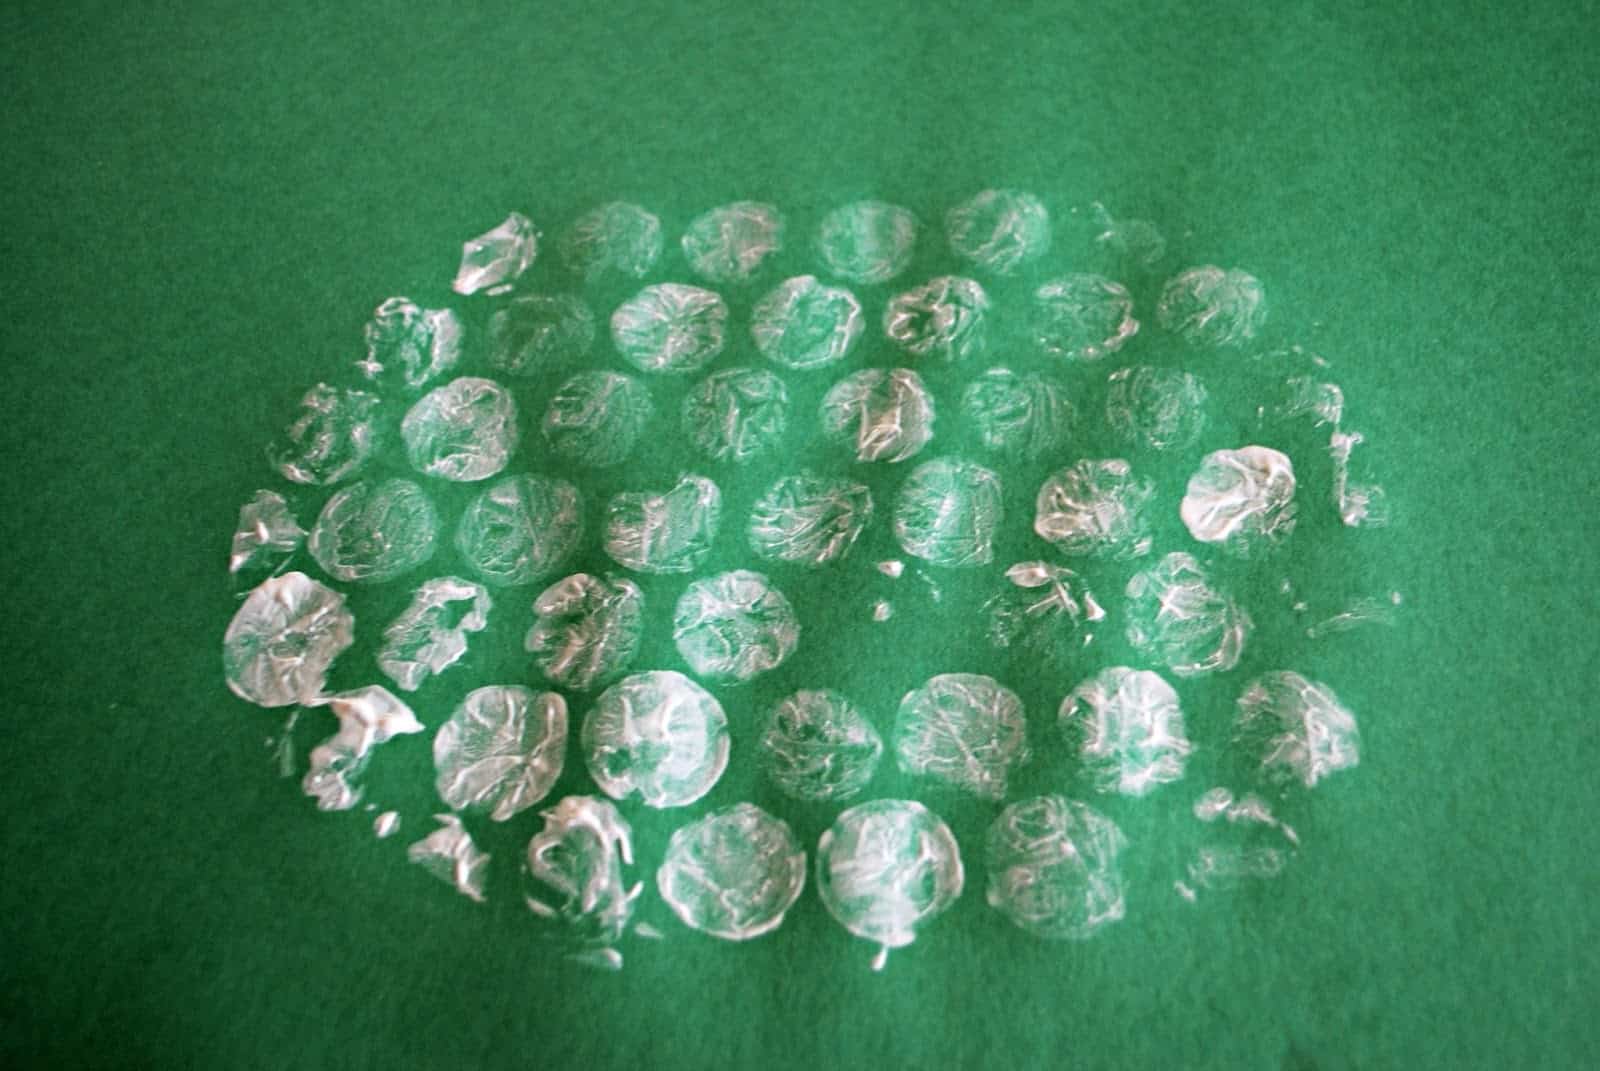
Carefully peel the bubble wrap off to reveal the sheep's body.
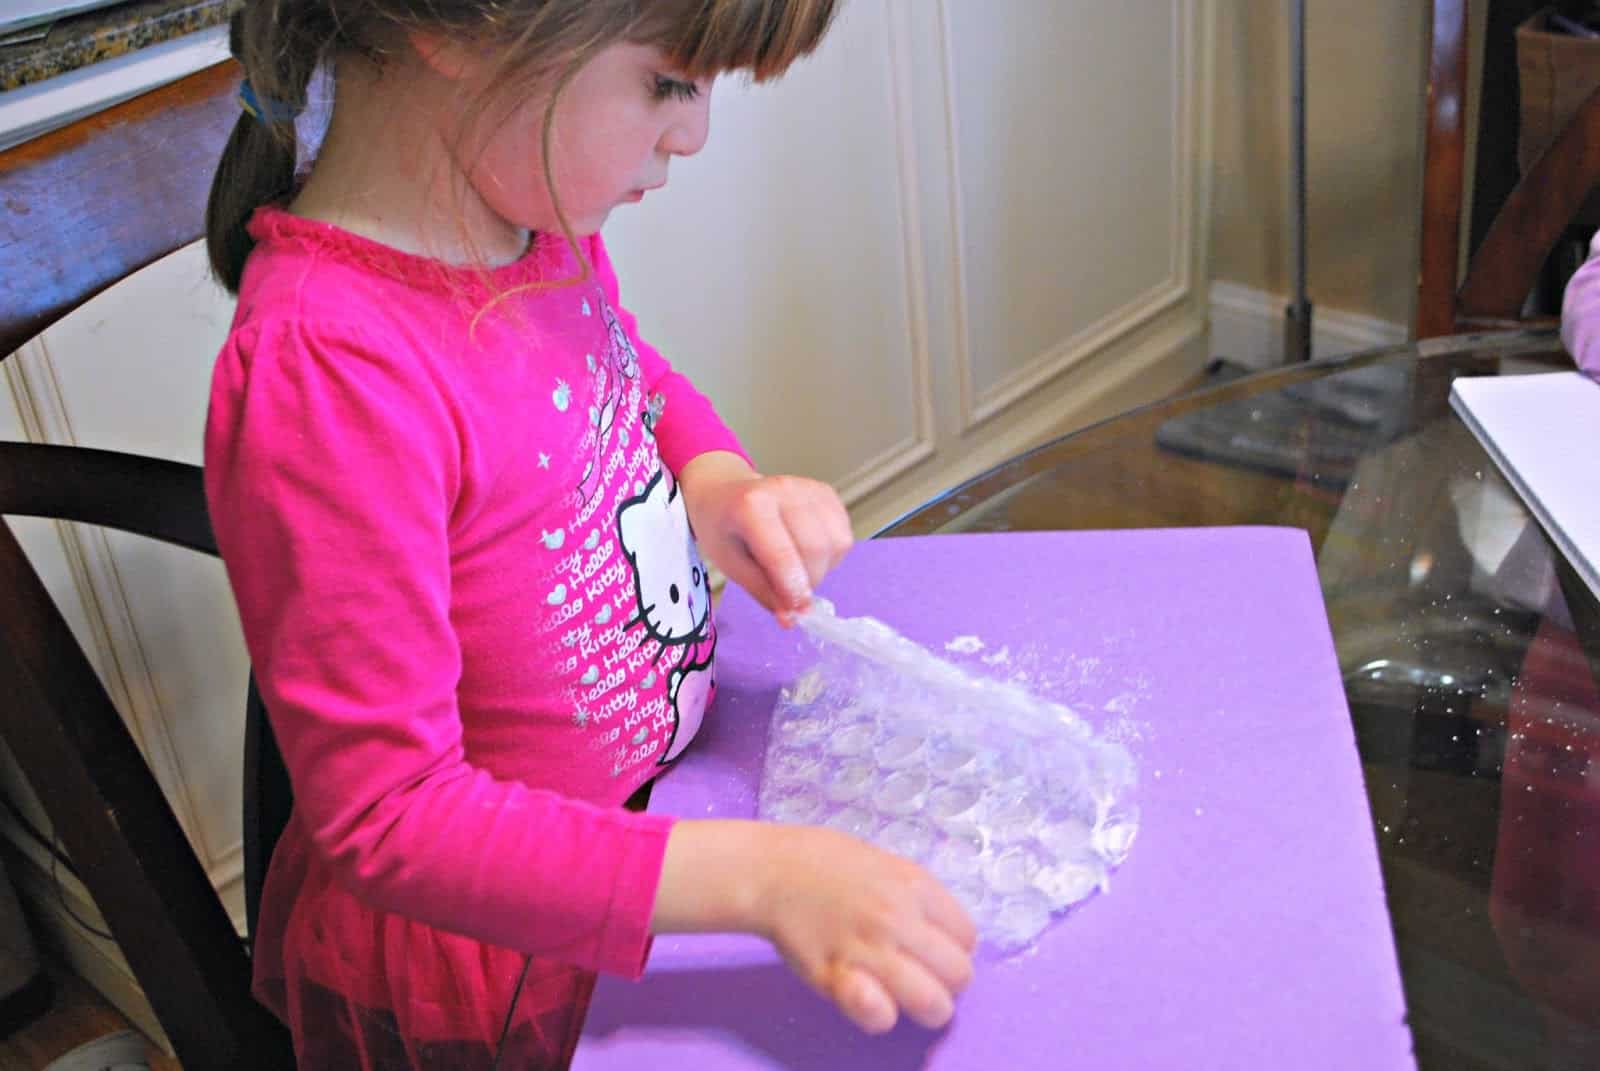
Let the bubble wrap print dry.
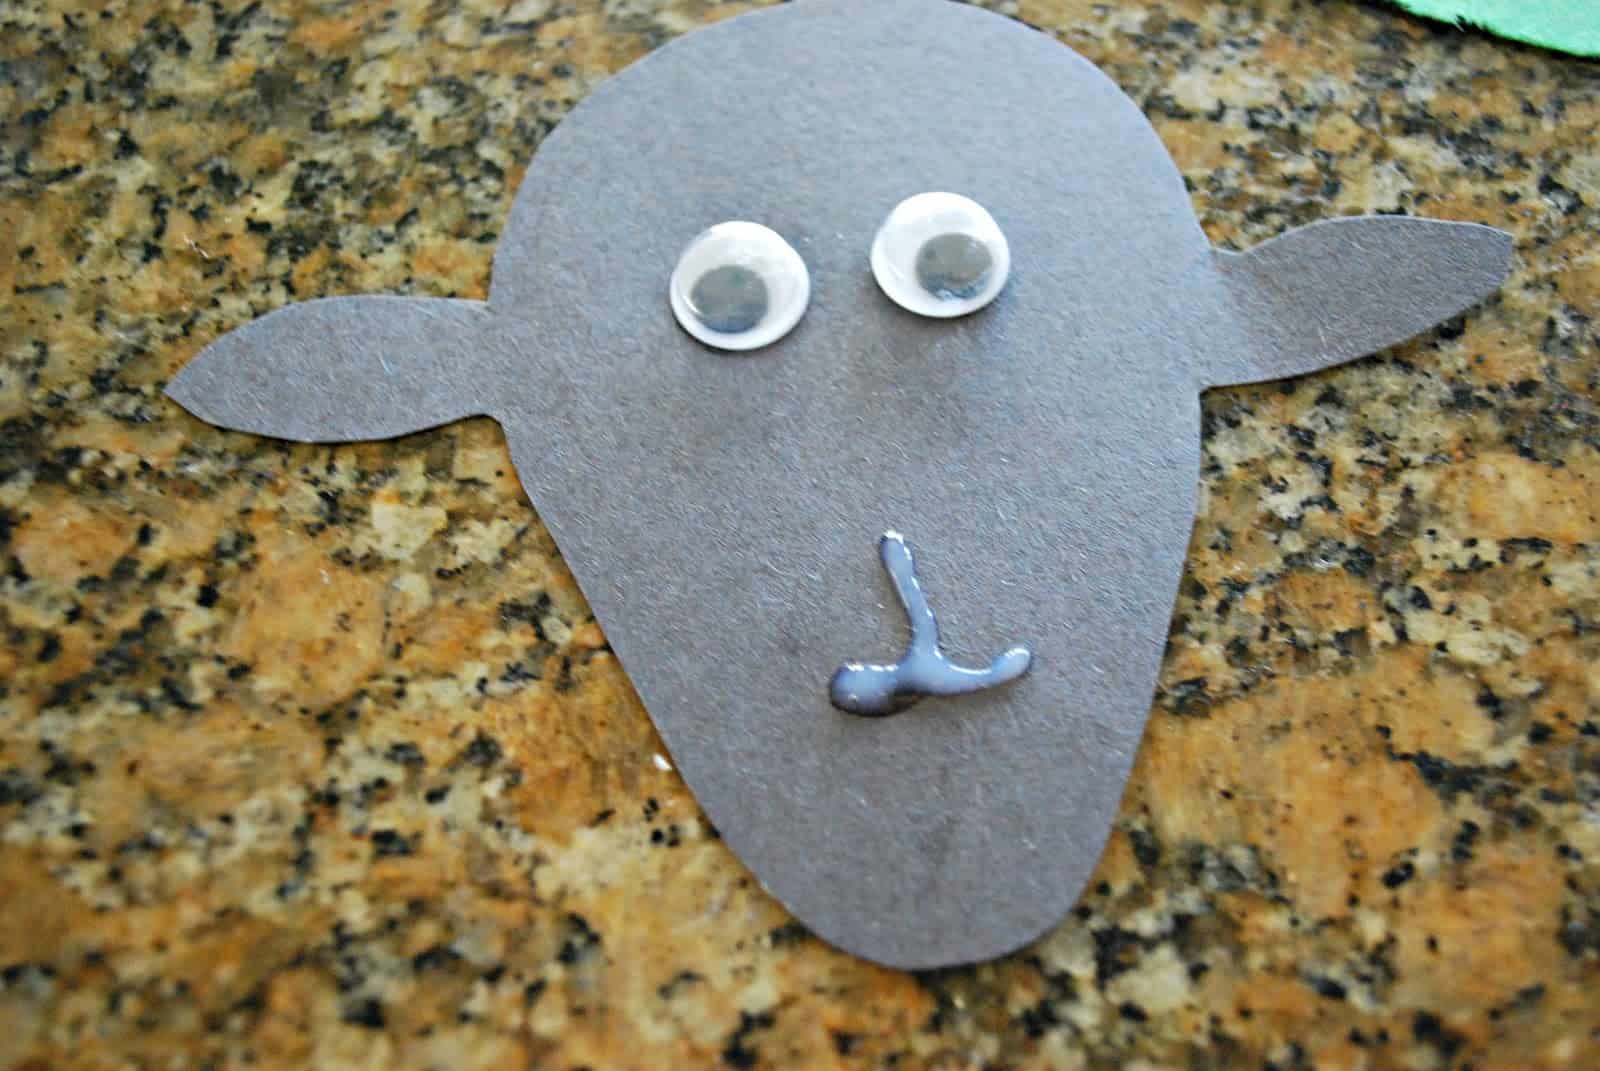
Now it's time to work on the head. Cut a sheep's head out of black construction paper. I am not an artist, so I pulled up a photo of a sheep on the internet and tried to copy the head. I made a smaller head for the small bubble wrap and a large one to use with the larger bubble wrap print. We glued googly eyes and used glue and glitter to make a mouth. Cut out four legs for your sheep from the black construction paper.
Glue the head and legs onto the paper.
Here is how our small bubble wrap sheep turned out.
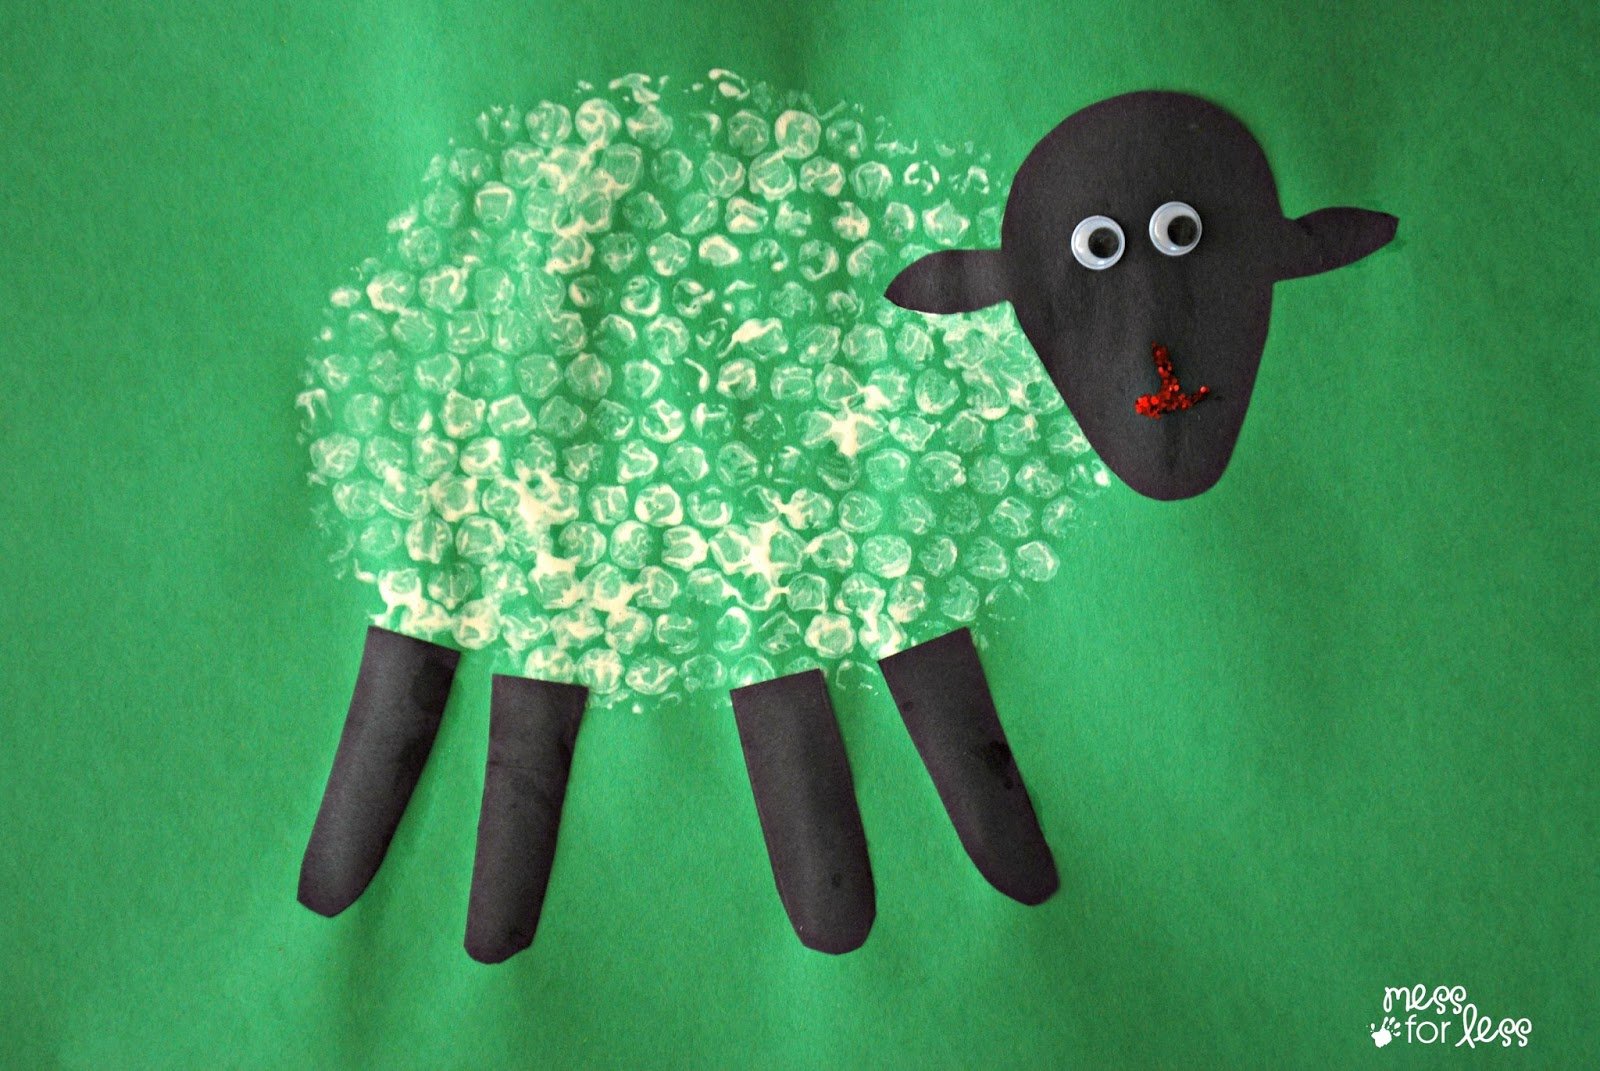
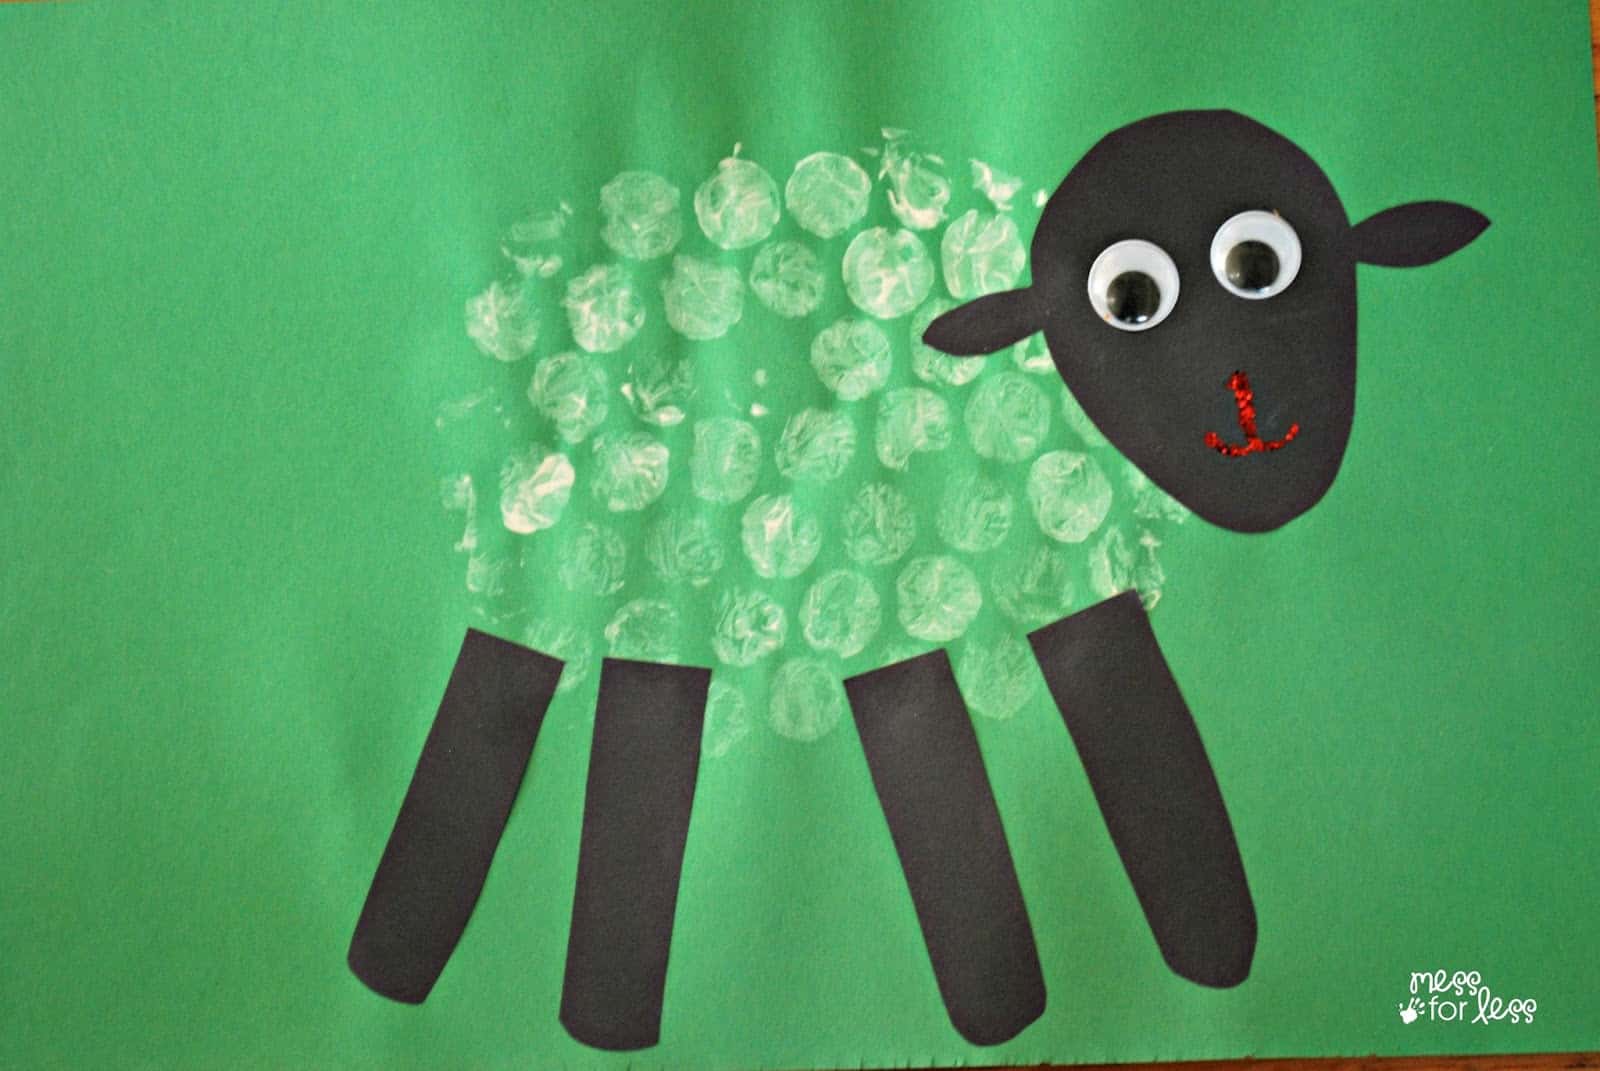
And this is our big guy! Aren't they adorable? This was such a fun Spring craft and a great way to re-use bubble wrap.
For more Spring Crafts check out:


Leave a Reply