We love playing with contact paper and crafting with q-tips so I thought why not combine the two. I love using this Contact Paper Crafts with Q-Tips activity when I am preparing dinner and need to keep my daughter occupied for a little while. By having her create art on the refrigerator, I can easily keep and eye on her. I always keep a roll of contact paper handy because I never know when we will want to use it to get creative like we did with this Contact Paper Shape Art. If you have contact paper and are looking for ideas on what to do with it, check out 20 Ways to Use Contact Paper with Kids.
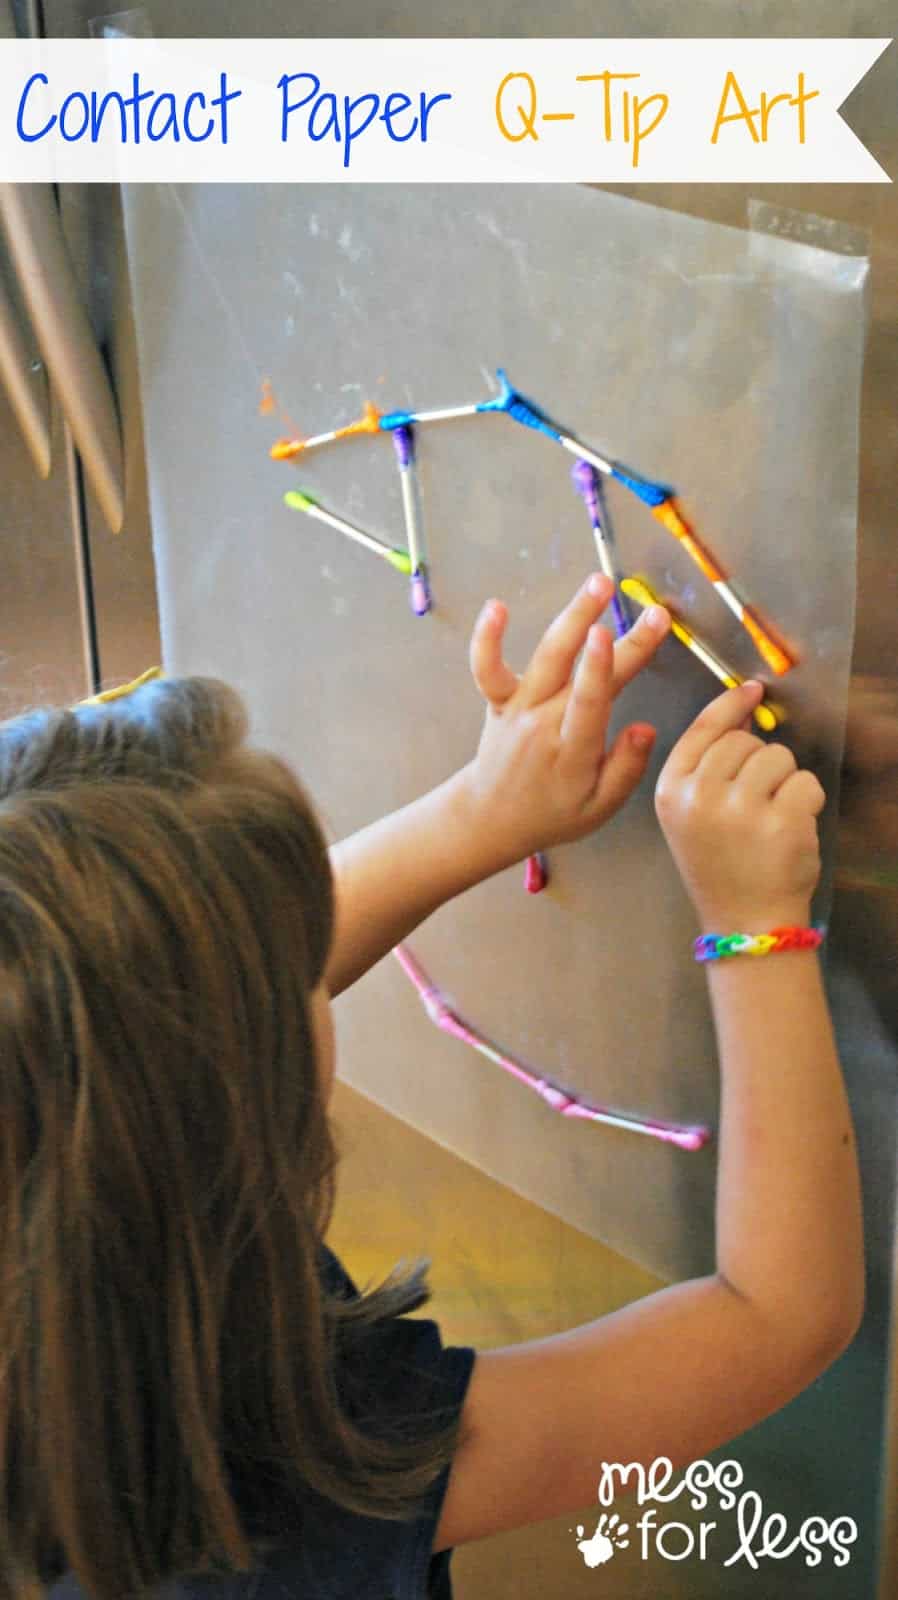
You will need:
- Clear contact paper
- Dyed Q-Tips (how to dye q-tips)
- Tape
- Scissors

Cut a length of contact paper, peel off the backing and tape to a surface. I used a refrigerator, but any low wall or window would work. You want to make sure you hang the contact paper at a low enough level so your child can reach the top.
Provide your child with a tray of dyed q-tips. We loved using our dyed q-tips for this contact paper craft since it added a nice pop of color, but white q-tips would work as well for this activity. If you want to dye your own q-tips check out our How to Dye Q-Tips tutorial which explains how simple it is to do.

Before my daughter added the q-tips to the contact paper, she stuck her hands and fingers on it and felt the stickiness. This is such an interesting sensation for kids. Once she had her fill of that, she started creating a design with the q-tips.
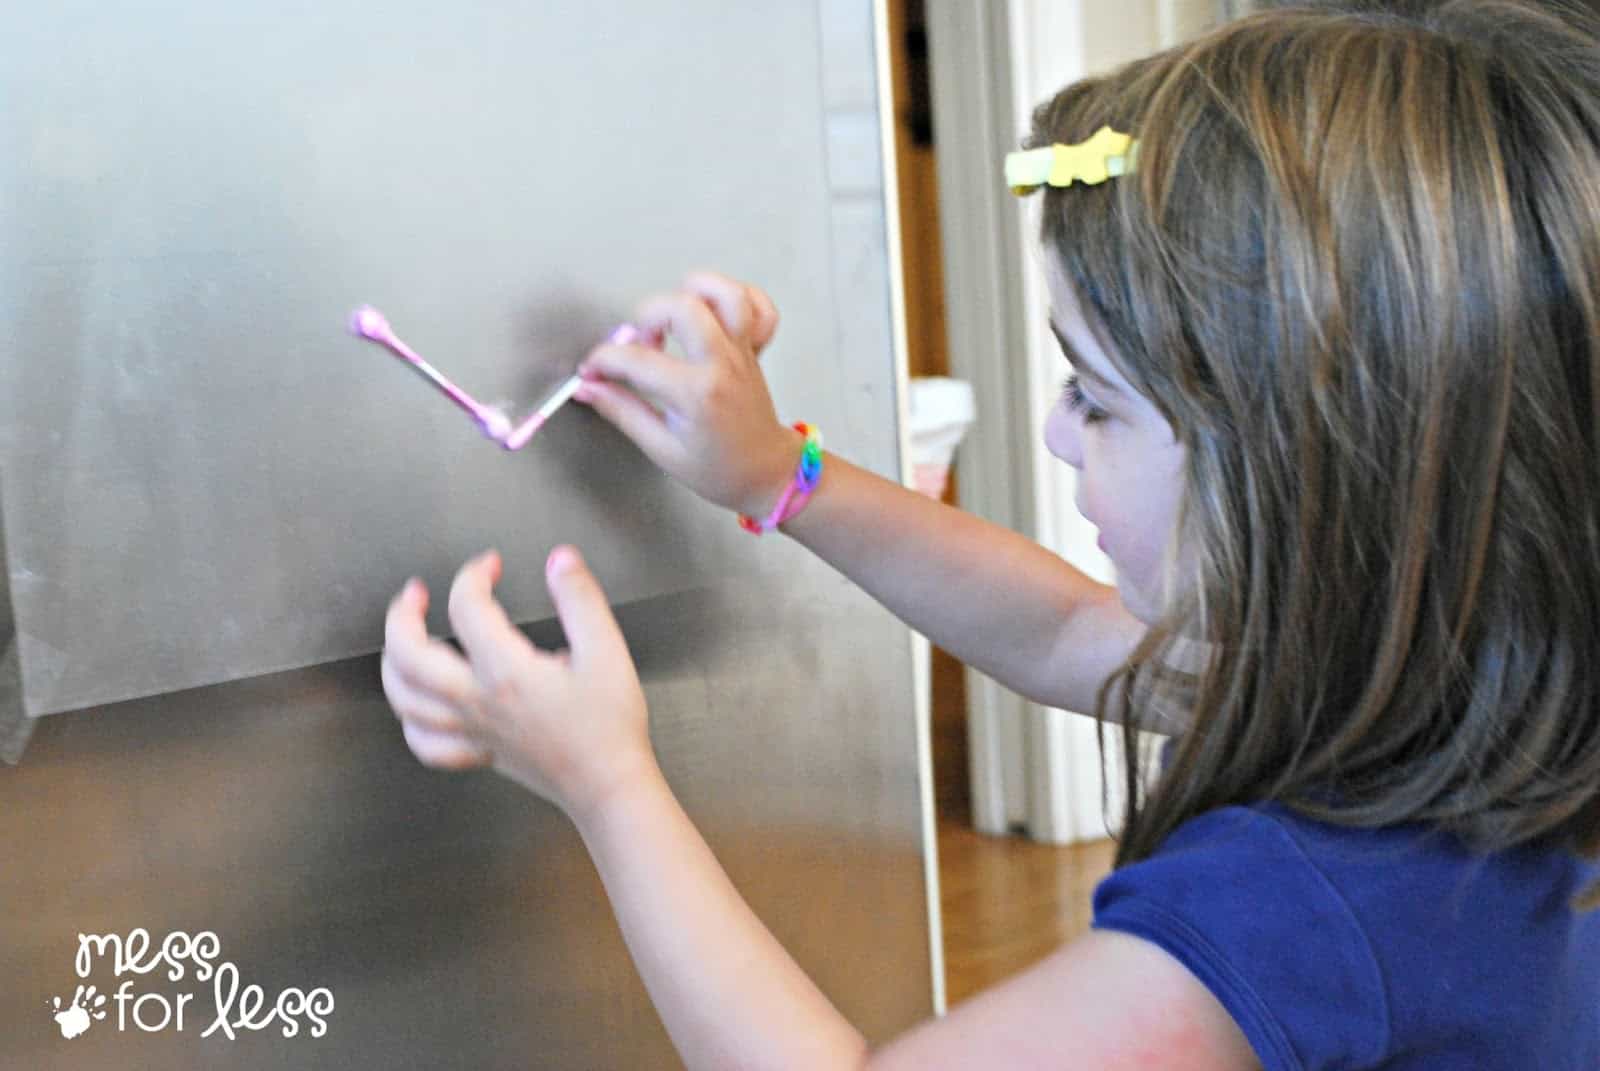
She decided to make a self portrait out of the q-tips.
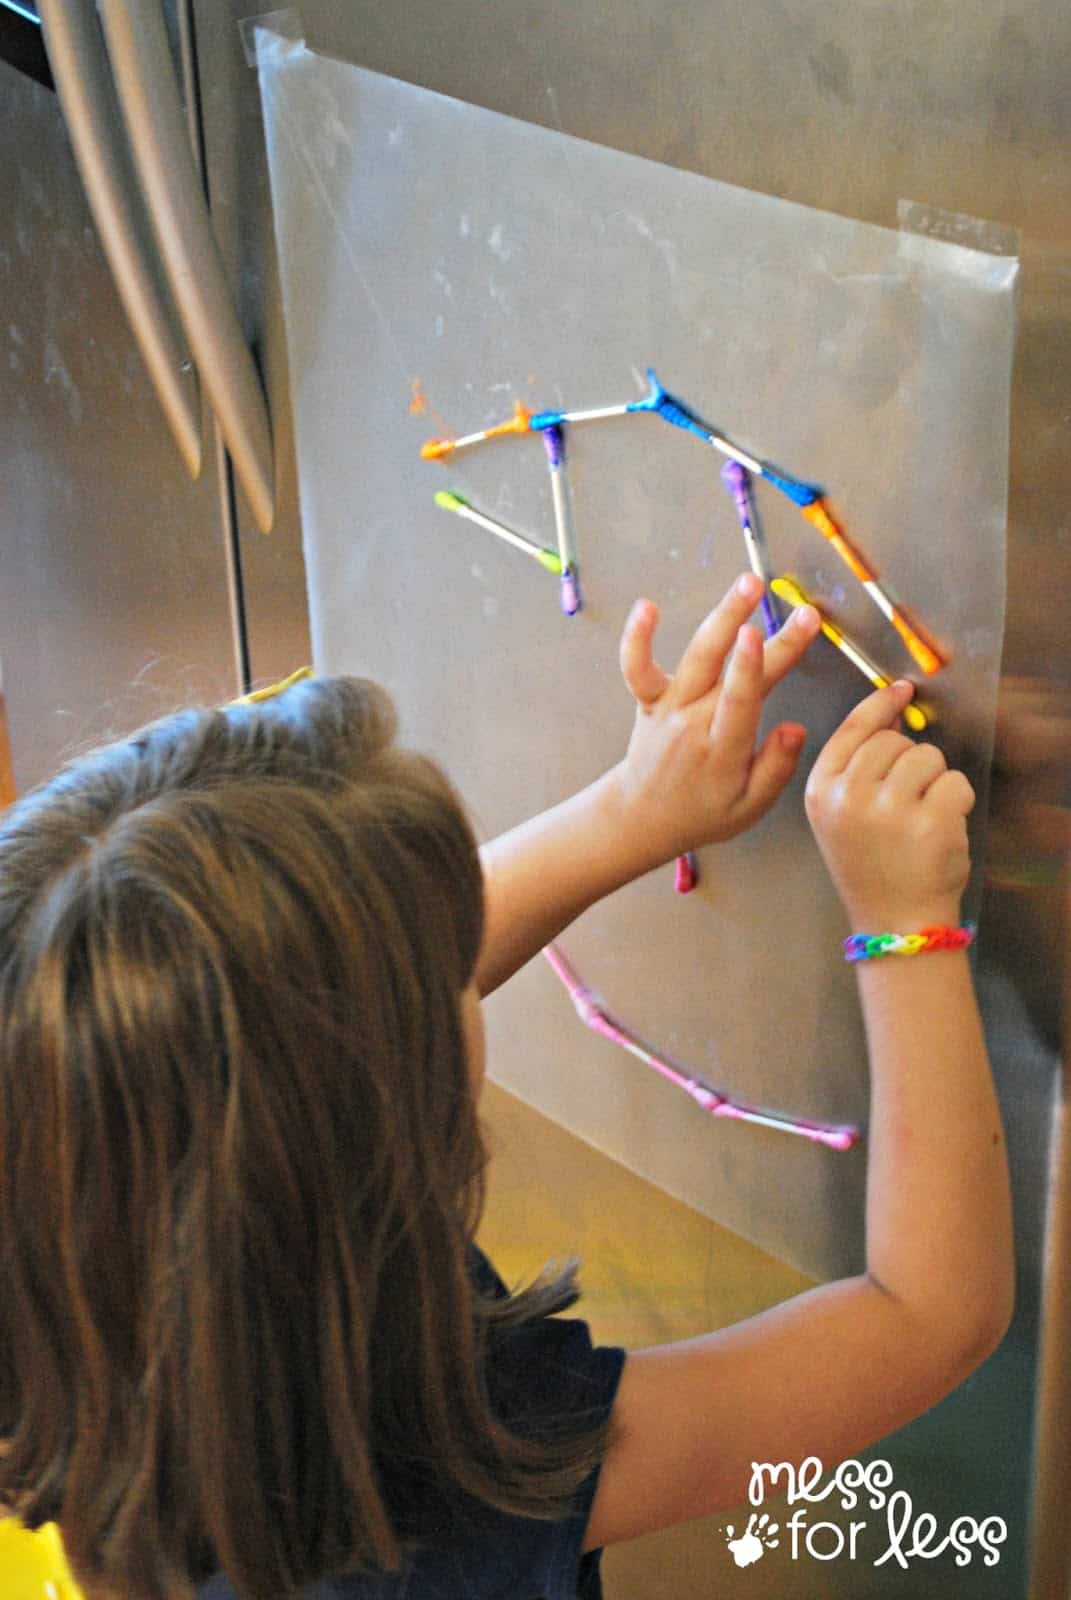
Here's how it turned out. It's the spitting image of her, don't you think?
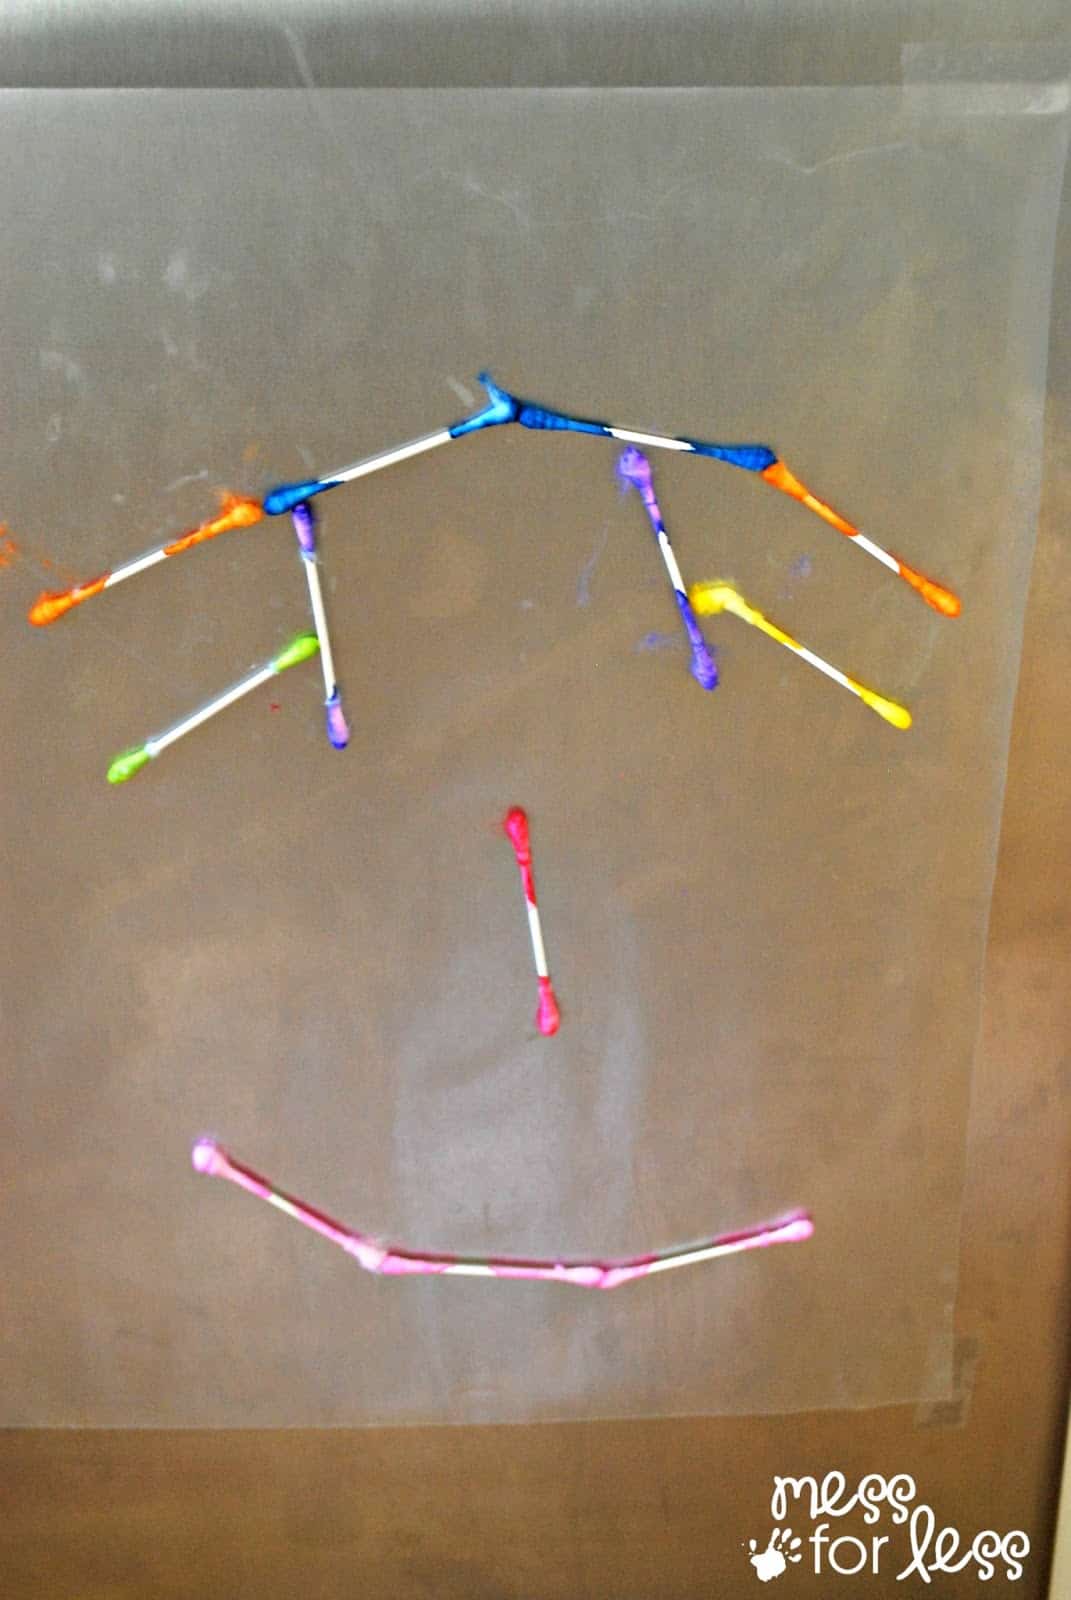
Since you can easily remove and re-position the q-tips, this is an activity kids can use again and again. After she created her self portrait, my daughter removed the q-tips and made a flower.
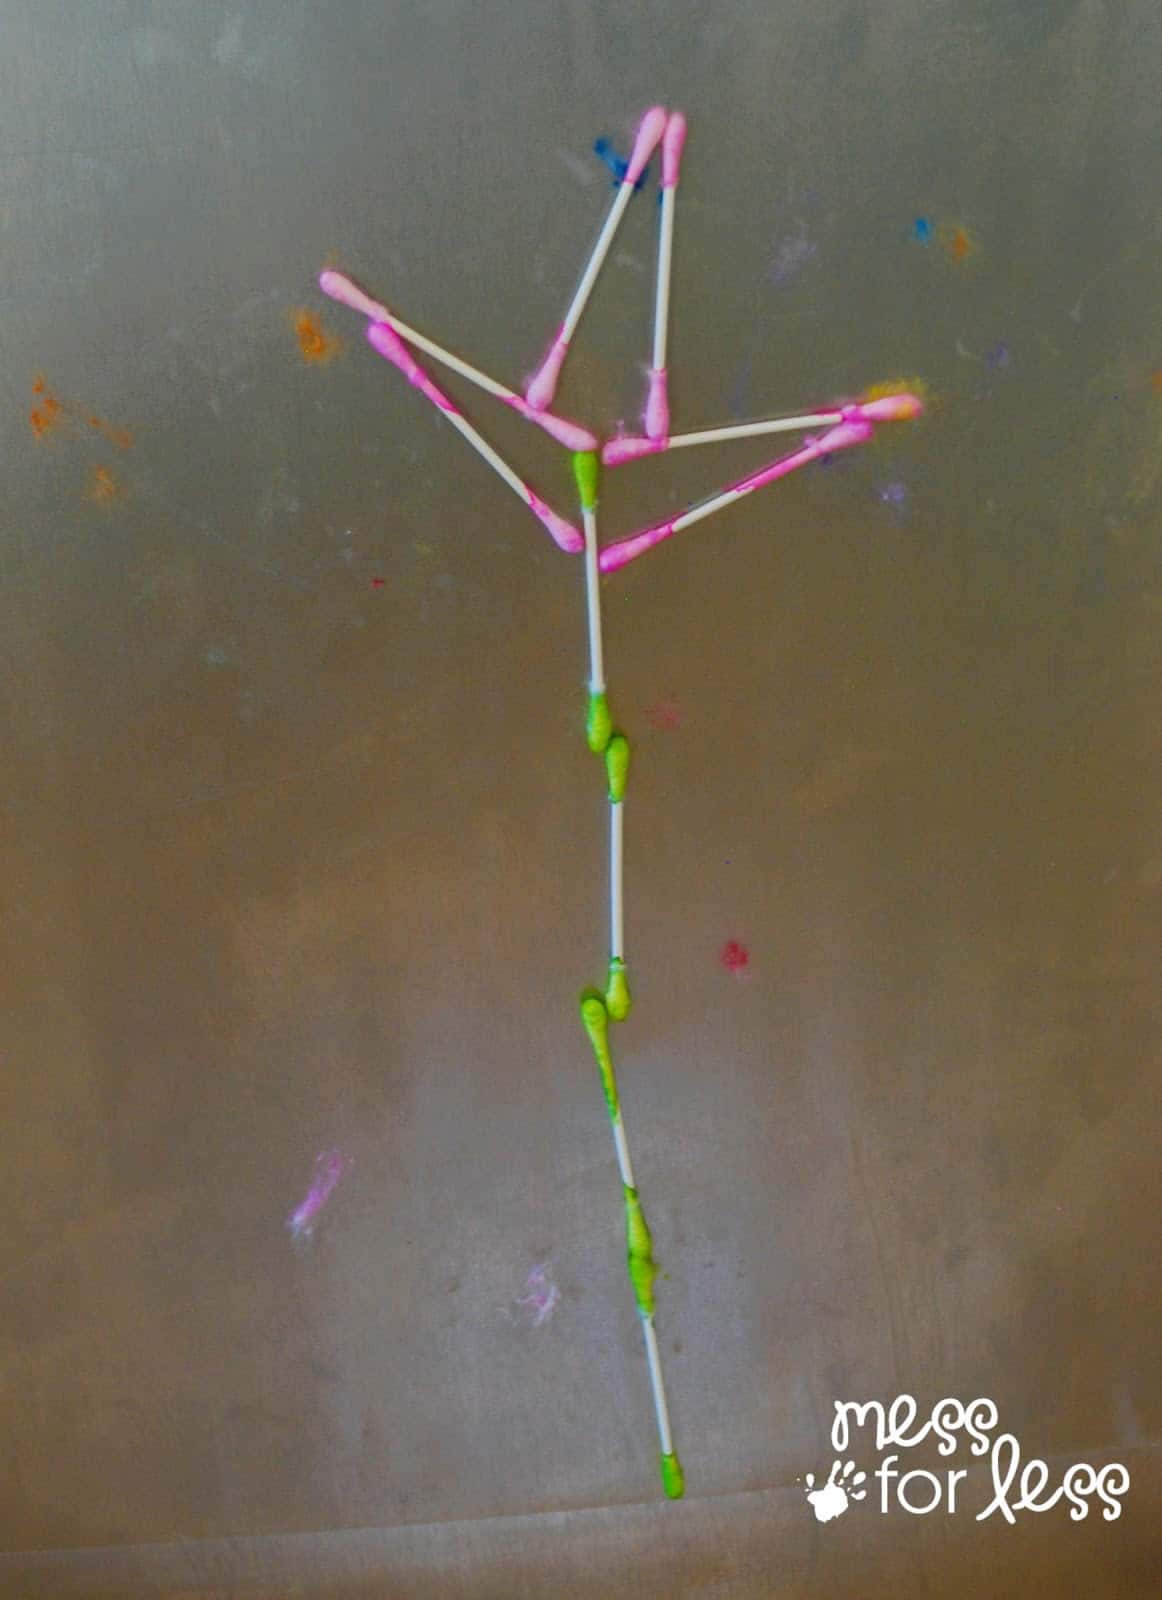
I must warn you, cats love this activity as well. I saw my cat, on more than one occasion, grab a q-tip off the contact paper and start swatting it about. Apparently, this contact paper craft is fun for cats as well!


Leave a Reply