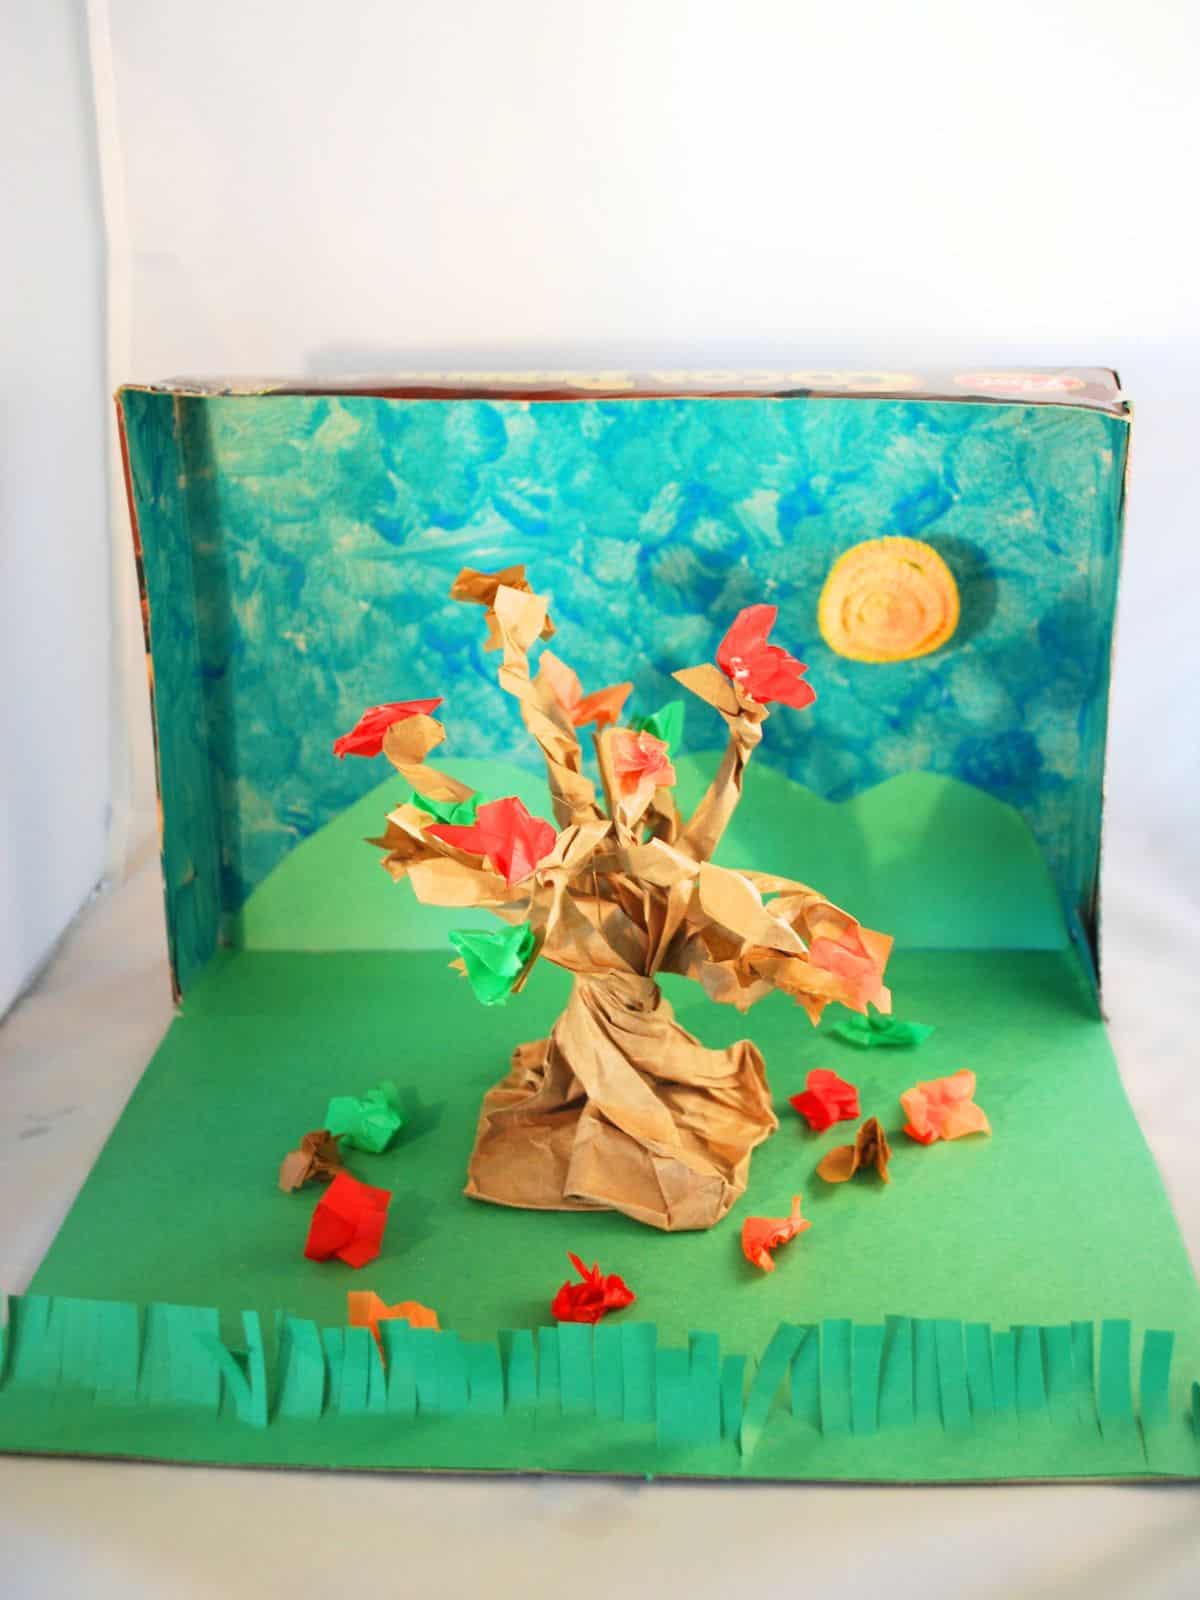
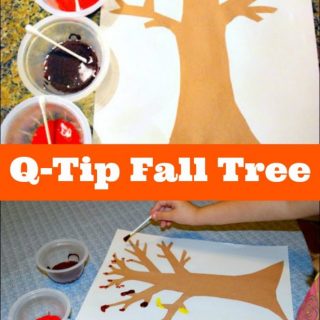
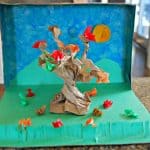
Celebrate fall with this creative and eco-friendly craft for kids. Kids will have fun creating a Fall Diorama using a cereal box. This miniature, three-dimensional fall scene helps kids express their creativity while working on fine motor skills and learning about sustainable crafting. Kids will also enjoy our Fall Tree Window Painting.
*Please supervise children during this entire activity.
Jump to:
🍂Why Making a Fall Diorama Is A Great Kids Activity
- Kids will use their creativity and imagination as they create this fall scene. Another fun diorama kids can create is this Rainforest Diorama from Crafting With Kids.
- As they cut, glue, and decorate this cereal box diorama, they will practice their fine motor skills and hand-eye coordination.
- This project is fun to do as a family and it also helps to teach kids to to reuse household objects for a different purpose.
🌳Supply Notes
- Cereal Box - 10 to 12 oz box works well.
- Light Blue Paint - For painting the background sky.
- Green Construction Paper - You be gluing and cutting to make grass.
- Brown Paper Bag - Lunch sized.
- Red, Green, Orange and Brown Tissue Paper Squares - You can use pre-cut tissue paper squares in fall colors or just tear small pieces of tissue paper to make the leaves.
📋How To Make A Fall Scene Diorama
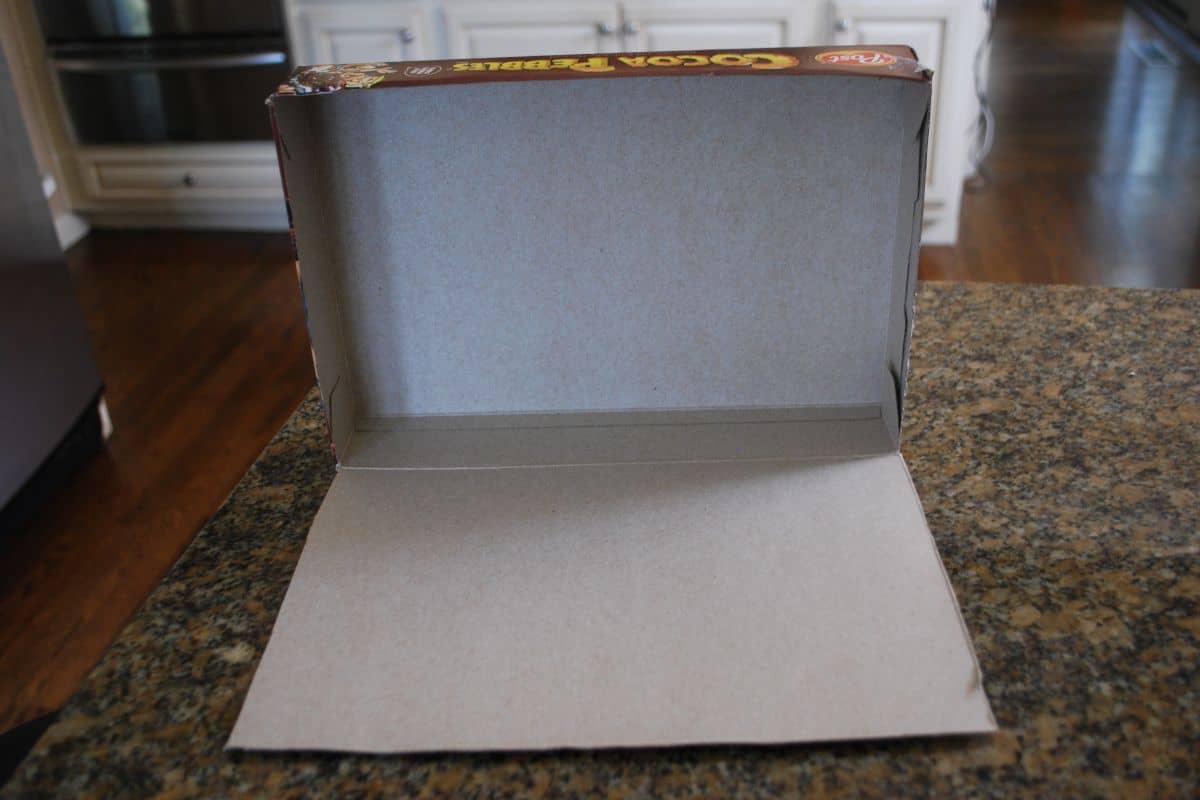
STEP 1: Cut open a cereal box so that the front part of the box opens downward. This is a good job for an adult.
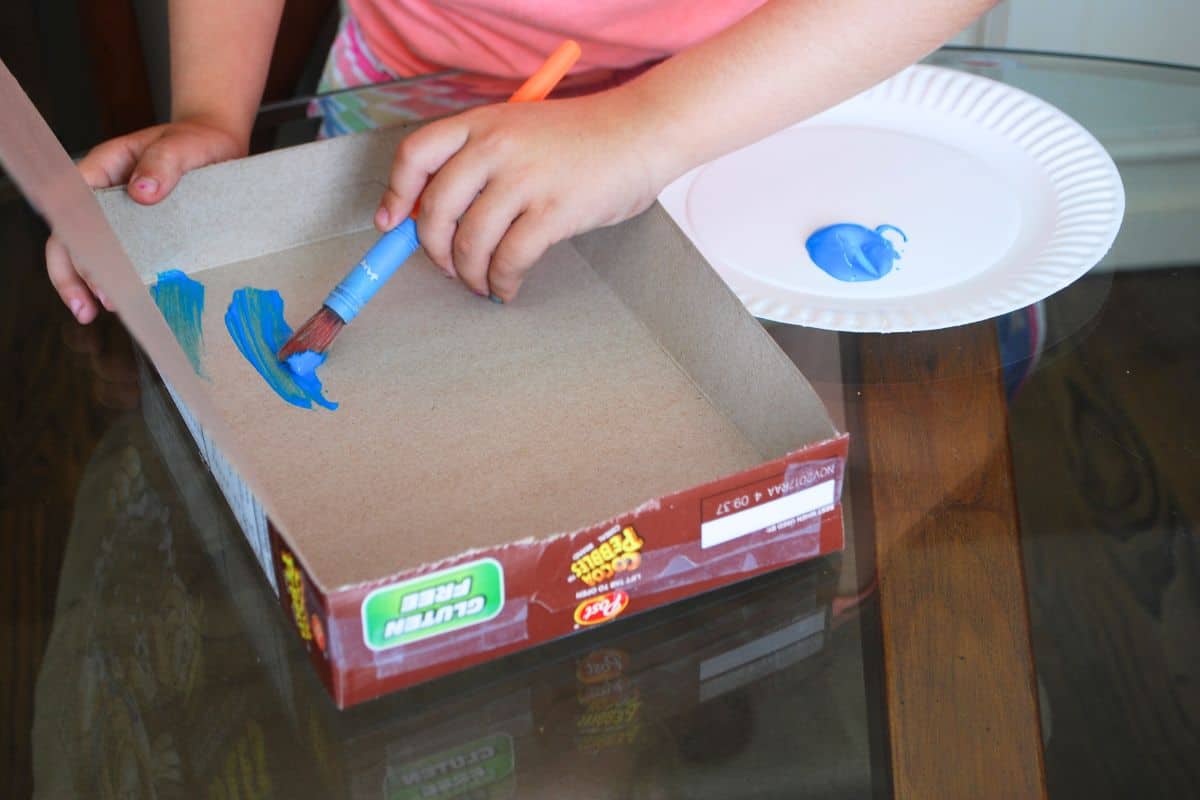
STEP 2: Paint the inside portion of the box with blue paint.
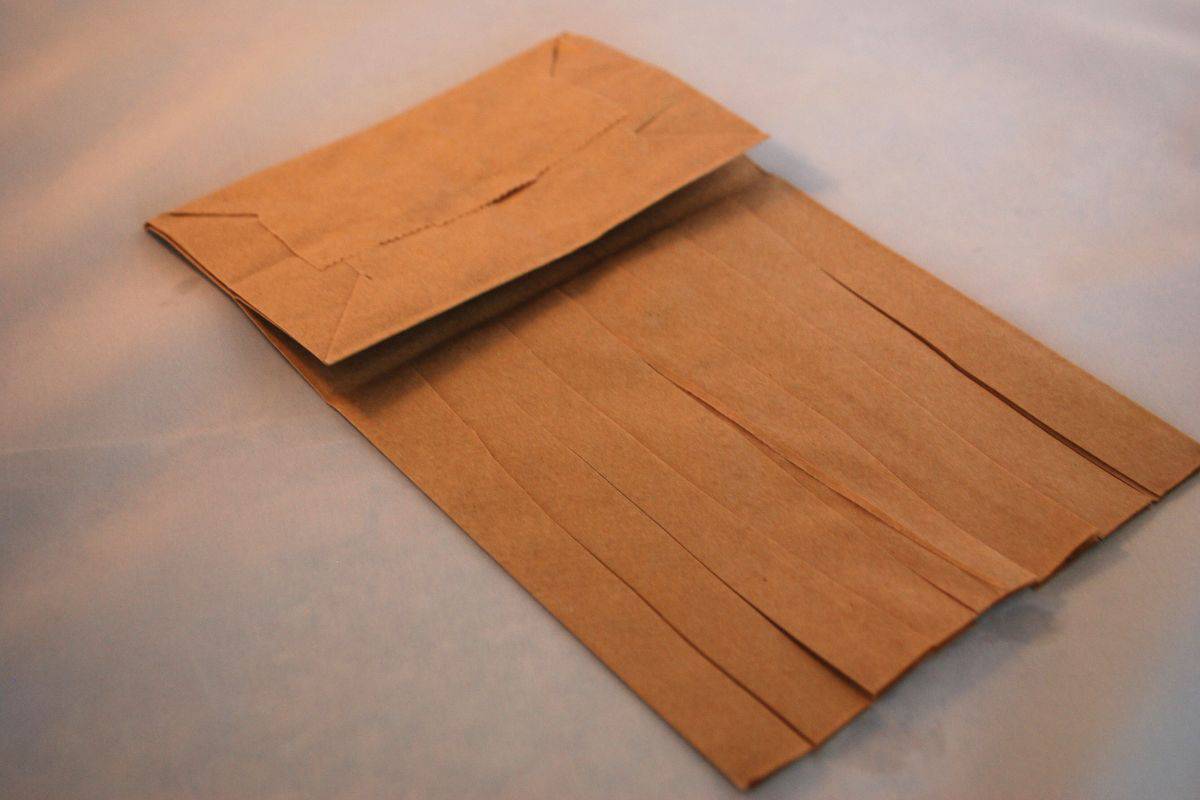
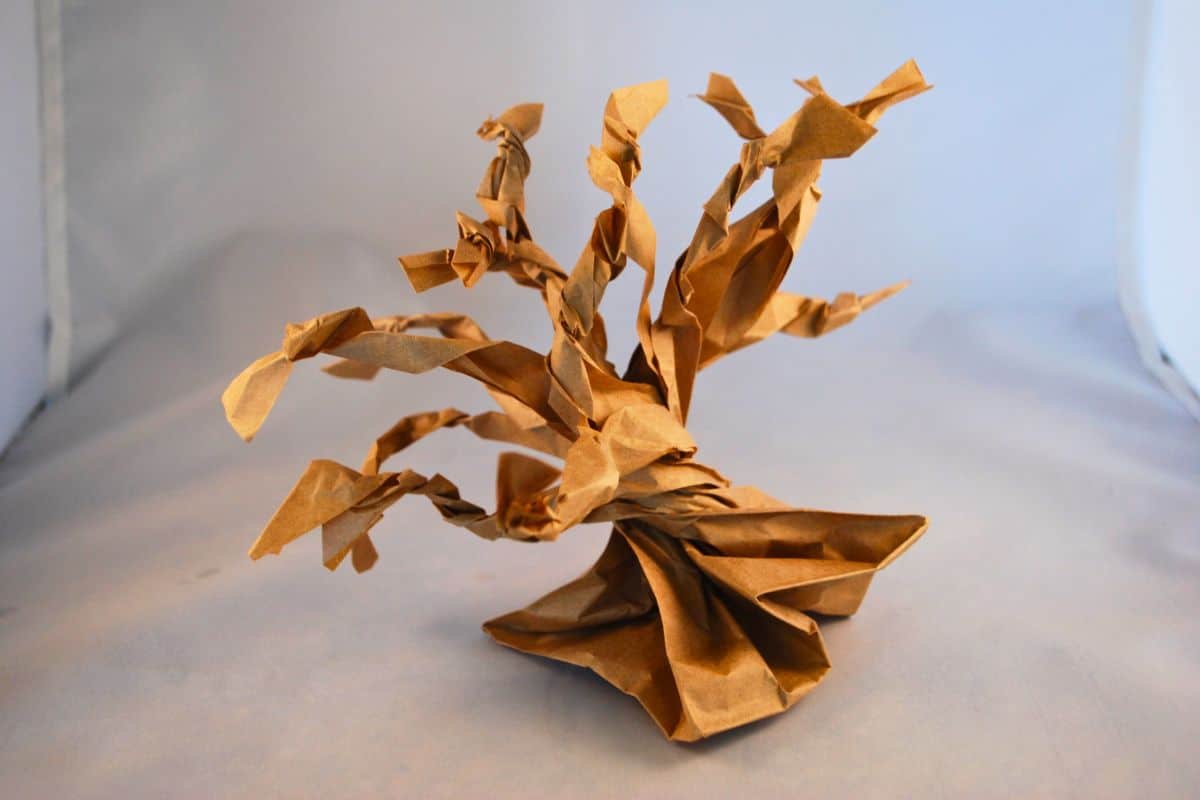
STEP 3: To make the tree cut 2.5 inches off the opening of a paper lunch bag. Then cut strips from the opening of the bag to the part that folds over.
STEP 4: Twist the bottom part of the bag to make a trunk and the strips you cut will be sticking out.
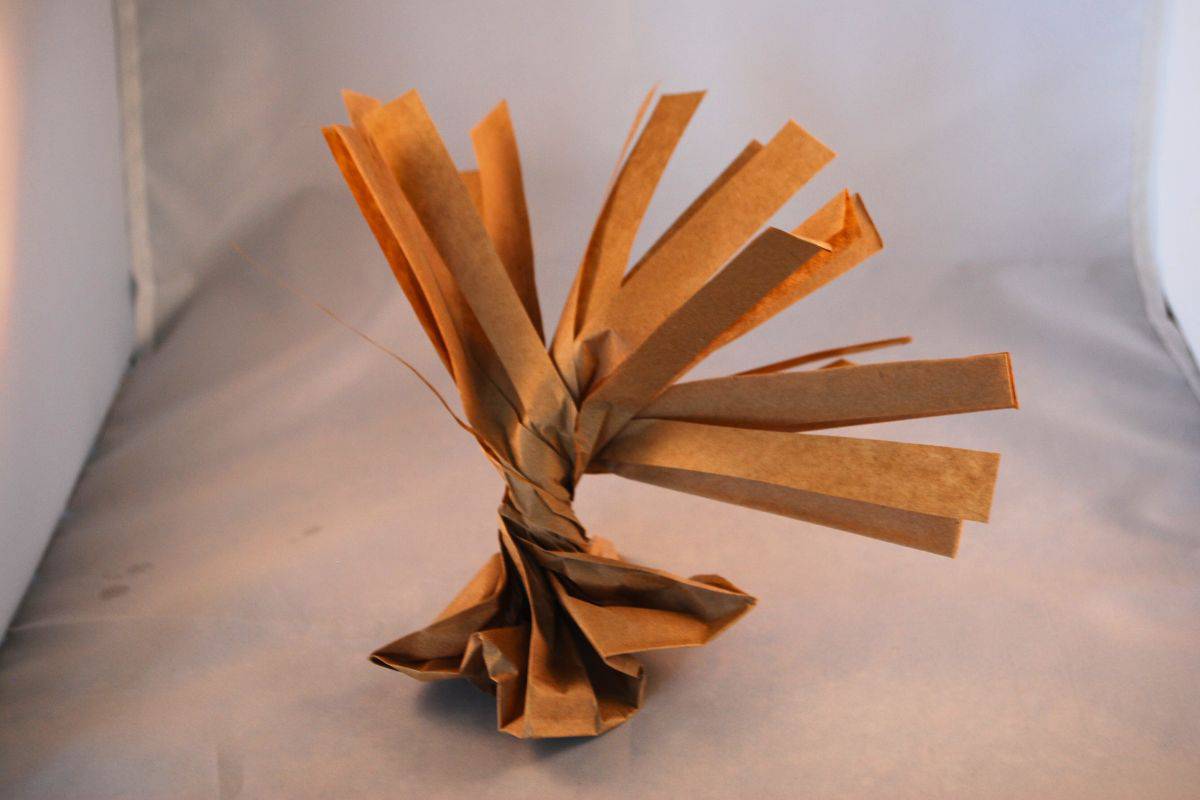
STEP 5: To form the branches of the tree, gather 2 or 3 of the strips and twist them together until all the strips have been twisted.
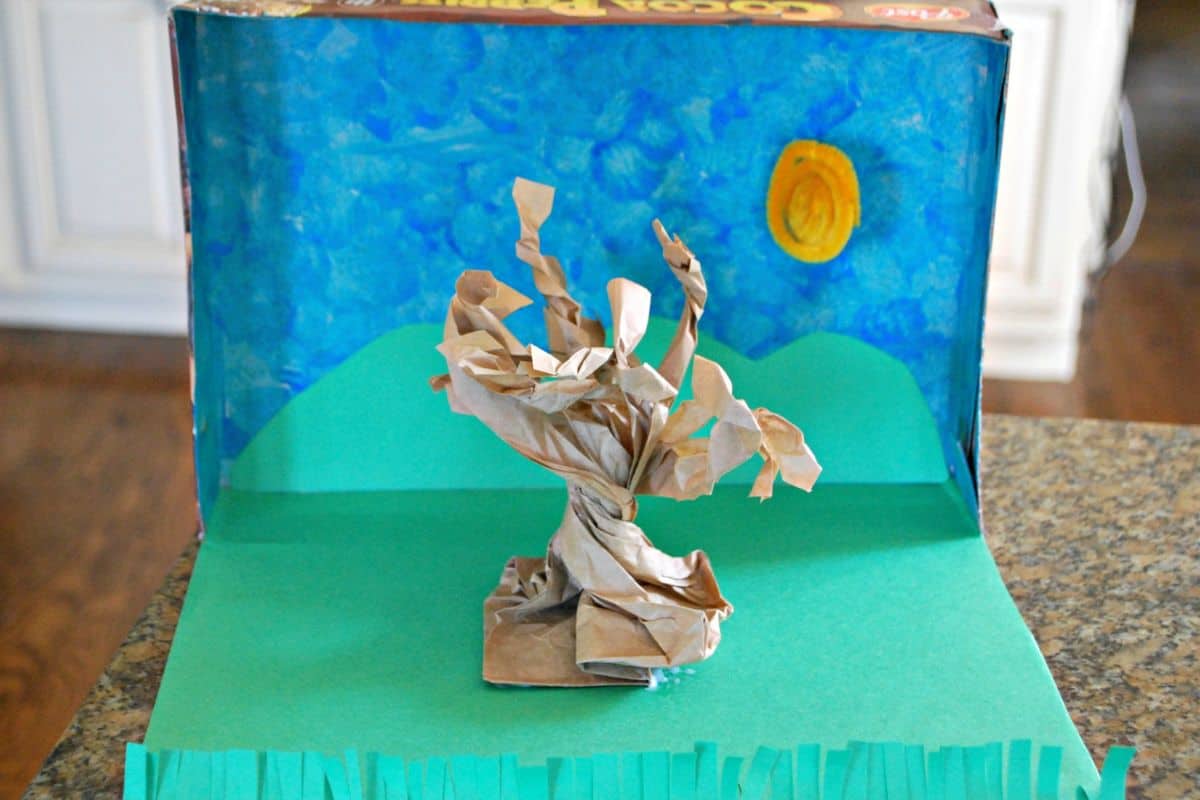
STEP 6: Once the paint on the box has dried, you can start constructing your fall diorama. Cut and glue some green construction paper to cover the portion of the box that opens up. Cut some hills from green construction paper and glue to the back of the sky scene. Make some grass by cutting a thin strip of green construction paper that will fit the front of the box. Cut strips in the grass, careful not to cut all the way through. Glue to the front of the box and fold up the grass so that it appears to stand up.
STEP 7: Glue the paper tree into the center of the diorama. Roll the yellow pipe cleaner so it becomes a circle. Tie some clear thread to the yellow pipe cleaner and tape it to the top of the box to represent the sun.
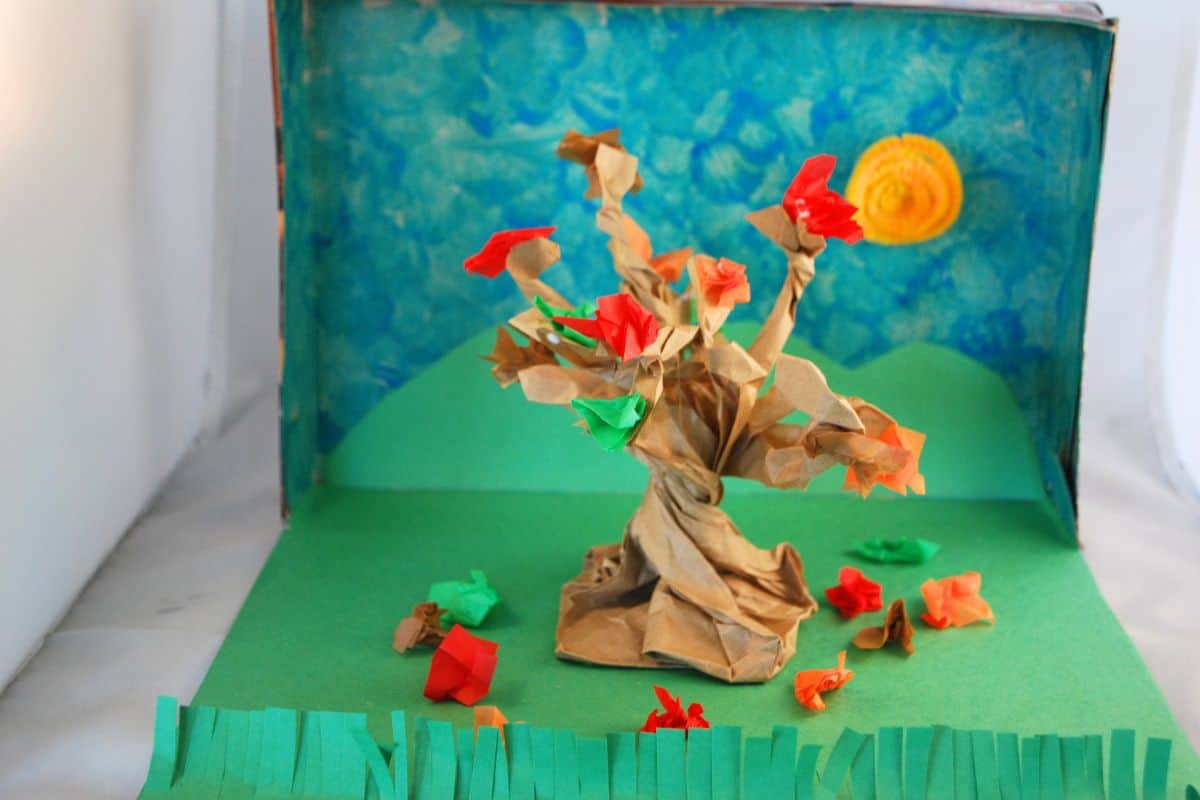
STEP 8: Decorate the tree with leaves by using small pieces of fall colored tissue paper. Squeeze the the tissue paper and glue the pieces to the tree branches. You can also glue a few to the ground to represent fallen leaves.
🤷🏻♀️Activity FAQs
Will a glue stick work with this diorama craft?
The items will not stick as well with a glue stick. I highly recommend using white school glue.
Can I use a white paper lunch bag instead?
If you don't have a brown lunch bag you can use a white one and change this whole diorama into a winter scene.
✂️Expert Tips
Tip 1: If you have young children, tearing and squeezing tissue paper makes for some great fine motor practice.
Tip 2: If you don't have a brown paper lunch bag, you can try and assemble a tree but cutting a larger brown paper bag or making a tree from brown construction paper.
🍁Related Posts
🌟If you try this craft, leave a star rating below or a review in the comment section. Be sure to sign up for my newsletter to get my latest crafts!
Fall Diorama
Materials
- cereal box
- scissors
- light blue paint
- paintbrush
- brown lunch bag
- white glue
- yellow pipe cleaner
- clear thread or string
- scotch tape
- tissue paper in fall colors
Instructions
- Cut open a cereal box so that the front part of the box opens downward. This is a good job for an adult.
- Paint the inside portion of the box with blue paint.
- To make the tree cut 2.5 inches off the opening of a paper lunch bag. Then cut strips from the opening of the bag to the part that folds over.
- Twist the bottom part of the bag to make a trunk and the strips you cut will be sticking out.
- To form the branches of the tree, gather 2 or 3 of the strips and twist them together until all the strips have been twisted.
- Once the paint on the box has dried, you can start constructing your fall diorama. Cut and glue some green construction paper to cover the portion of the box that opens up. Cut some hills from green construction paper and glue to the back of the sky scene. Make some grass by cutting a thin strip of green construction paper that will fit the front of the box. Cut strips in the grass, careful not to cut all the way through. Glue to the front of the box and fold up the grass so that it appears to stand up.
- Glue the paper tree into the center of the diorama. Roll the yellow pipe cleaner so it becomes a circle. Tie some clear thread to the yellow pipe cleaner and tape it to the top of the box to represent the sun.
Video
Notes
- If you have young children, tearing and squeezing tissue paper makes for some great fine motor practice.
- If you don't have a brown paper lunch bag, you can try and assemble a tree but cutting a larger brown paper bag or making a tree from brown construction paper.



Sapana V
This is so creative. I have never thought of this kind of activity. Awesome.
Karlyn Cruz
Ooh! I remember doing these but mine was never as creative as this! Oh I'm definitely going to try it with my little guy! He would love this and you could also make a little hole to peep through as well, right?
Jamie H
This is such a fun and easy craft. My daughter loves anything to do with crafts, so I'm sure she's going to love it when I show her this! And I love that it doesn't require any crazy (or expensive) supplies!
Tami
I like how easy the tree is to make. I will have to make a diorama with my little guy. I remember making one when I was a child. So much fun!
Bites for Foodies
Yet another brilliant DIY craft made with a cereal box! I'm pinning this one! What I love about it is that there is ALWAYS a cereal box on hand at home!
Vicky
Thanks Lisa! We go through a ton of cereal as well!
April
My kids use to love this cereal. Using boxes to make cute projects is a great way to upcycle! This is such a cute easy fall project for kids to enjoy with mom and dad! I was a Fruity Pebbles fan!
Nickida
I love that you're using the empty box for something else. I wish I was more creative and could do things like this but it never comes out the same. It is a very cool idea though. And we love Cocoa Pebbles. It's such a good cereal.
Jocelyn at Hip Mama's Place
Cocoa Pebbles are a favorite at home as well and it's definitely something that the kids ask for when we go grocery shopping! I think it's nice to do a fun little project with the box! I'm sure the kids will enjoy it!
Amanda
I love this idea! It's so fun and I love the idea of reusing the cereal boxes, something that usually gets thrown out in our house! What a fun idea for this fall when it's chilly and the kids can't play outside.
Melissa Dixon
This is a really fun project! I love being able to decorate for the different seasons and being able to display my daughters artwork like that for the season would be so much fun. Thank you for sharing this idea, now we have something to do as the weather cools off here.
Censie Sawyer
My kids LOVE this cereal. It is probably their favorite kind so we always have empty cereal boxes that we could do this wtih. A really fun project for kids.
Debra C.
Oh my gosh you are so creative! My husband and I recently visited the ancient Bristlecone Forest in the Eastern Sierras in California - minus the leaves, that's pretty much what these trees look like! Super cool, fun project for the kids - love it!