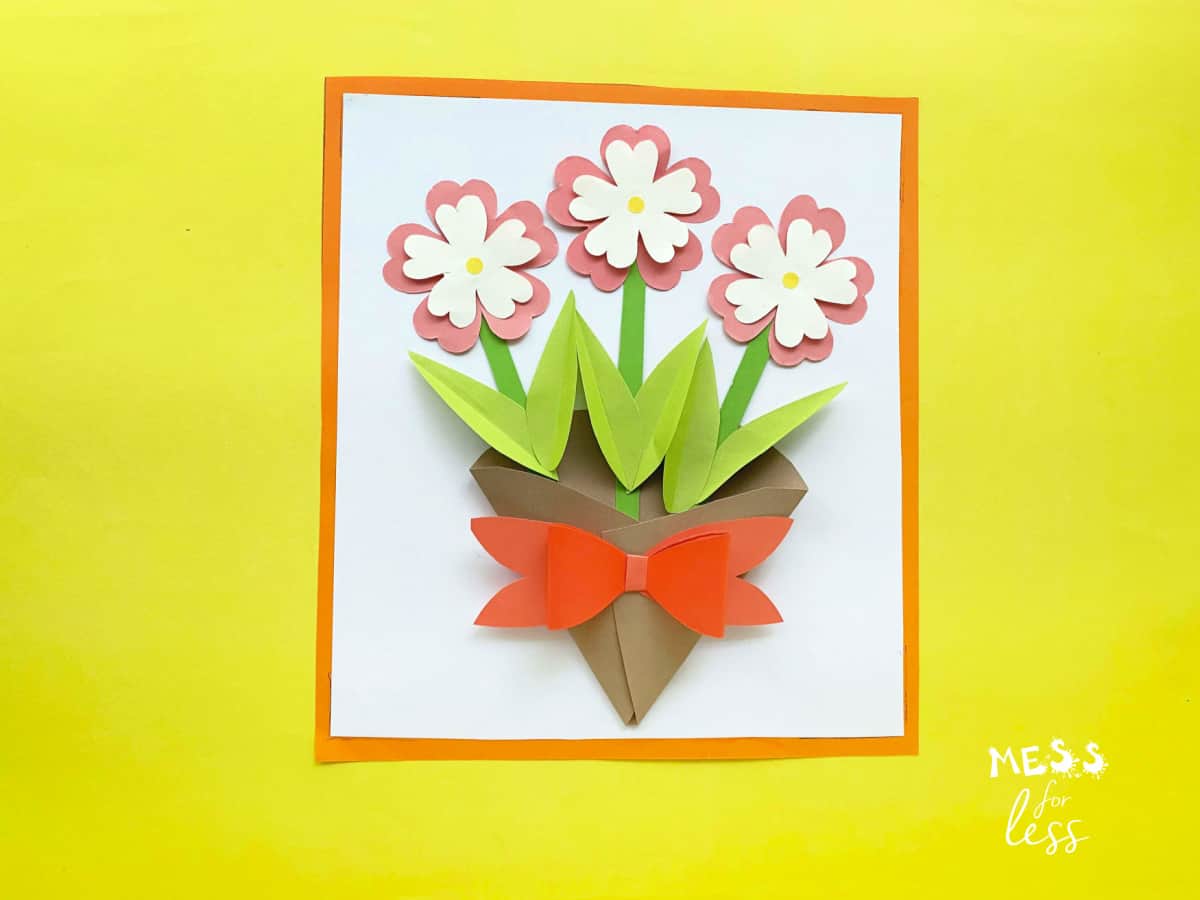
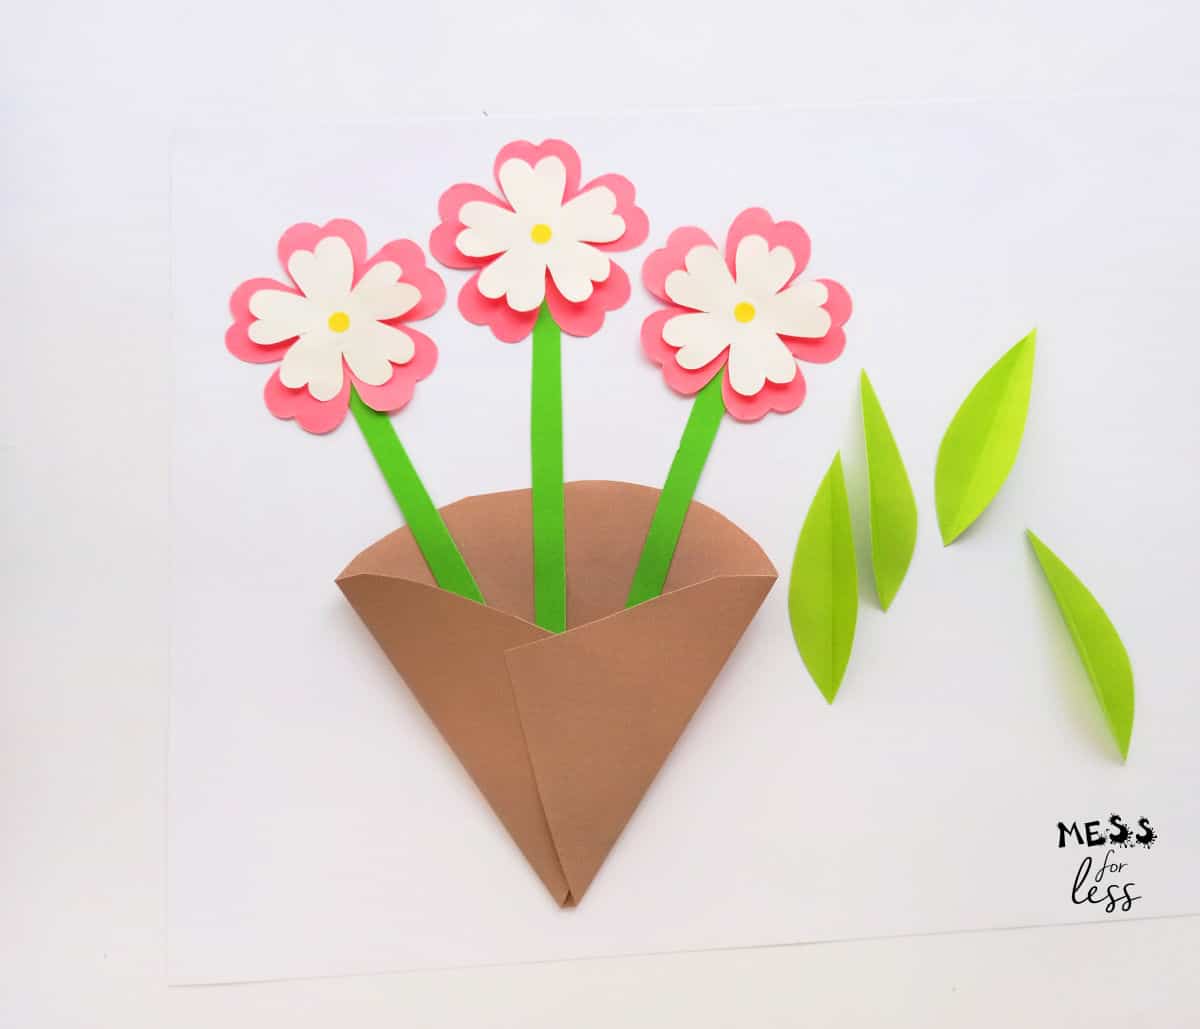
Mother’s Day is a day to honor all moms and celebrate the important work they do. Are you looking for some mother's day crafts for your kids to make for either you or grandma? Sure, you can buy something from a store, but it doesn't have the same feel as a homemade craft or card, nor does it allow you to express your creativity. This easy peasy step by step tutorial teaches you How to Make a Mother's Day Card. This mother's day card gives mom a lovely bouquet of flowers that will last much longer than flowers you'd buy at the store.
Jump to:
Why mom will love this mother's day floral card
- A homemade card will brighten her special day and show appreciation
- She will appreciate the time and sentiment that went into making this special treat
- You can personalize this mother's day card diy with her favorite colors and a special message inside
Supplies needed
- Cardstock paper
- Craft paper
- Pencil
- Ruler
- Scissors
- Glue
- Markers
- Printable template (included)
The Creative Girls Club subscription box will get your girl's creative juices flowing. Girls get two kits each month full of crafting fun.
How to make a Mother's Day card
Step 1:
Download the PDF template here.
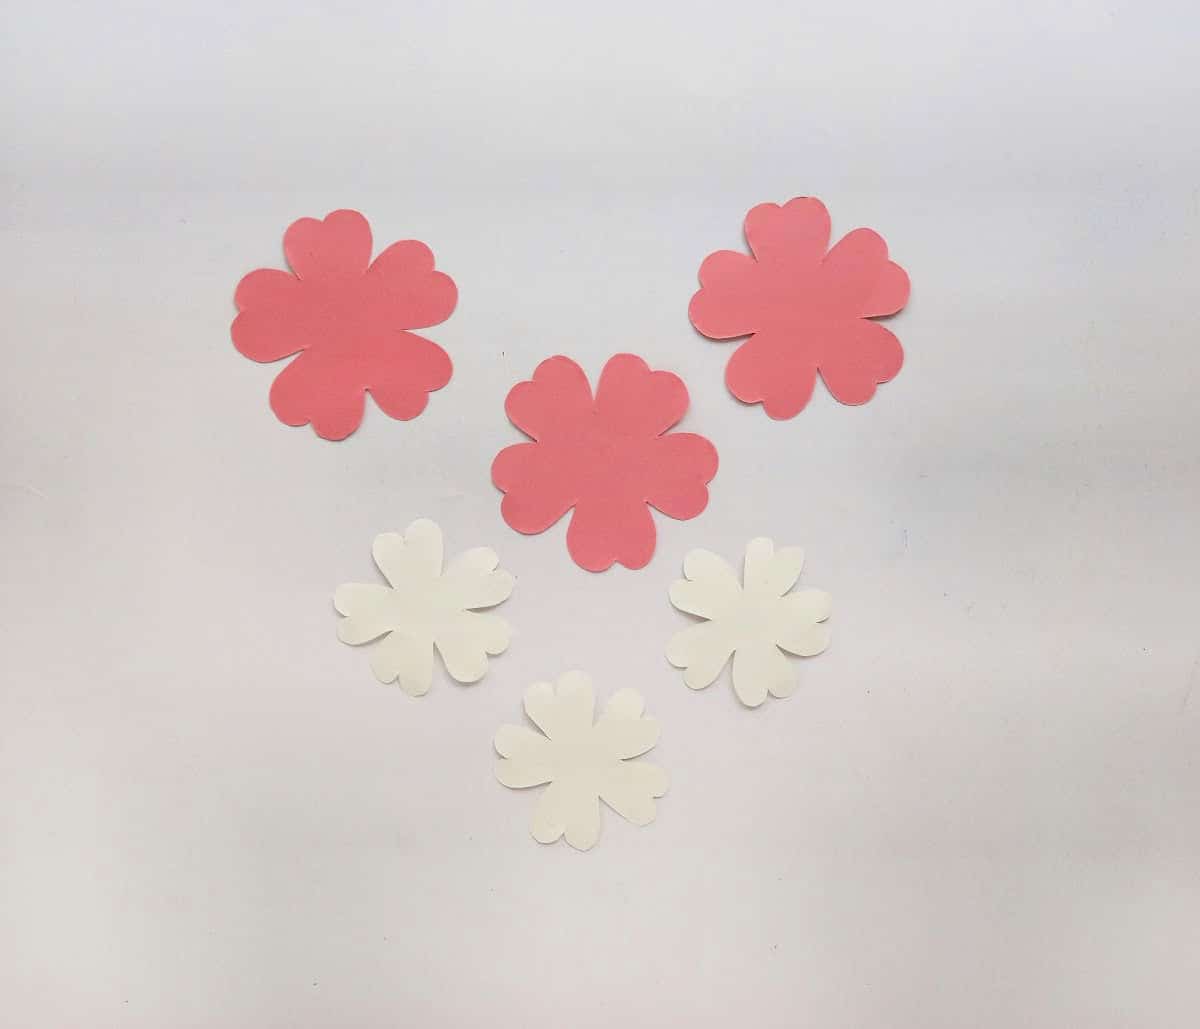
Cut out the pieces from the template and trace them on to the appropriate colored craft paper. After you trace them, you can cut them out.
From the template, cut out and trace:
3 large flowers
3 small flowers
3 stems
6 petals
1 "envelope" shaped cutout
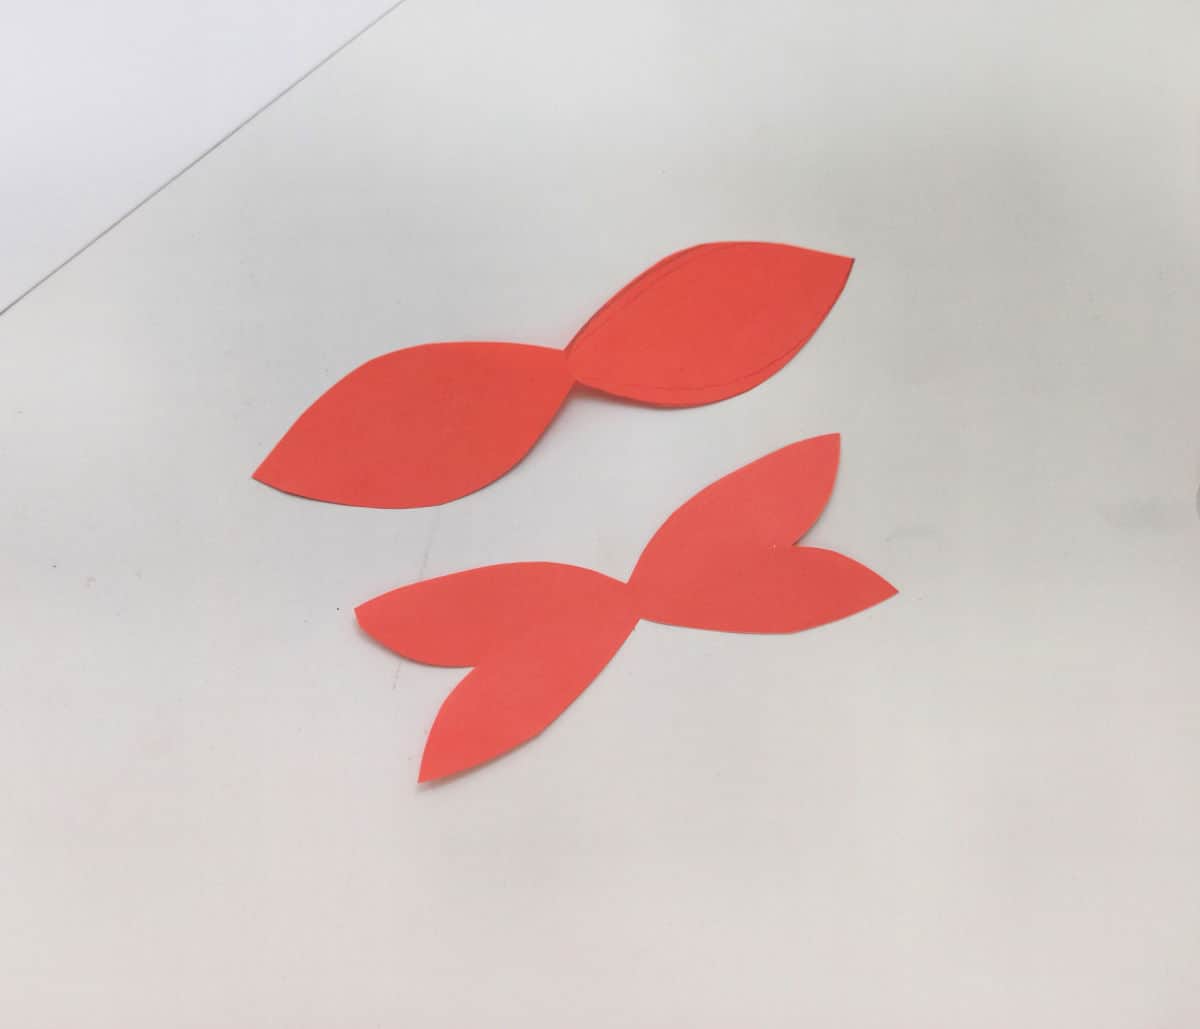
1 of each of the two bow pieces
You can use the same colors I did here or switch it out with mom's favorite colors.
Step 2:
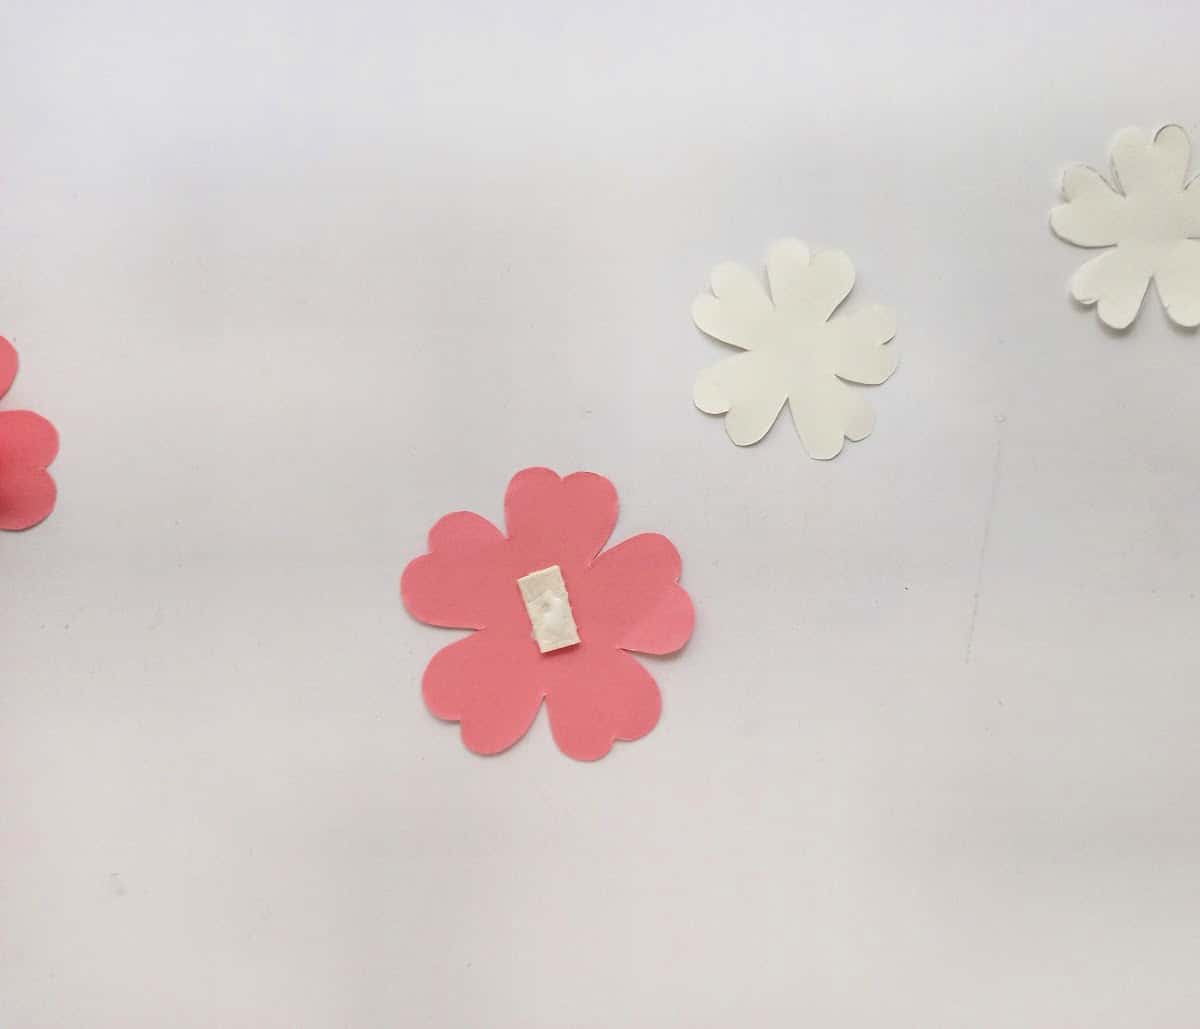
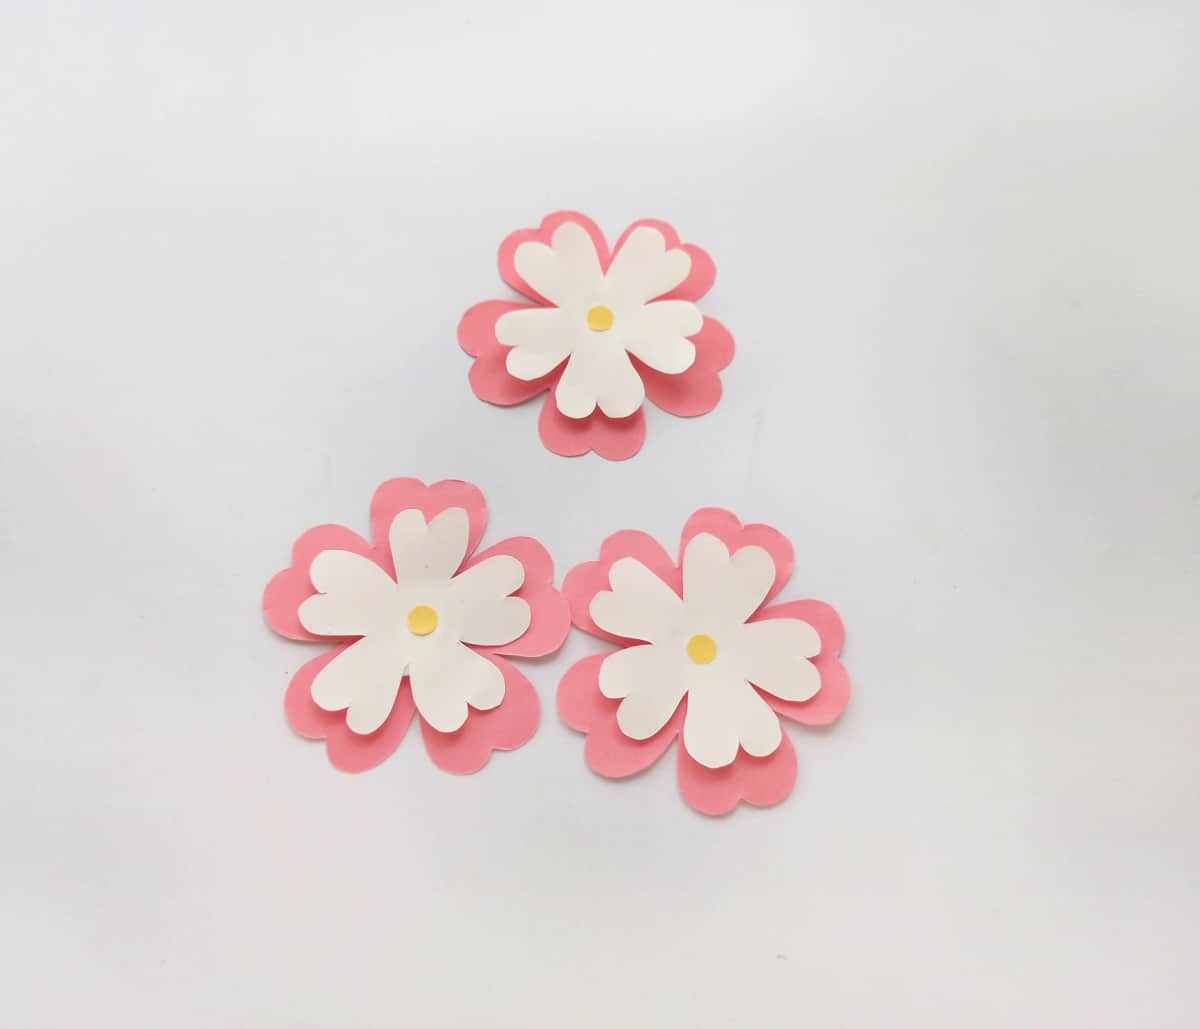
Glue a piece of foam or folded thick cardstock paper on the center of the large petals.
Step 3:
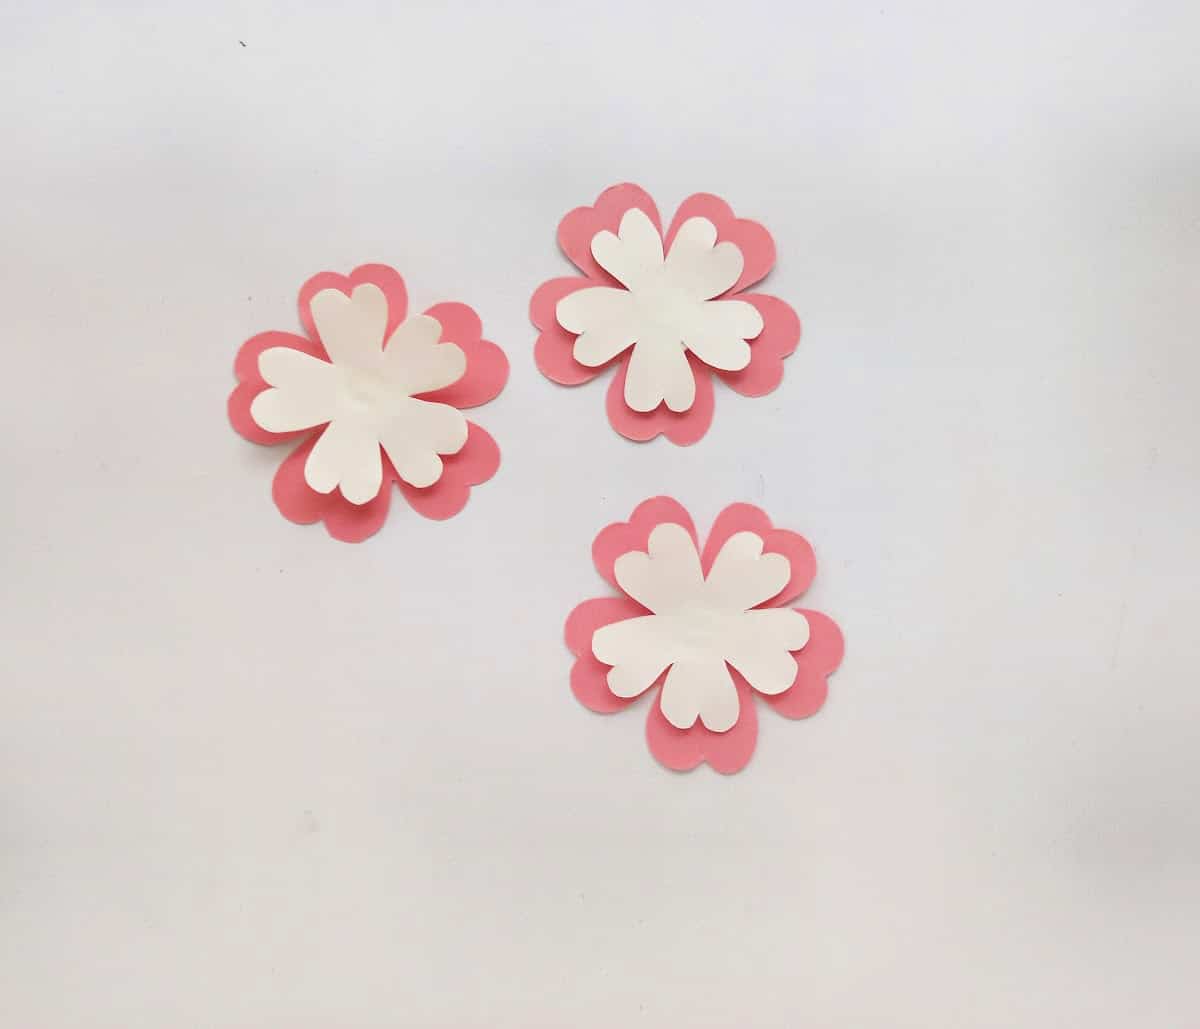
Then glue the small petals over the large petals. The foam will help the smaller petal to stand out and pop from the flower creating a 3D effect.
Step 4:
Cut out and glue a small circle in the center of the flower. This is not on the template since it is pretty easy to just do this step freehand.
Step 5:
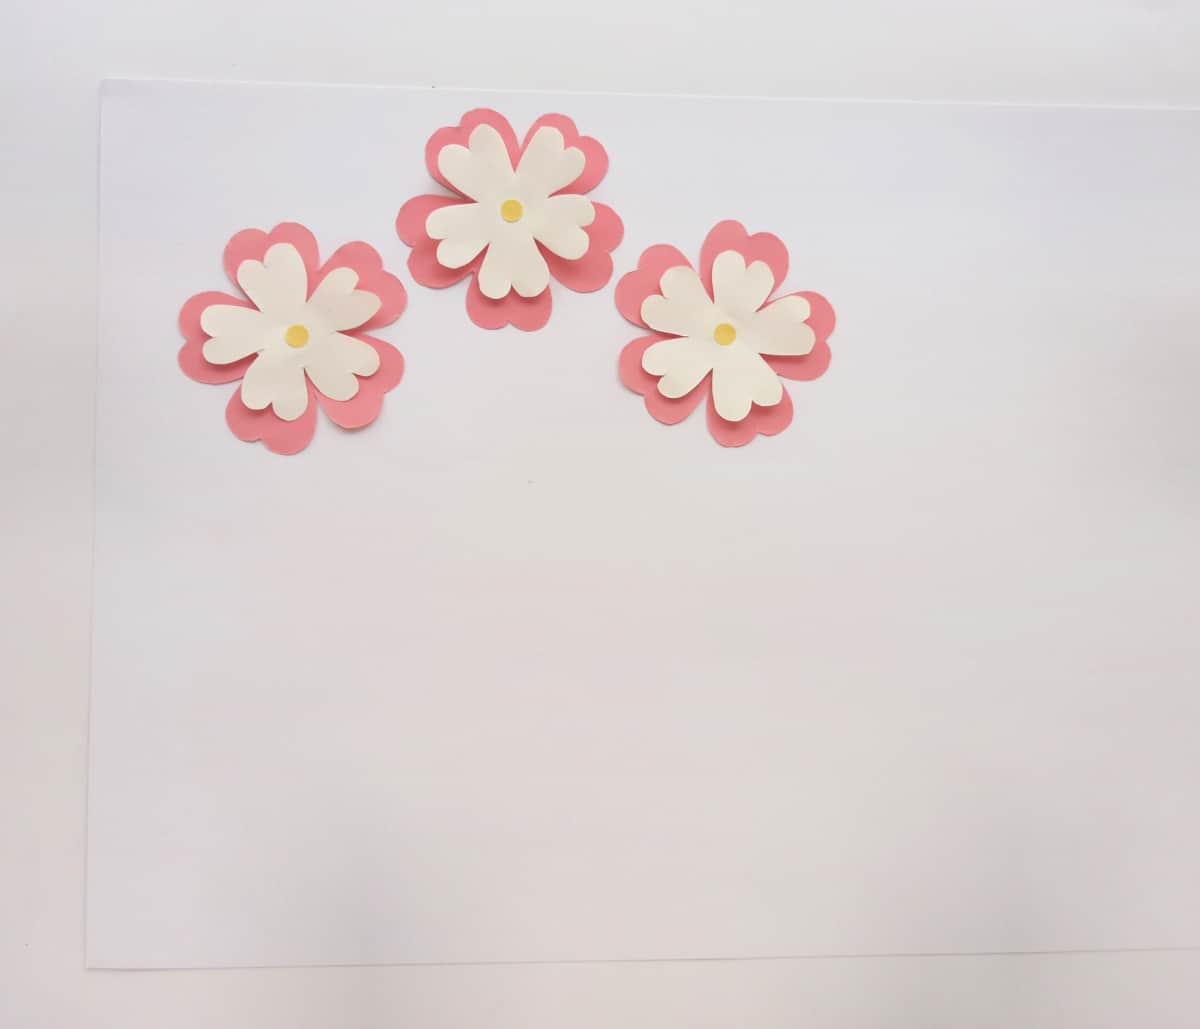
Now glue the flowers on your card’s base. You will want to glue them near the top so there is room on the mother's day card for the stems and wrapper. Glue on at the top and two a little lower.
Step 6:
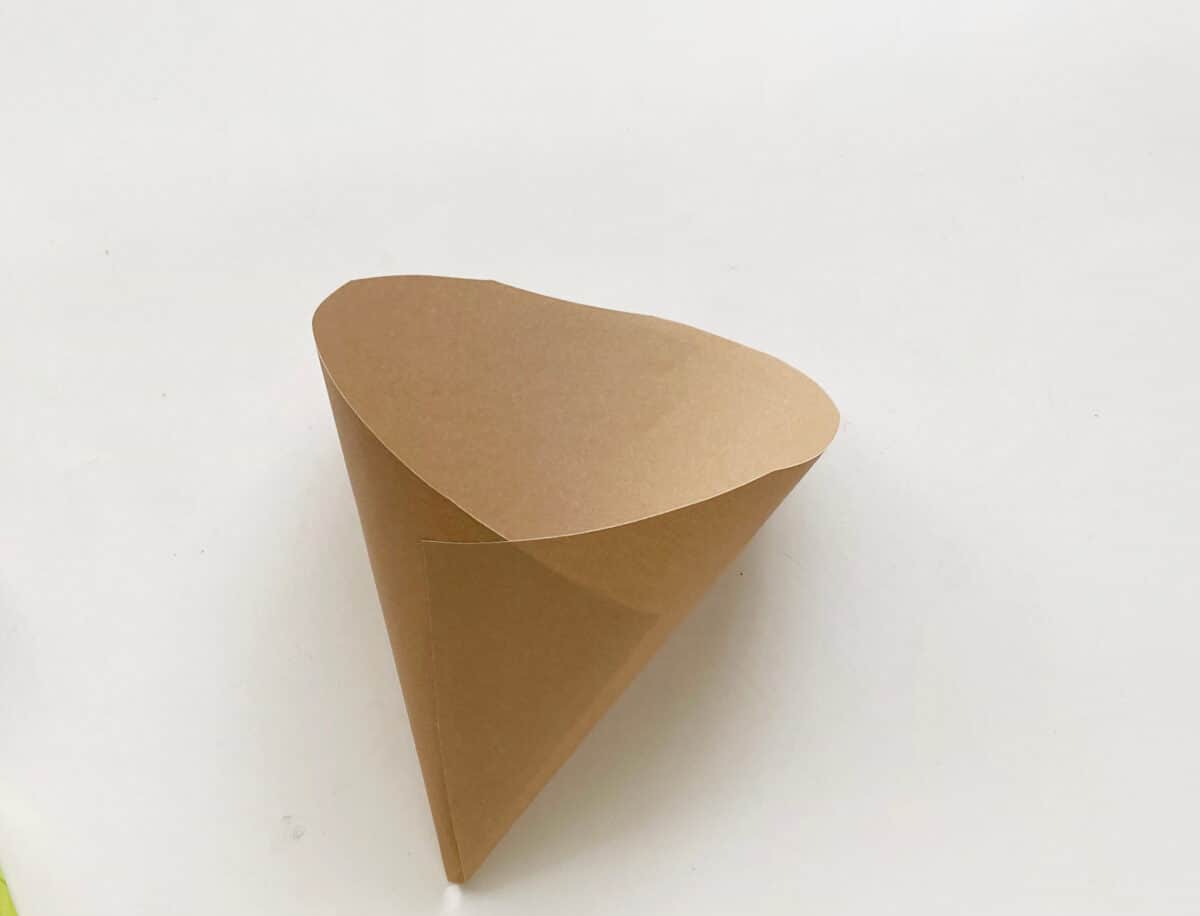
Fold the wrapper according to the lines on the template and glue to close.
Step 7:
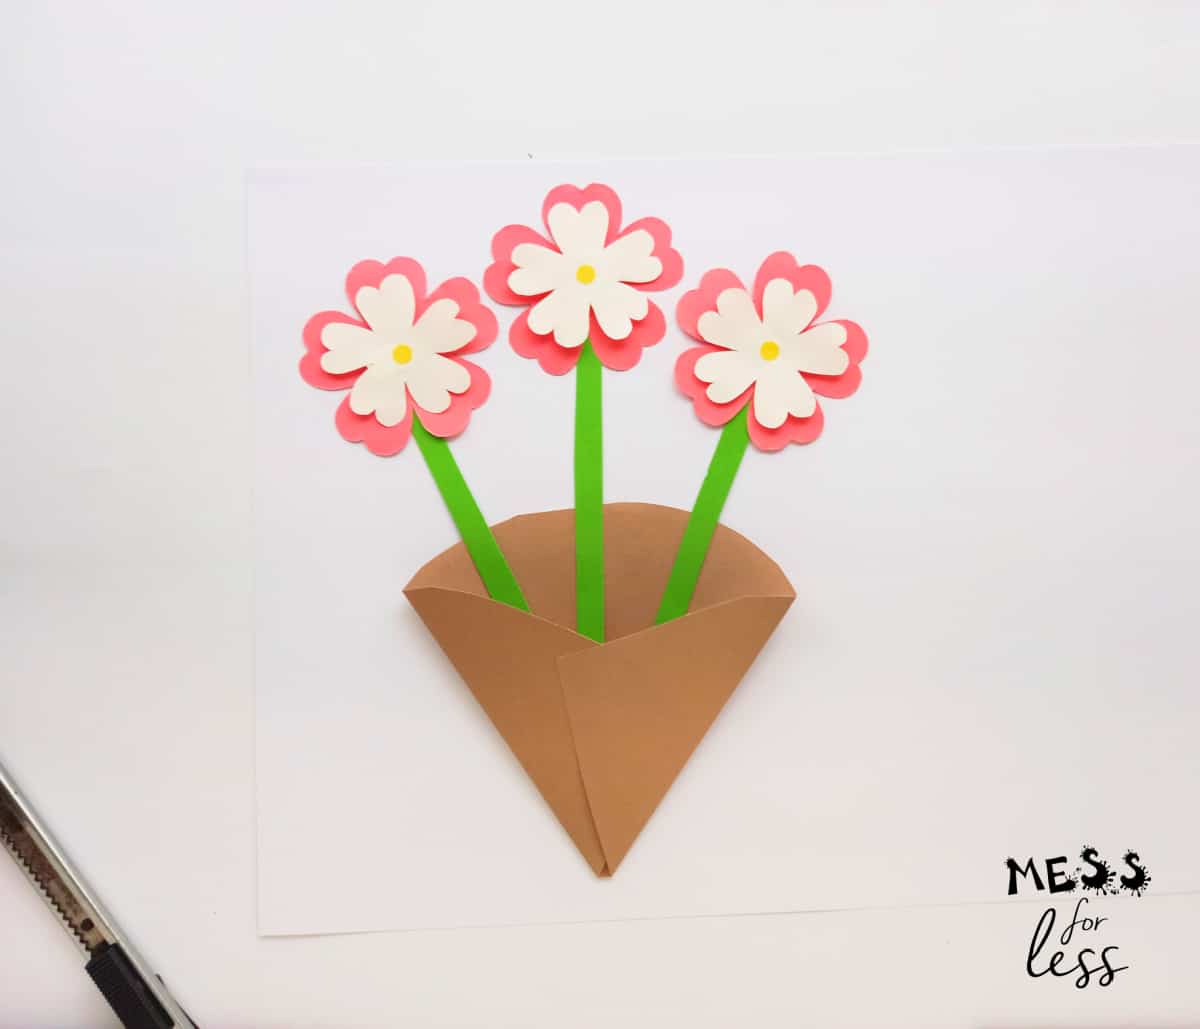
Glue the cone on the card and then glue the flower’s stems.
Step 8:
Glue the petals on the stems. Use 2 petals per stem.
Step 9:
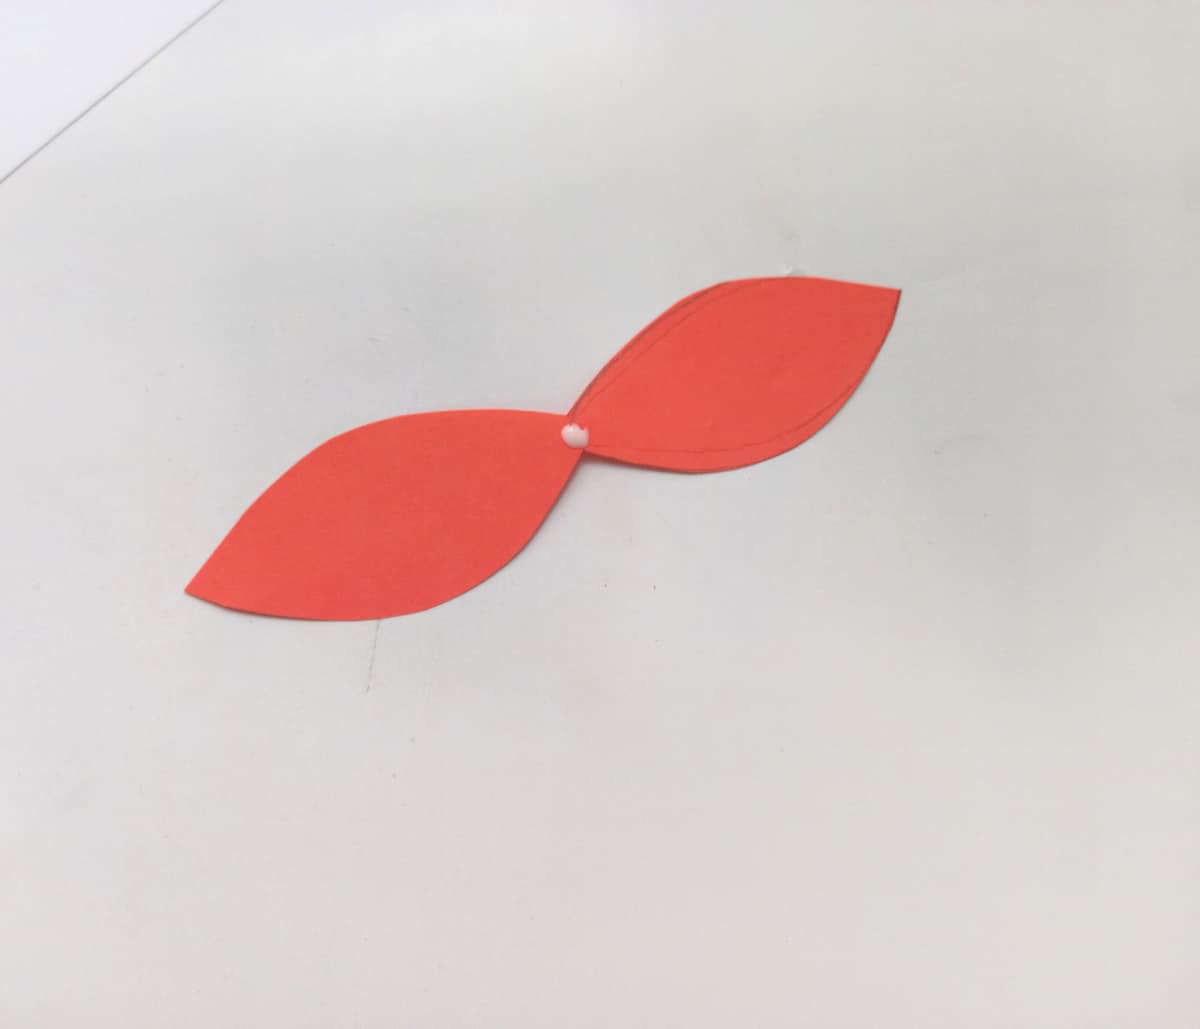
You will be using 2 pieces to make the bow. Apply glue to the middle of the bow.
Step 10:
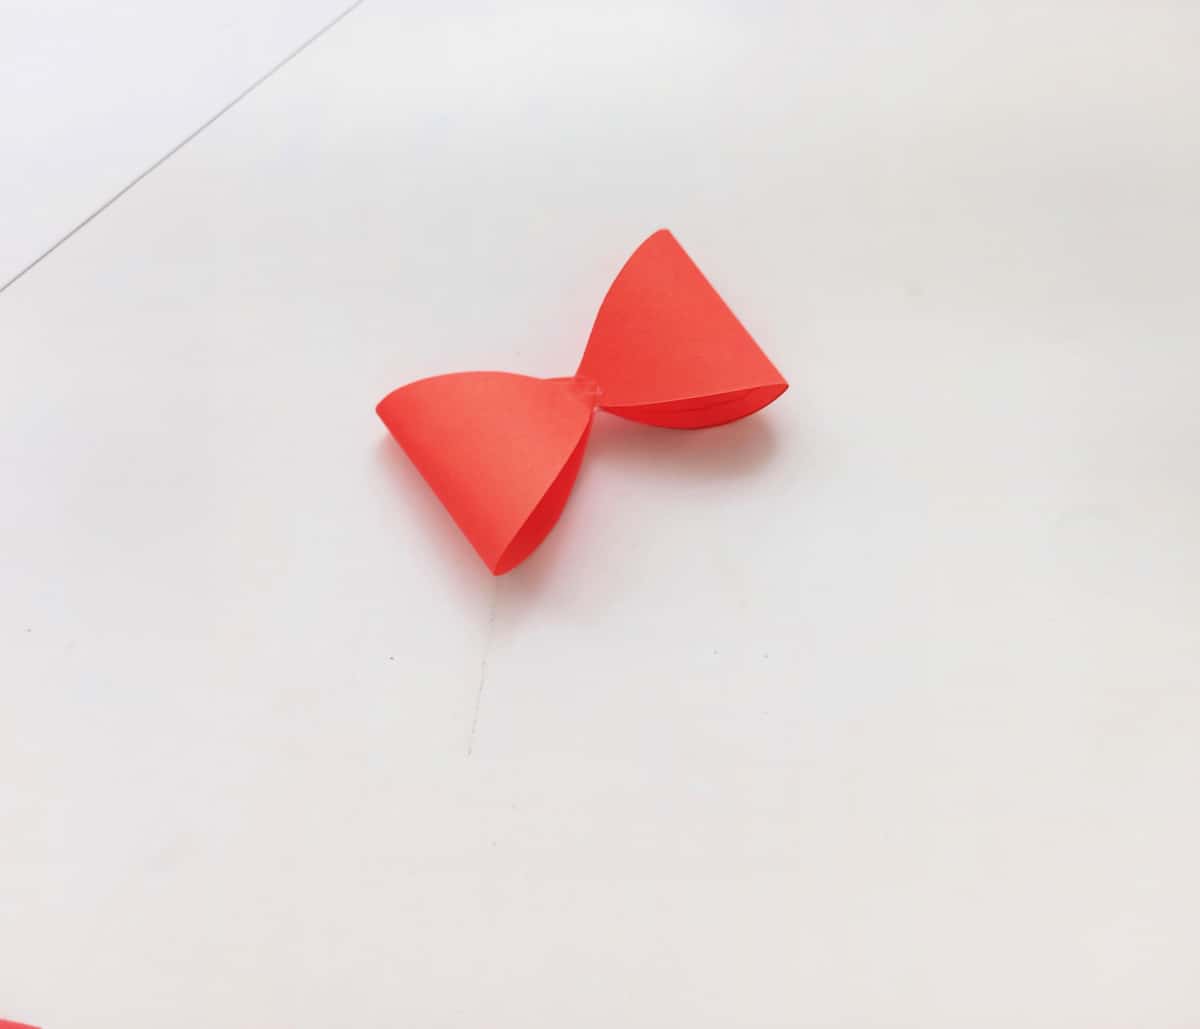
Bring the two ends of the bow to the center and glue them.
Step 11:
Then, glue the back of the ribbon to the back of the bow. Cut out a small piece of paper the same color as the bow to glue to the middle.
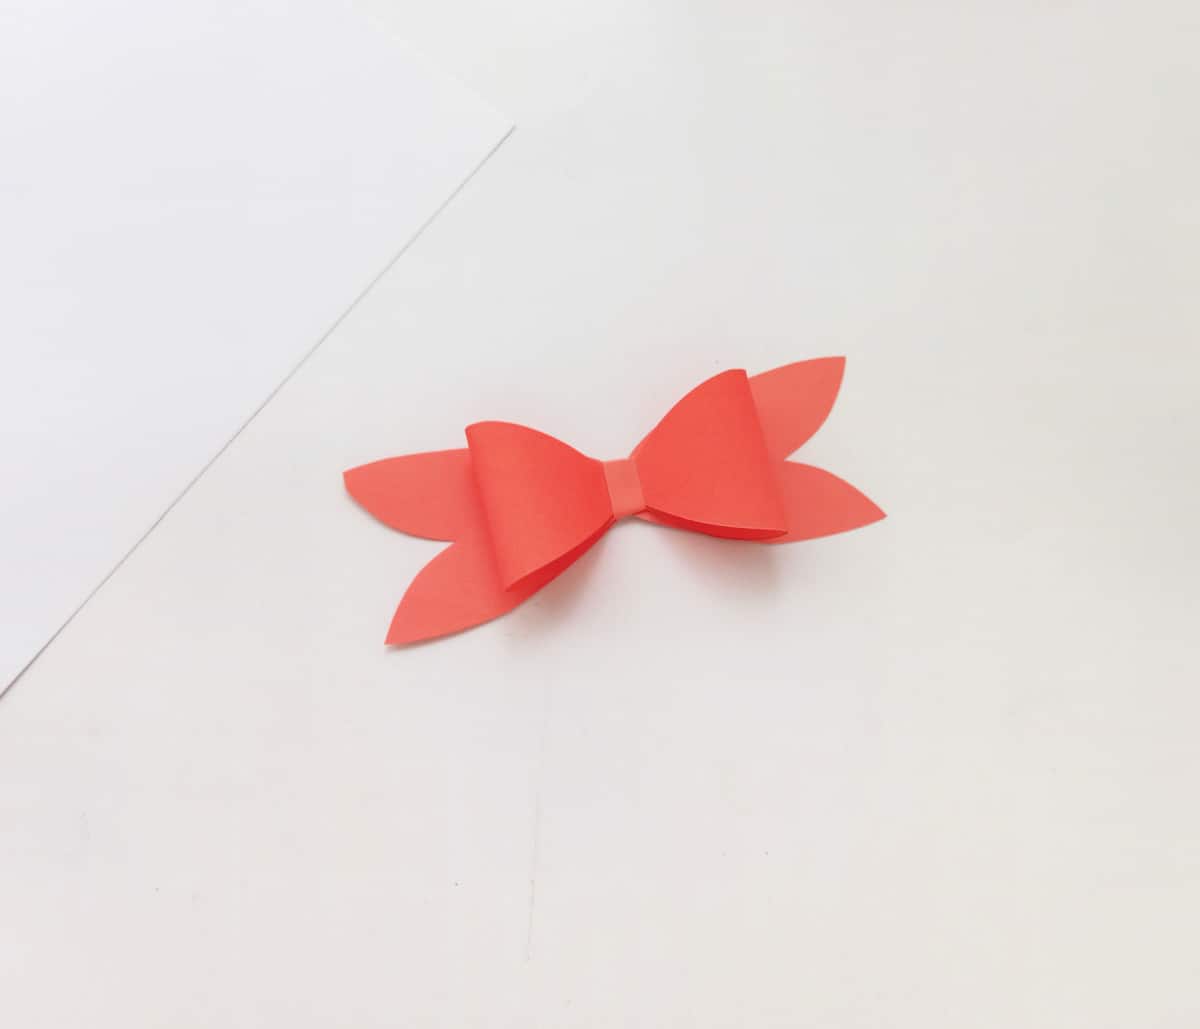
Step 12:
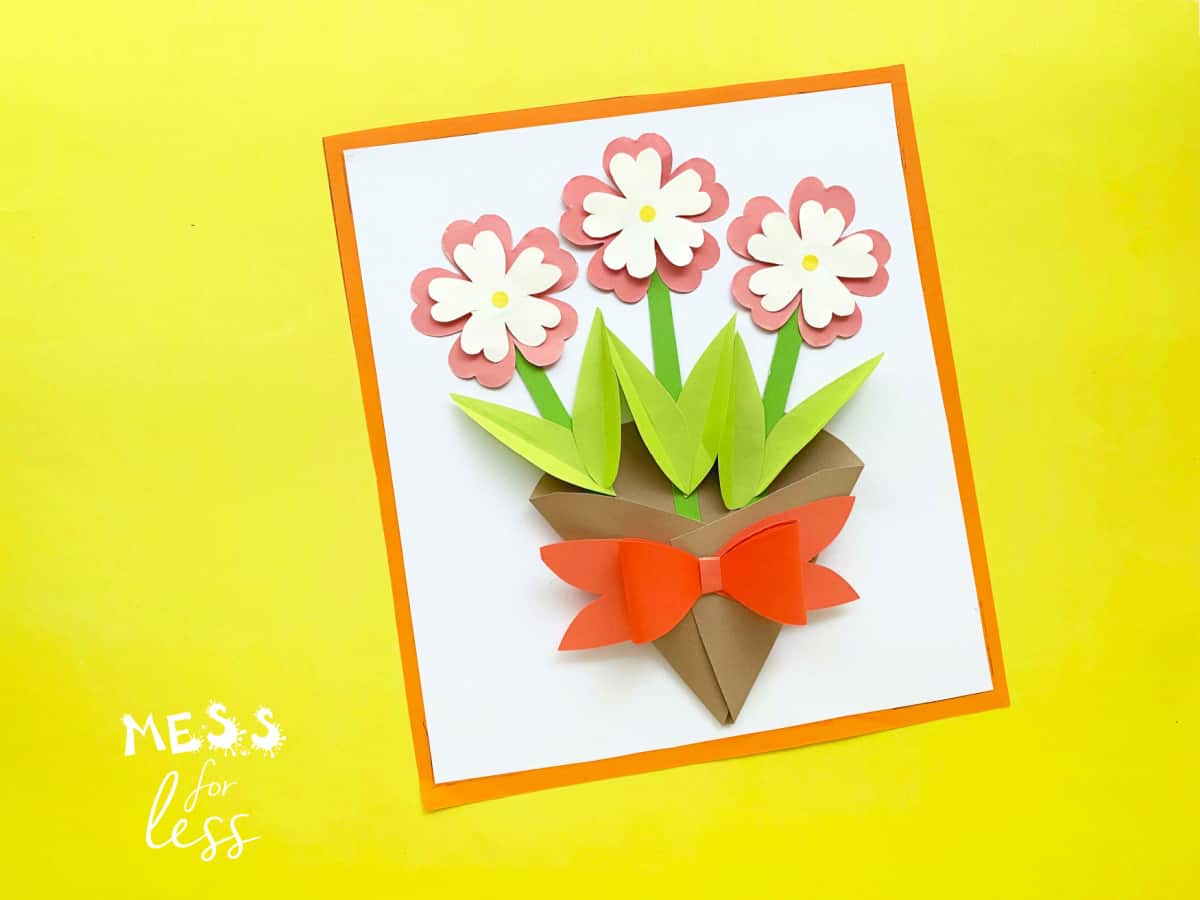
Glue the ribbon and bow on the cone and place on a large piece of colorful cardstock that you can either fold in half or attach to another piece of cardstock to make your flower card.
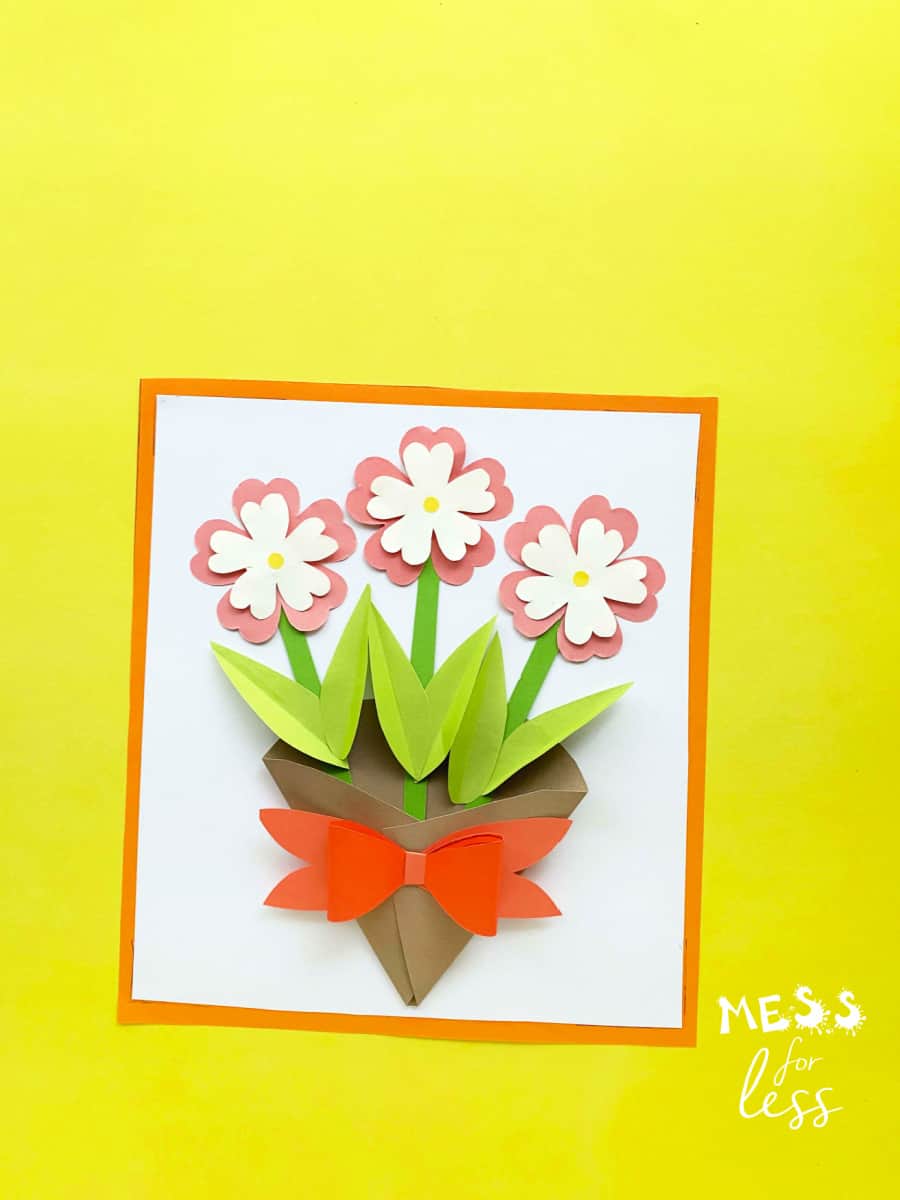
You can fill-in your personal mother's day message inside the card. This will be a keepsake your amazing mom will treasure for years to come! Happy mother's day!
Frequently asked questions
Mother's day card designs like this are best for older kids (upper elementary and good with scissors) or adults.
You know your mom best. Most moms prefer a personal message that doesn't need to be fancy or super long. You can also find inspiration from quotes. Check out these mother's day quotes and wishes from Mom Junction.
Related posts


Leave a Reply