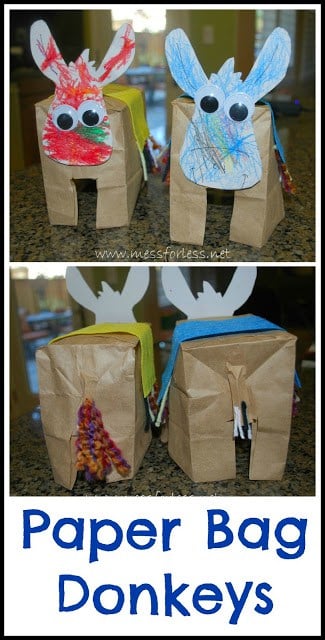
With Easter approaching, my kids have been learning about the Easter story. At church, they did a fun donkey craft that inspired this activity. Learn how to make Paper Bag Donkeys at home by using free printables and worksheets and a paper bag.
Kids can use these to reenact the Easter story or with pretend play. When they are done, they will enjoy making an Easter Cross Pop Up Card.
For more free Easter printables, check out Religious Easter Notebooking Printables, which you can use with elementary and preschool students. You can also check out these 20 Bible Object Lessons for Kids to help teach kids in a fun way.
Paper Bag Donkeys
Supplies you will need:
- Paper lunch bag
- Felt
- Yarn cut in 1 inch pieces
- Googly eyes (not pictured)
- Glue
- Scissors
- Crayons
- Donkey head card stock cutout
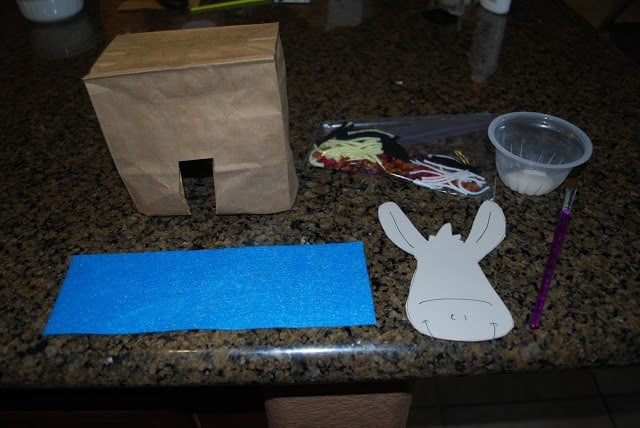
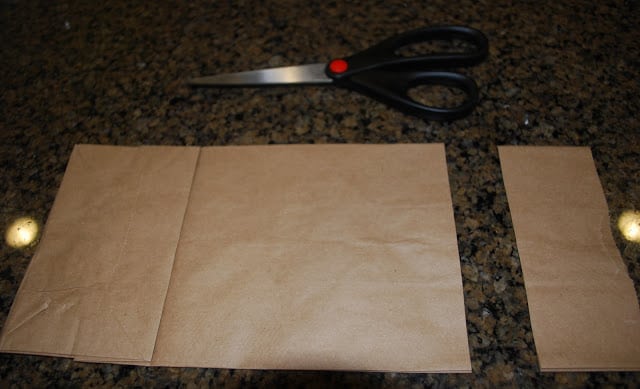
To make the body for the donkey, take a small paper lunch bag and cut a few inches off the part that opens.
Then, open the bag and push the ends inside to make it about half its size.
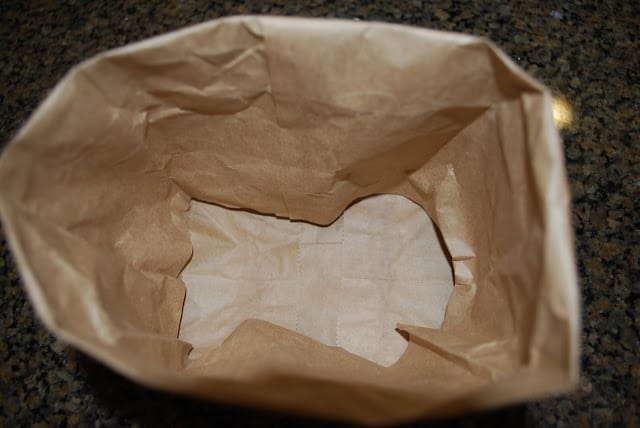
This will be a little wrinkled, so you will want to straighten it out and make sure the corners are sharp.
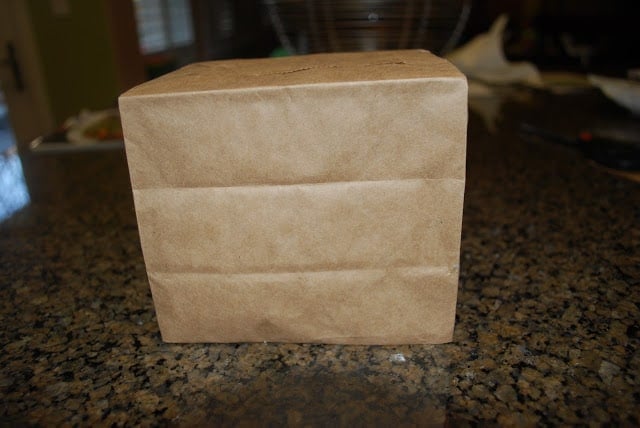
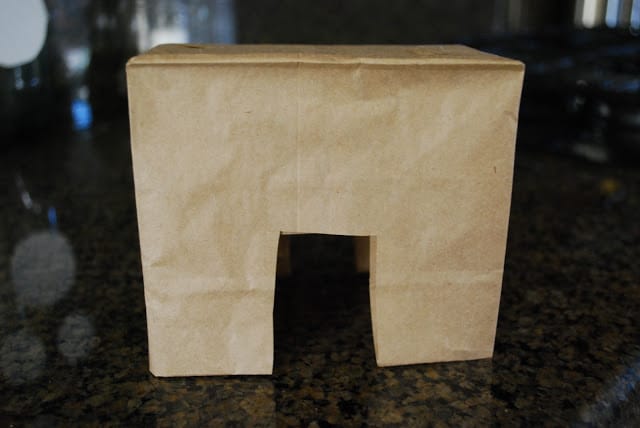
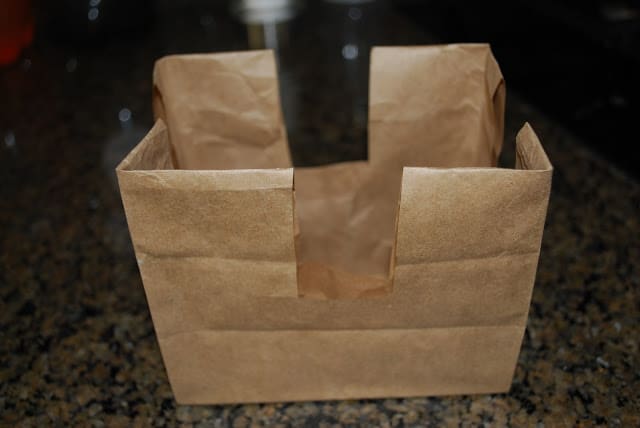
You will then cut out 4 rectangles in the middle of each side of the bag. Once you cut them out you can see where the legs of the donkey will be.
The donkey will be wearing a felt blanket on its back. To make the blanket, measure some felt that can fit over the donkey's back and go down its sides a bit. The length will vary depending on how tall you made your donkey. After you cut out the felt, you will add some glue to the short ends of the felt. My kids were able to do this themselves. Then we used our pre-cut pieces of yarn to create some fringe. I just got some leftover yarn from my knitting bag and cut the pieces for the blanket. You can really customize the look of the donkey by what color felt and yarn you use.
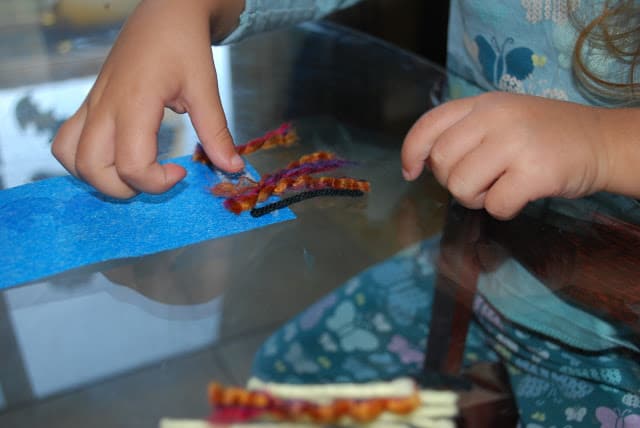
After your child has added the fringe to the blanket, have them put some glue on the donkeys back and sides where the blanket will go. I like to pour some glue into a cup and let my kids brush it on with a small paintbrush.
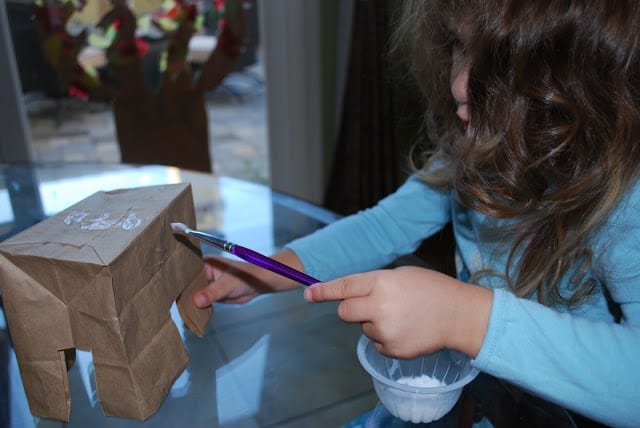
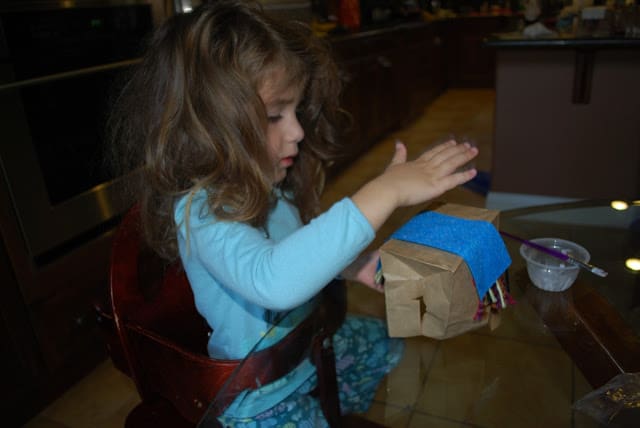
Now it's time to put the blanket on the donkey. I helped with the initial placement just to make sure it was evenly covering the back. The girls were really good at patting down the glued blanket.
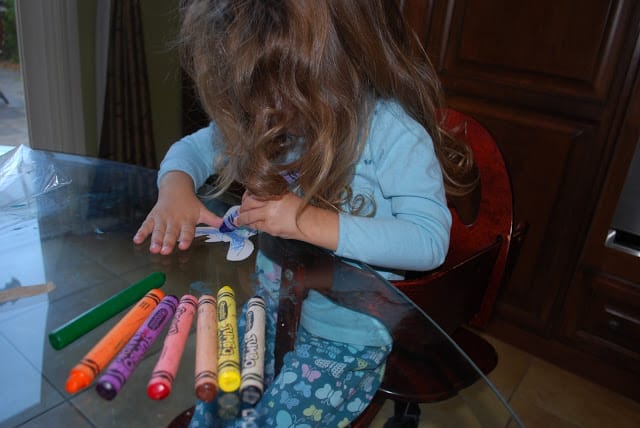
I have included a free printable below of the donkey head we used. Simply print on light colored cardstock and cut out. I added some details to the head by drawing a nose, mouth and some lines on the ears. The kids had fun coloring the donkey heads with crayons. They both went with rainbow colored heads because why not?
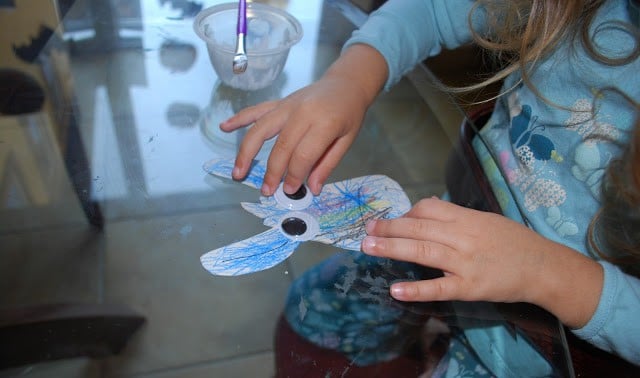
When the donkey face is colored, your child will glue on some googly eyes.
It's finally time to glue on the head!
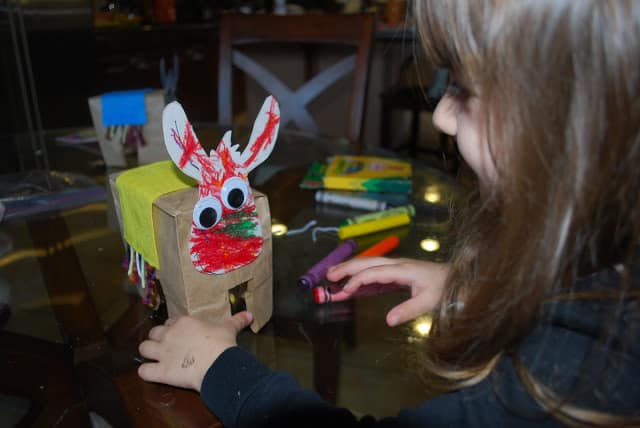
Aren't they adorable? These paper bag donkeys are an easy Easter craft that your child can play with when they're done. This is one of those fun Spring activities for kids that you will love! If your little one enjoyed this, try our Animal Crafts for Toddlers.
I almost forgot to tell you about the tails! To make some tails for these paper bag donkeys, just cut out a thin strip from your leftover paper bag, add some yarn, and glue to the back of the donkey. These animals look cute coming or going. The END!
If you're interested in some earth-friendly activities for kids, you'll love Green Kid Crafts, the eco-friendly monthly craft subscription box that promotes creativity while teaching kids a love and respect of environment.


Jackie Crews says
Thank you for this donkey. I have used it before on Palm Sunday and it is well received by all. with a group of 25 to 30 completing the craft. I lost the pattern, so this is very helpful!!!
Vicky says
So happy to hear that Jackie!
Pearl says
Thanks for this neat craft idea. I'm going to use it with a group of K-3rd graders in Sunday school for our lesson about Balaam and his donkey. 😉
Pschooltoolbox says
Vicky - this is a great activity for Easter! TY, again, for sharing via FB! Pinned and shared!
The Mueller's says
This is absolutely ADORABLE! I can't wait to share them with my SS kiddos! Thank you!
Jodie Clarke says
I just love your donkey's!! You have to smile when you look at them! Just wanted to let you know that i am featuring them on my Kid's Co-Op post this week...thanks for sharing with us!
Amanda Kristeen says
This is adorable and so easy! Saw your link at HoH & love it!
PinkOddy says
What a sweet donkey. I do love the tail.