
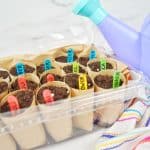
When it comes to spring activities for kids, I love this DIY Seed Starter for Kids since it uses recycled items to create a seed starter greenhouse. It's a great way to get kids started with gardening because they can be involved in the process every step of the way.
Jump to:
⭐Why This Seed Starter is Awesome
Instead of buying seed starters, why not make your own? This easy project provides all the information you need to start your seeds right.
Seed starting with children is an ideal way to enjoy the natural world and practical work. Keep small hands busy and help them learn about growing with this easy seed starter.
Growing a plant from a seed is a fascinating project that gives a child a chance to get an understanding of nature and also helps to develop their creativity. Here are some tips on how to make seed starters with toilet paper rolls.
A seed growing kit does not have to be expensive. Here are simple directions to make your own DIY seed starter pots for your kids using items found around the house.
🖍️Supply Notes
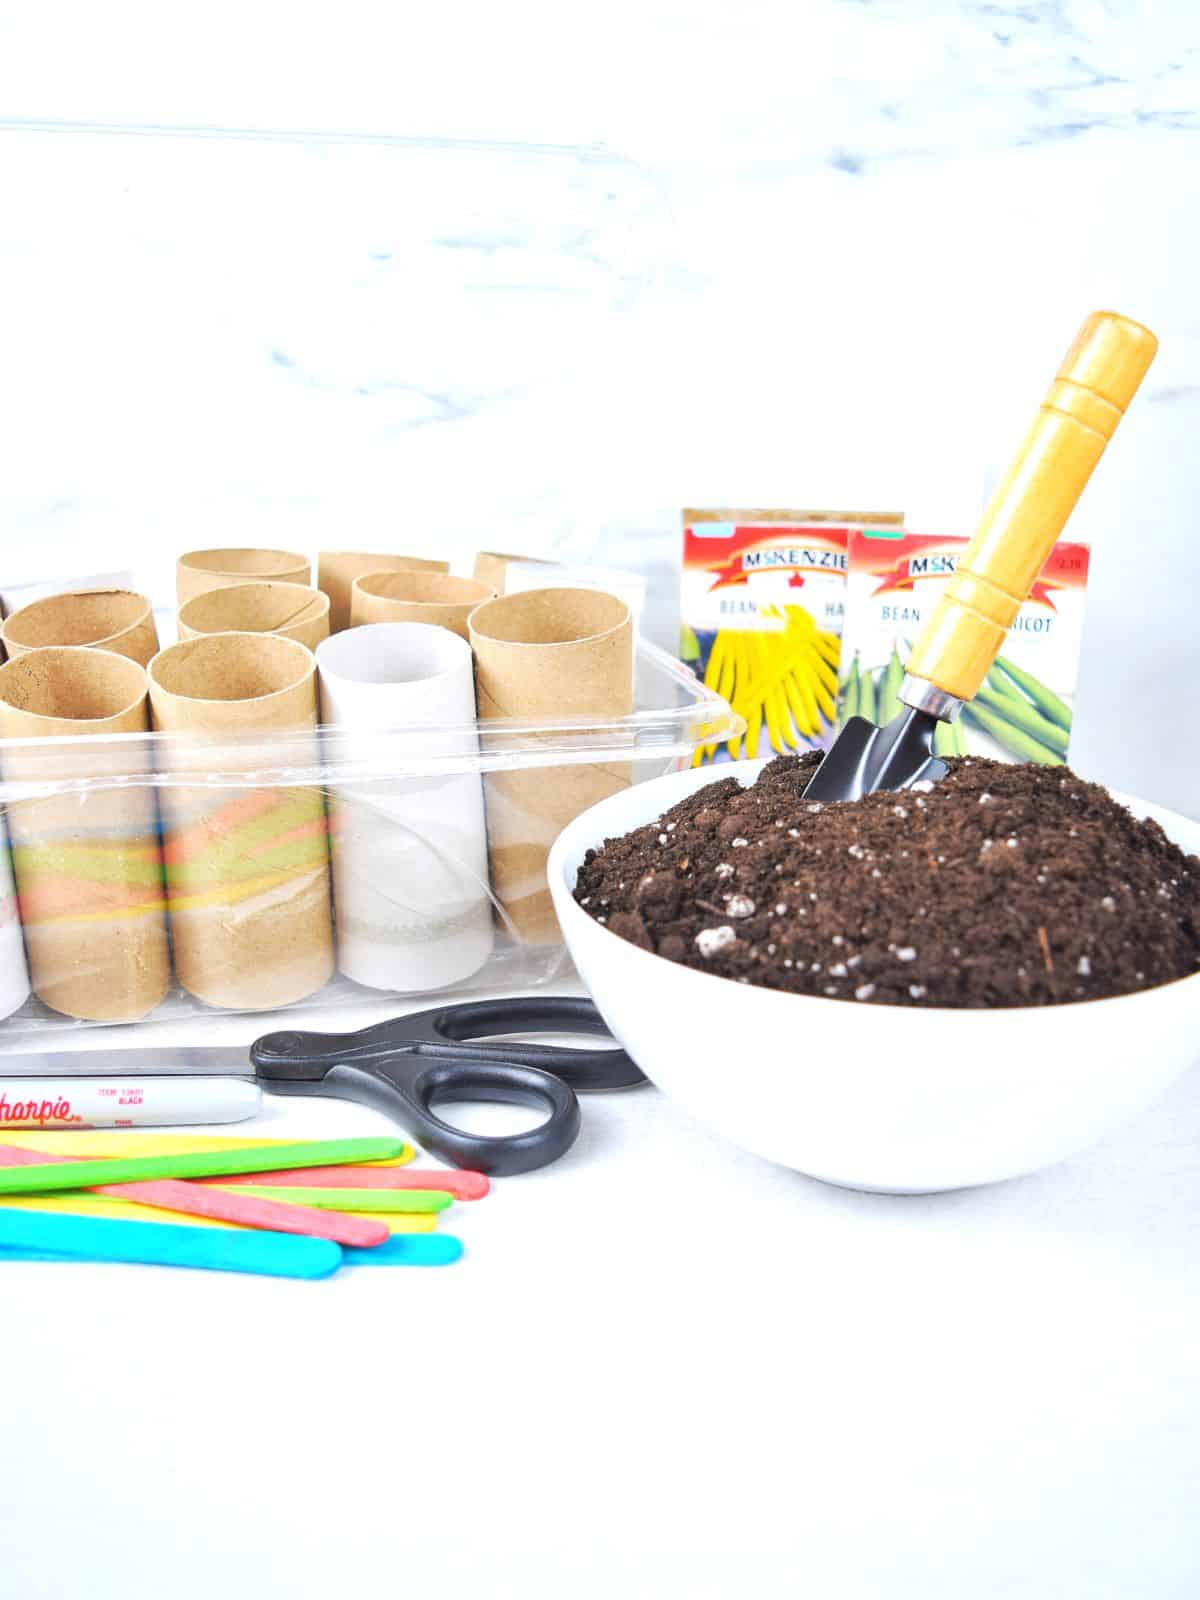
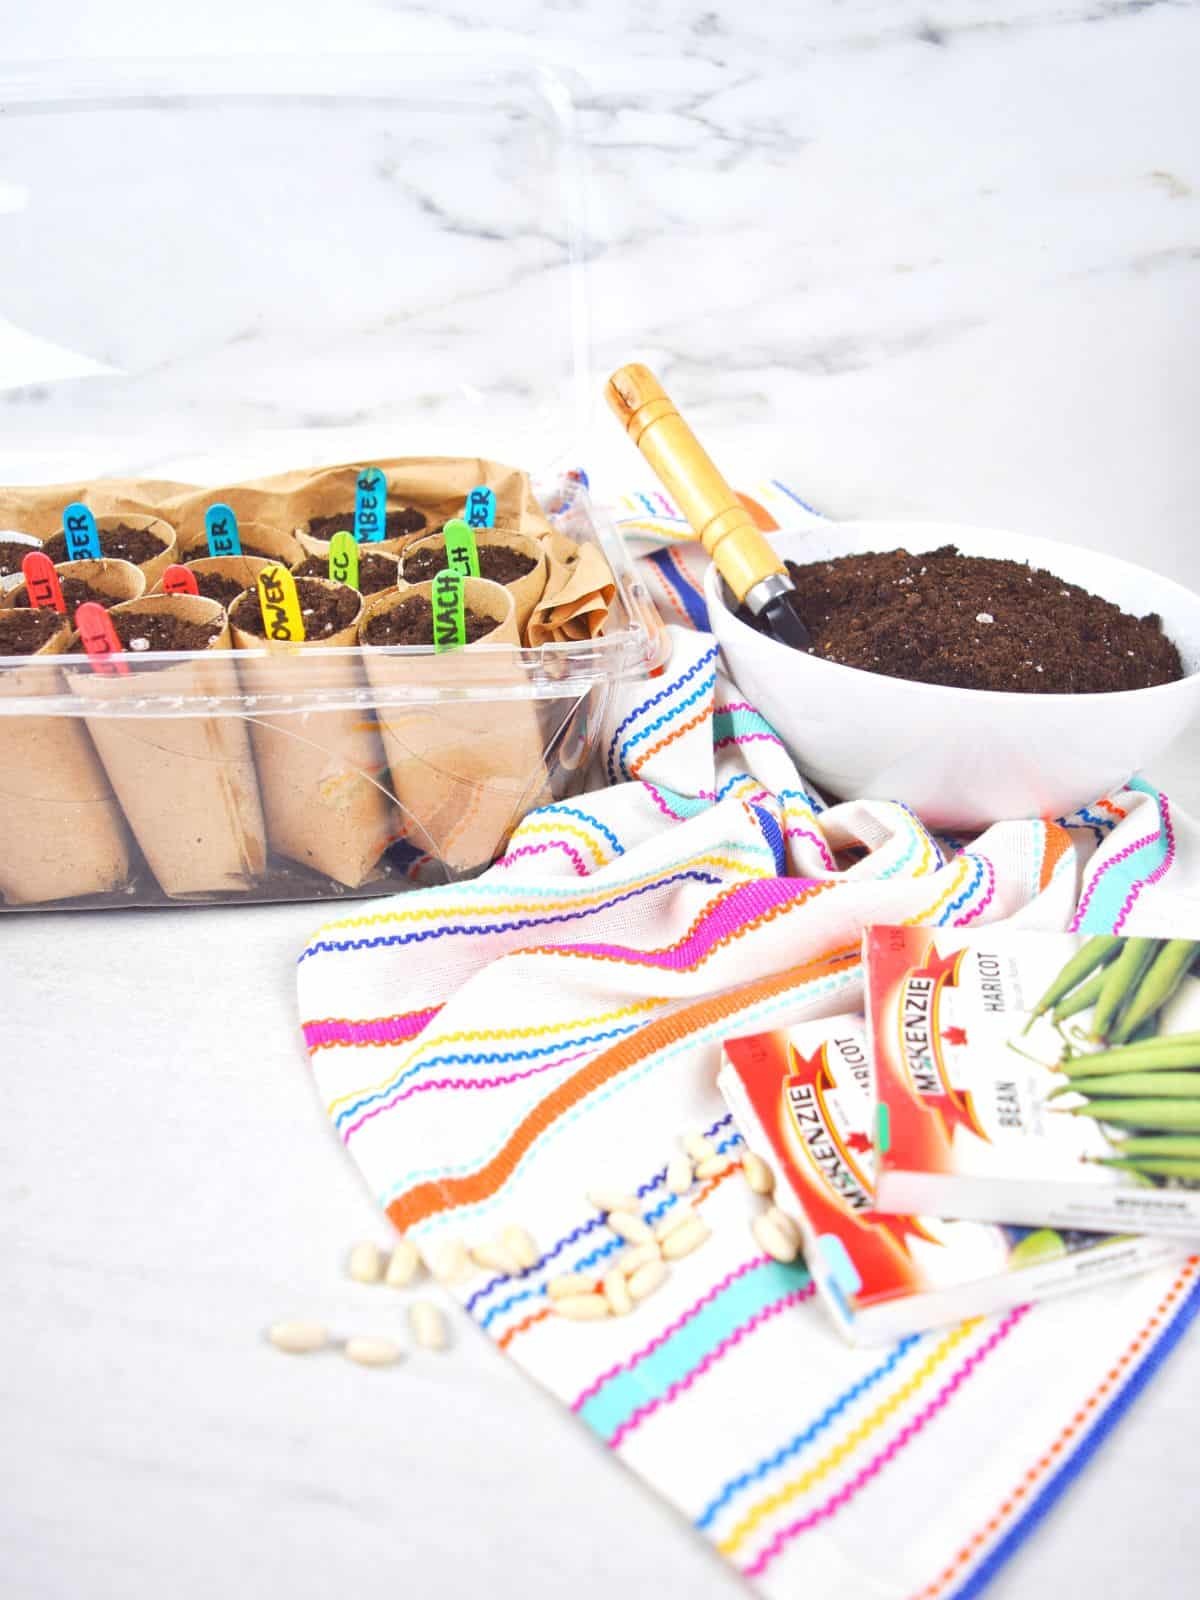
- Clear plastic container - No need to buy anything. You can use an empty spinach or lettuce container or tray that comes with a cover.
- Potting Soil - Just a normal soil mix.
- 18 toilet paper rolls - You can also use paper towel rolls cut to the size of toilet paper rolls.
- Colored Popsicle Sticks - To help mark the types of seeds planted.
- Trowel - To place the soil into the tubes. You can also use a spoon.
- Scissors - For cutting the paper tubes.
- Marker (sharpie black) - To write on the popsicle sticks.
- Assorted seeds - Variety of vegetable or flower seeds.
📋Step by Step Instructions
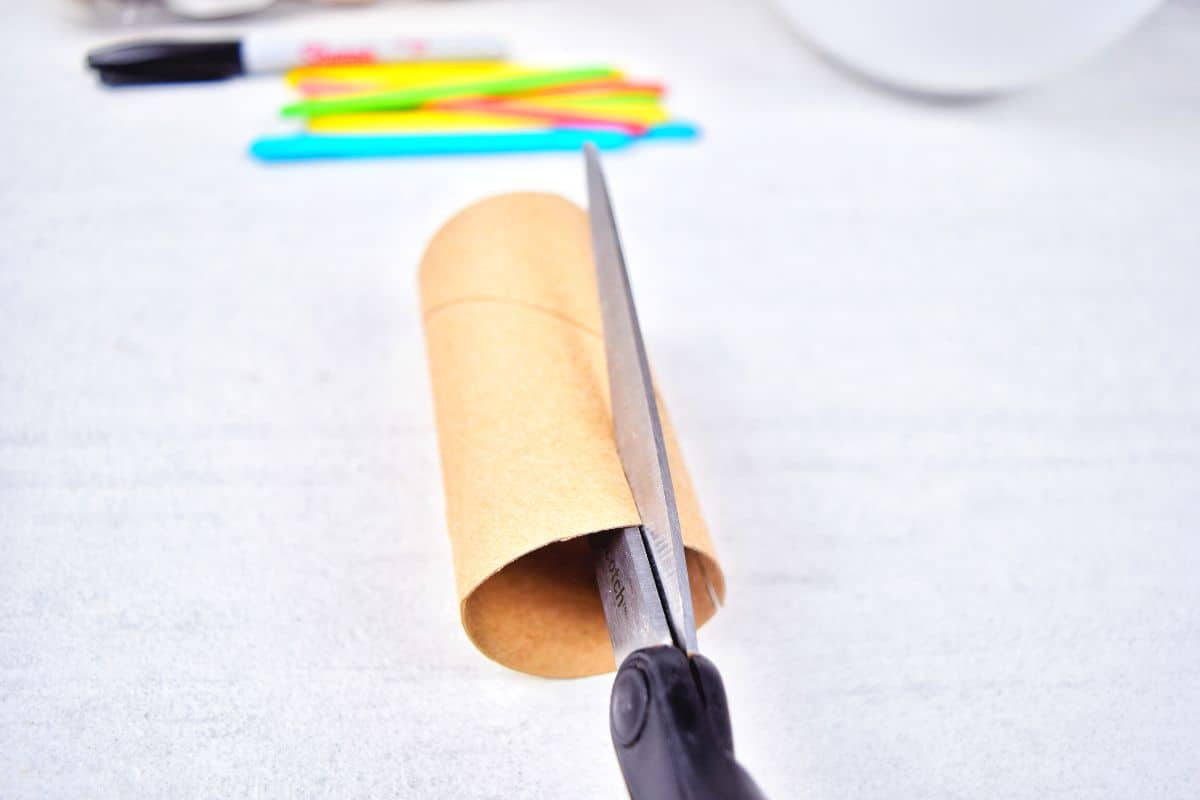
STEP 1: At the bottom of each toilet paper roll, make two ¾ inch cuts across from each other, then one cut in the center of each of the halves you created. Basically, you will be dividing the bottom of each roll into four equal parts.
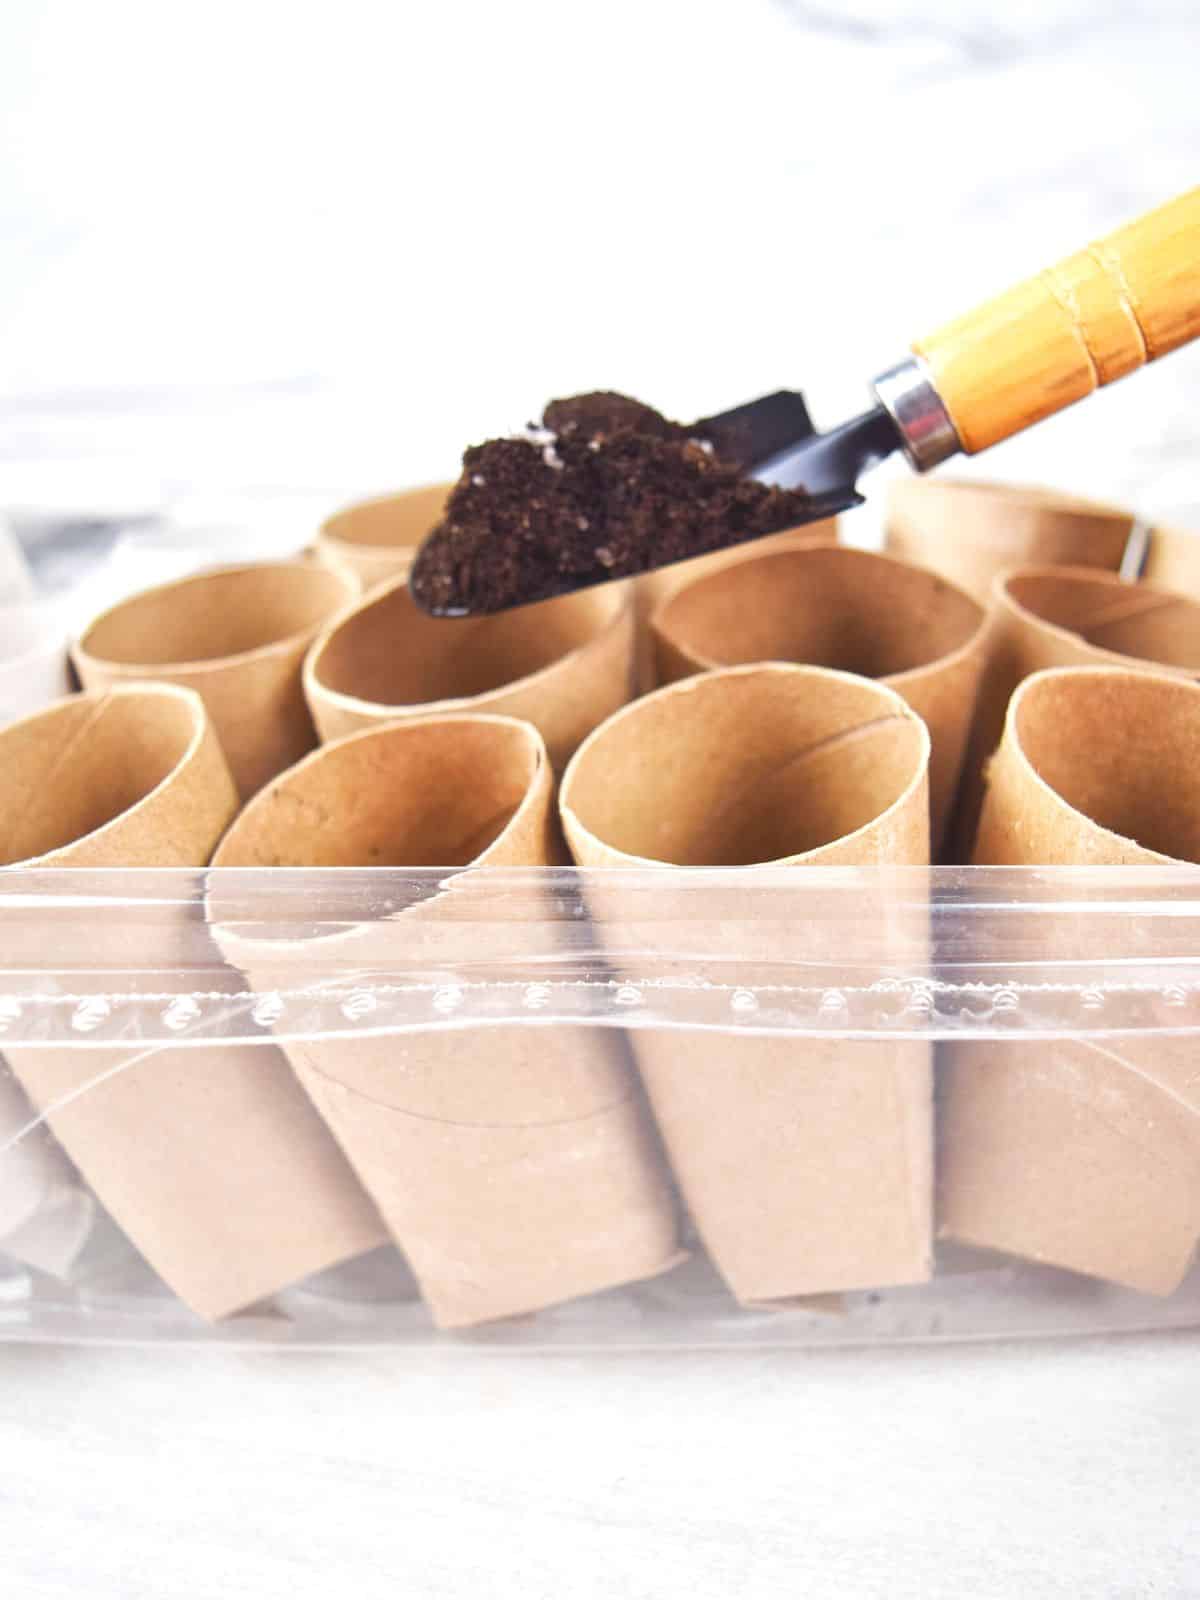
STEP 2: Fold the 4 flaps as you would fold the flaps of a moving box. This will be the bottom of your seedling pots.

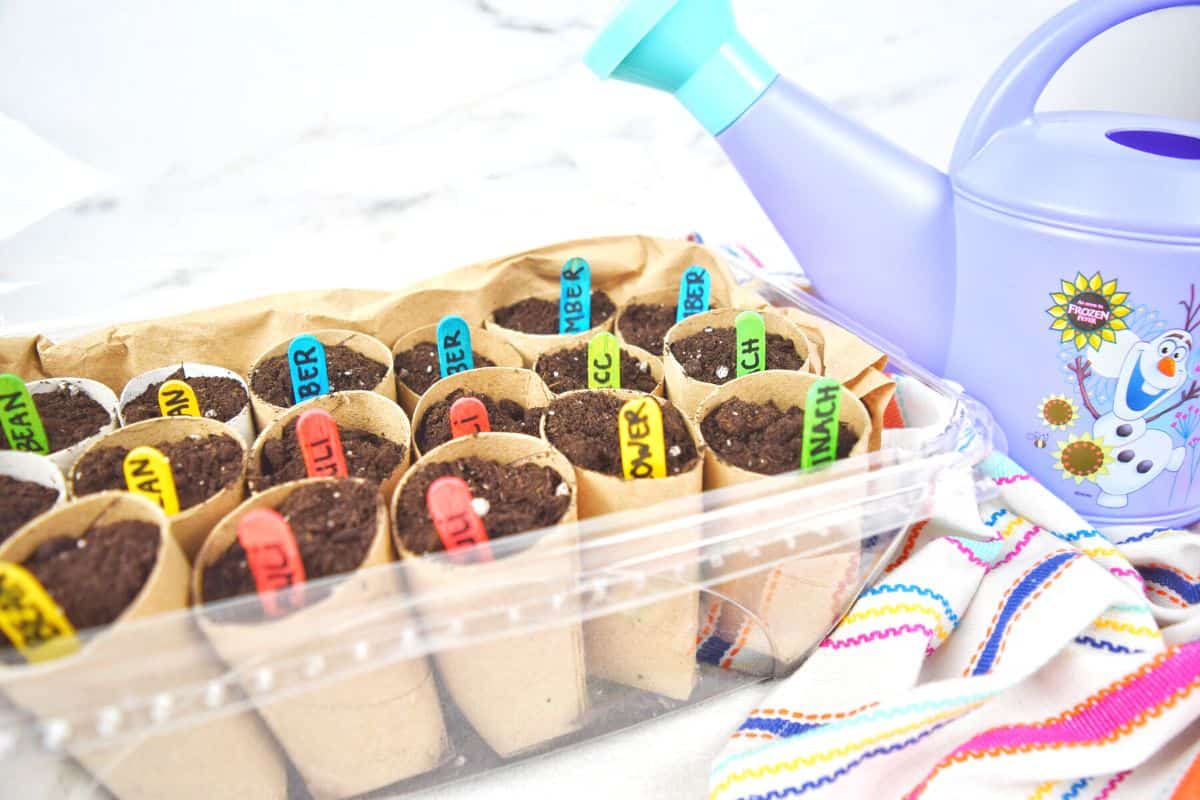
STEP 3: Place the toilet paper rolls folded side down into your plastic container. Fill each paper roll with garden soil.
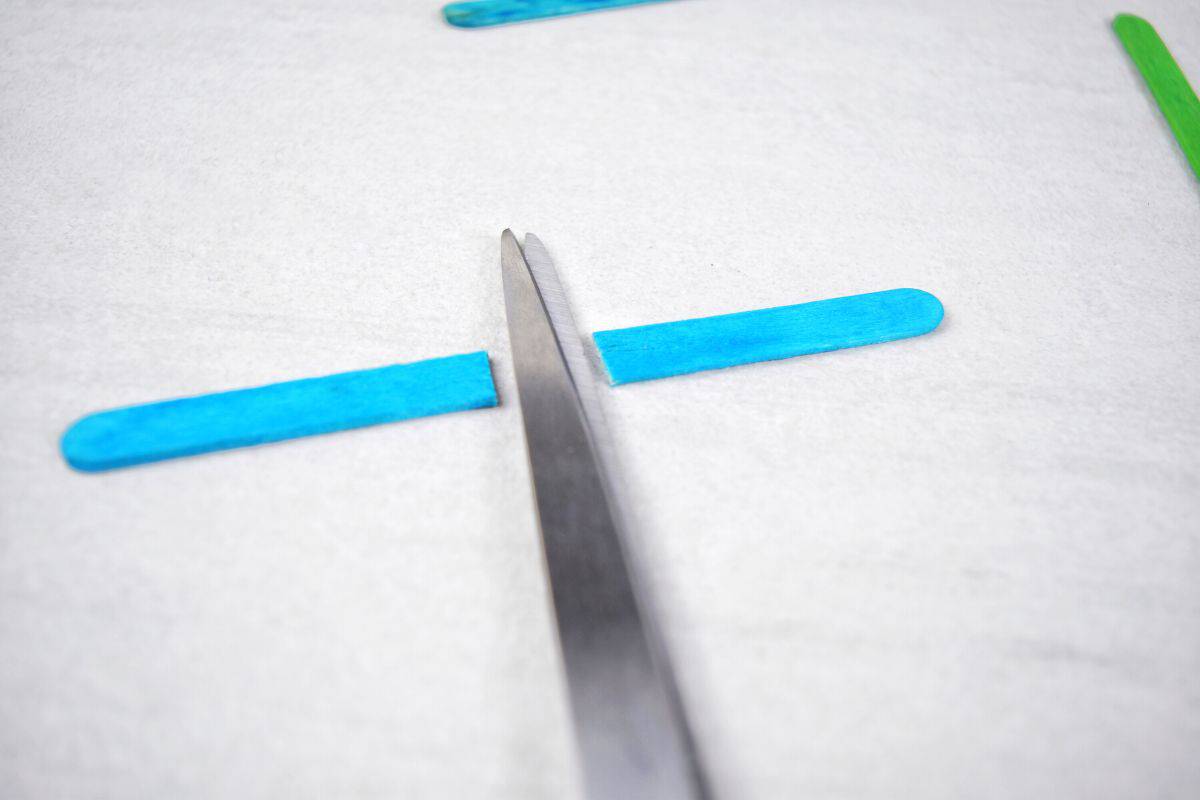
STEP 4: Next, cut each Popsicle stick in half using your scissors.
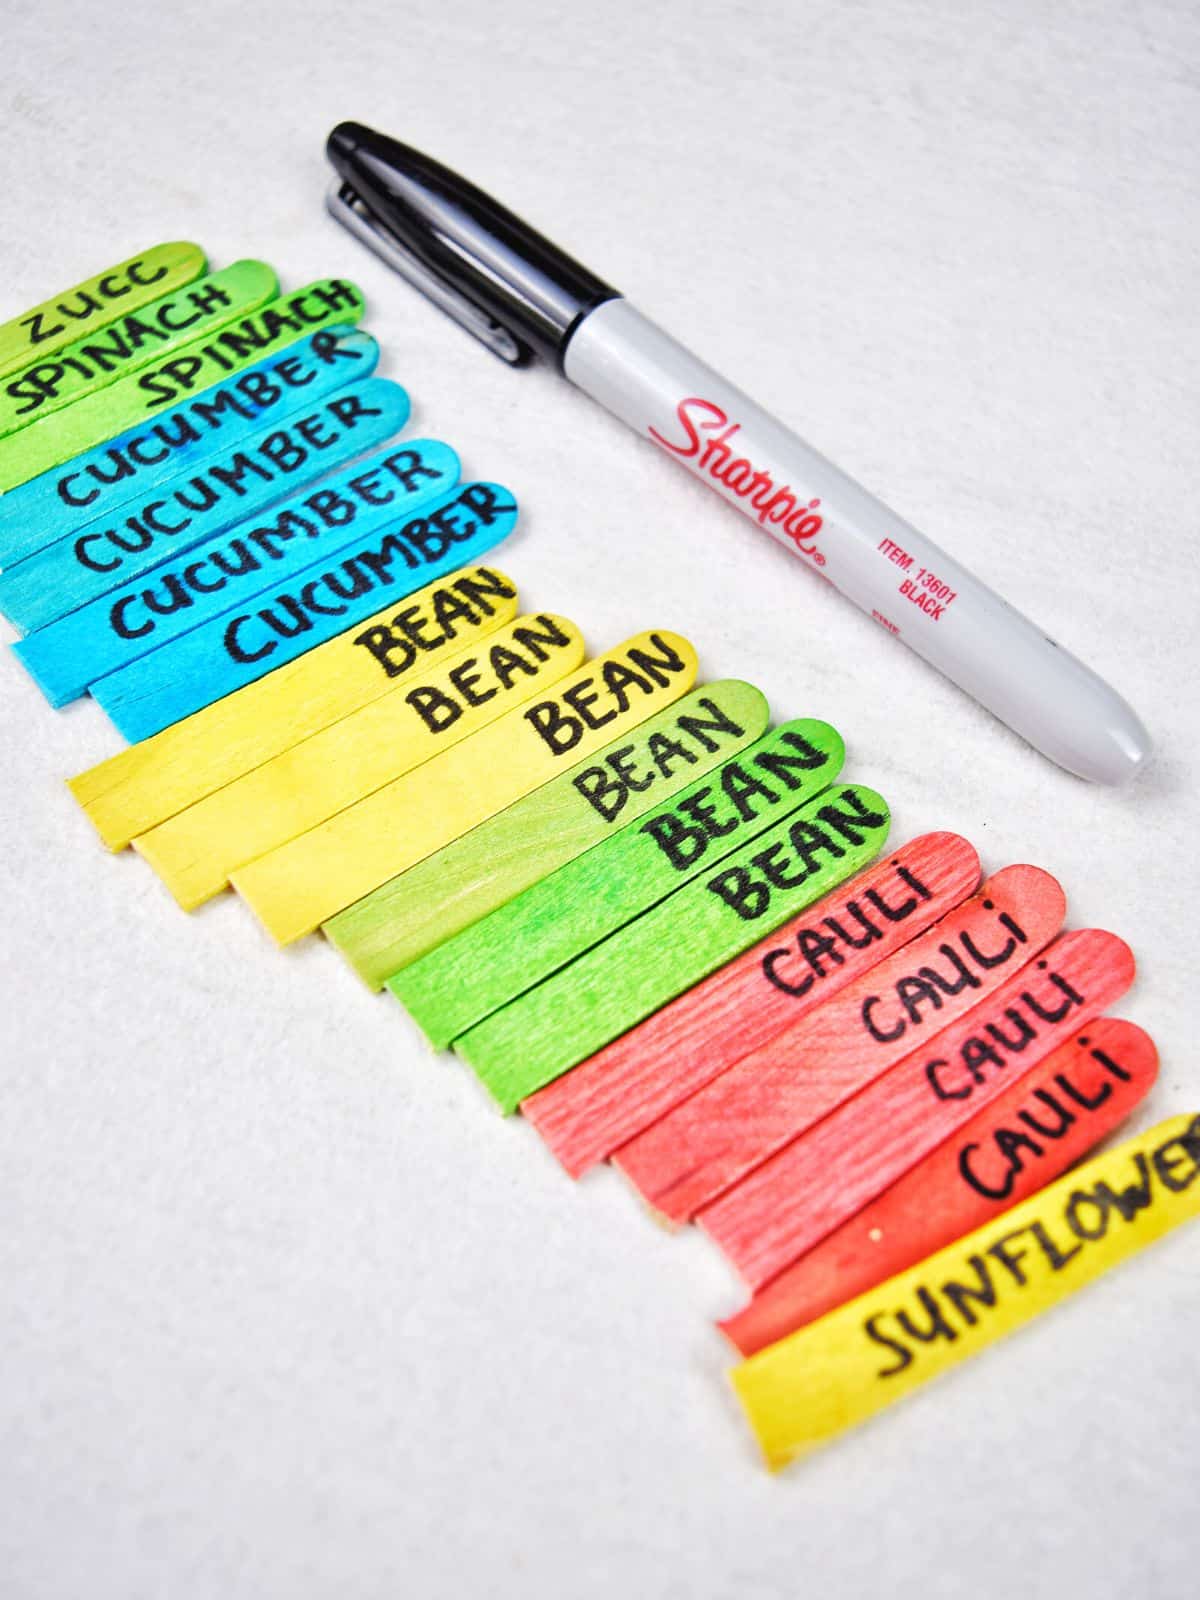
STEP 5: Use your black Sharpie marker to write the names of the plants on the colored Popsicle sticks.
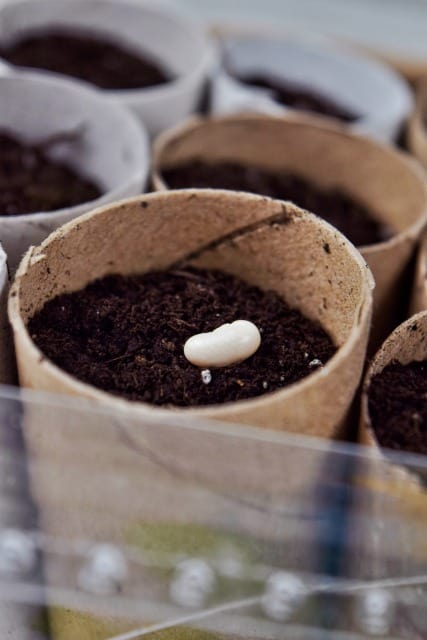
STEP 6: Put in your seeds, one plant per roll and water. Cover with a small amount of dirt.
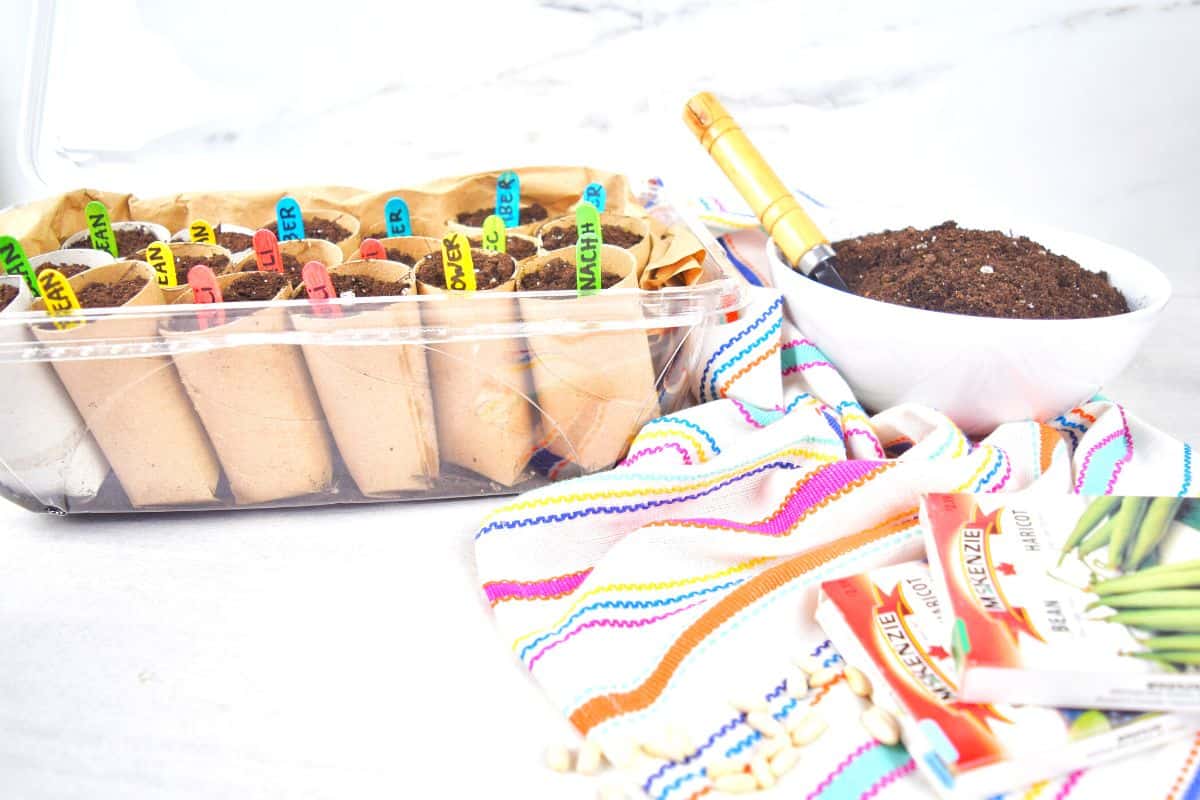
STEP 7: Insert the Popsicle sticks in the correct seed pots as labels.
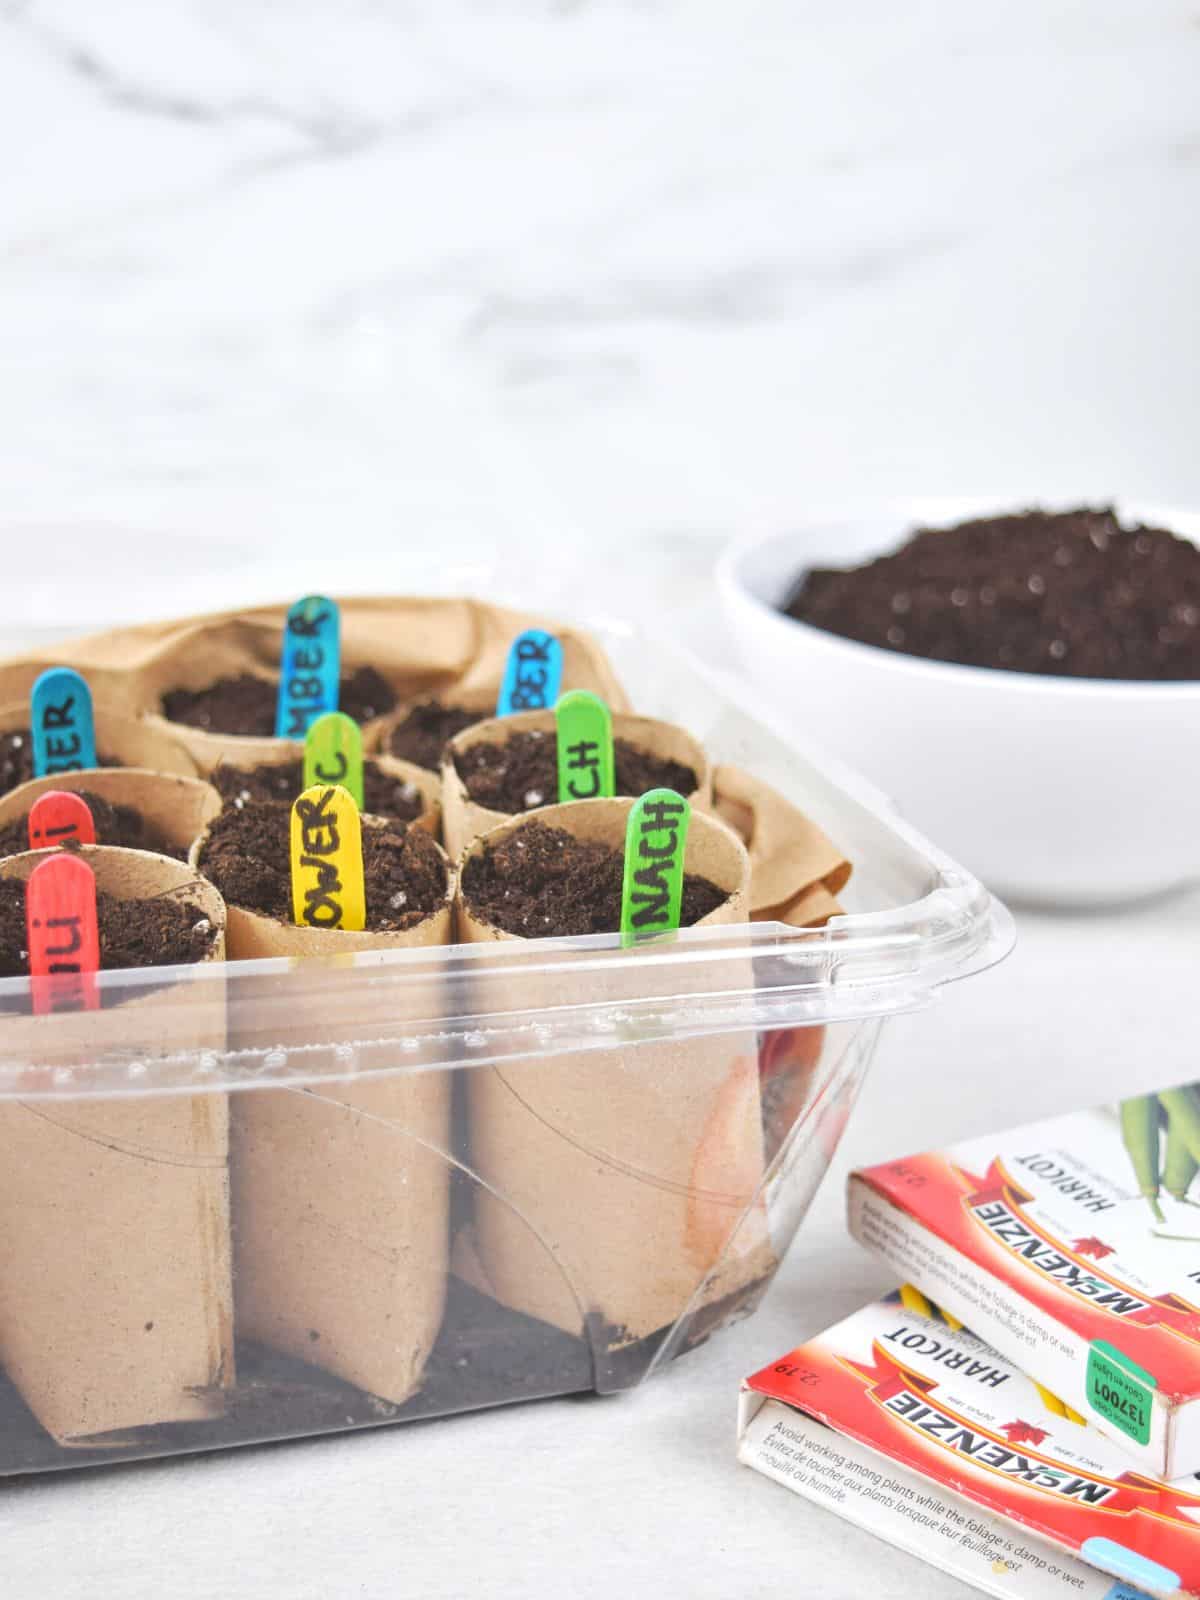
STEP 8: Put your little greenhouse seed starter near a light source to allow it to grow until the spouts are ready to be planted. You can close the lid to create condensation in this DIY greenhouse.
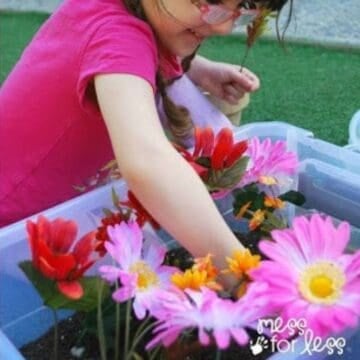
Planting the seedlings outdoors is also a wonderful activity for kids. They get to observe the growing process and help take the seeds to the next stage in their development where they can grow in the sunlight.
The Spangler Science Club brings wonderful hands-on science to your door every month if you want additional simple experiments. Join Now!
✂️Expert Tips
Tip 1: Make sure to water your seeds regularly.
Tip 2: You may need to use folded-up scrap paper to help stabilize the paper rolls in the container. You could also use newspaper or any recycled paper of your choosing.
🤷🏻♀️Craft FAQs
When you're ready to move your seedlings outdoors, simply remove the rolls from the container and unfold the bottom and plant the whole thing into the ground. The cardboard will decompose into the soil.
You can use plain popsicle sticks. I like the different colors for differentiating the various seeds.
You can grow beans, herbs, tomatoes, peas, sunflower and more in this mini greenhouse.
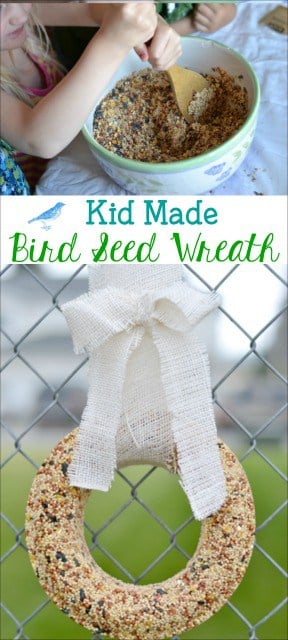
🌼Related Posts

🌟If you try this craft, leave a star rating below or a review in the comment section. Be sure to sign up for my newsletter to get my latest crafts!
🌺Craft Tutorial
DIY Seed Starter for Kids
Materials
- Clear plastic container You can use an empty spinach or lettuce container or tray that comes with a cover.
- Potting Soil
- 18 toilet paper rolls
- Colored Popsicle Sticks
- Trowel
- Scissors
- Marker (sharpie black)
- Assorted seeds
Instructions
- At the bottom of each toilet paper roll, make two ¾ inch cuts across from each other, then one cut in the center of each of the halves you created. Basically, you will be dividing the bottom of each roll into four equal parts.
- Fold the 4 flaps as you would fold the flaps of a moving box. This will be the bottom of your seedling pots.
- Place the toilet paper rolls folded side down into your plastic container. Fill each paper roll with garden soil.
- Next, cut each Popsicle stick in half using your scissors.
- Use your black Sharpie marker to write the names of the plants on the colored Popsicle sticks.
- Put in your seeds, one plant per roll and water. Cover with a small amount of dirt.
- Insert the Popsicle sticks in the correct seed pots as labels.
- Put the seed starter near a light source to allow it to grow until the spouts are ready to be planted. You can close the lid to create condensation.
Video
Notes
- Make sure to water your seeds regularly.
- You may need to use folded-up scrap paper to help stabilize the paper rolls in the container. You could also use newspaper or any recycled paper of your choosing.

Bre says
Does the plastic container need to have vent holes/slits (like strawberry container) or Does it need to be solid (like plasruc to-go food/bakery containers)?
Vicky says
Solid