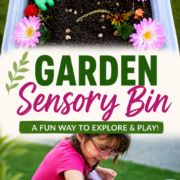
When the calendar would turn to spring, my kids suddenly became flower detectives. They would notice every bloom on our walks, ask about what they saw growing, and of course, they wanted to touch everything. This Garden Sensory Bin was my go-to way to let them explore that curiosity in a controlled way. Read on to see how simple it is to create an outdoor sensory play experience.
Jump to:
Safety and Setup (Read First)
If you're doing this with toddlers, preschoolers, or kids who still put things in their mouths, you'll want to supervise closely. Small rocks and some artificial flower pieces can be a choking hazard.
A couple of setup choices make this much easier:
- Keep a hand towel or wipes nearby so kids can clean up quickly.
- Put the bin somewhere you're comfortable with a little mess (patio, driveway, lawn, or a washable mat indoors).
Quick Decisions Before You Start
Where should you do this activity?
- Outdoors is the easiest. You'll have less stress because there is less concern over the mess.
- Indoors works if you place the bin on a towel, a mat, or even a shower curtain liner. Believe it or not, placing the bin inside a kiddie pool is the ultimate mess-free trick.
What should you use for the dirt?
- Potting soil feels the most like real gardening and gives the best sensory experience.
- If you don't want real soil, swap in brown rice, dried beans, or kinetic sand for a similar scoop-and-pour feel with easier cleanup.
Best ages for this activity
- Toddlers: I would skip the rocks and use larger pots and chunky tools.
- Preschoolers: This is the sweet spot! They will love planting, digging, and pretend play all click.
- Early elementary: With this age you can add challenges such as making patterns, or counting. They can even design a garden and then write about it.
Why This Garden Sensory Bin Works
This isn't just dirt in a tub. This play theme lets kids explore something they understand, in this case, planting.
You'll usually see one of two play styles:
- The diggers: These kids will scoop, dump, dig, and build little mounds.
- The planters: These children will carefully fill pots, make holes, and arrange flowers to look like a real garden.
Both are great. The goal isn't a perfect-looking pot. Like many things in life, it's about the process.
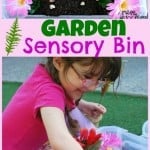
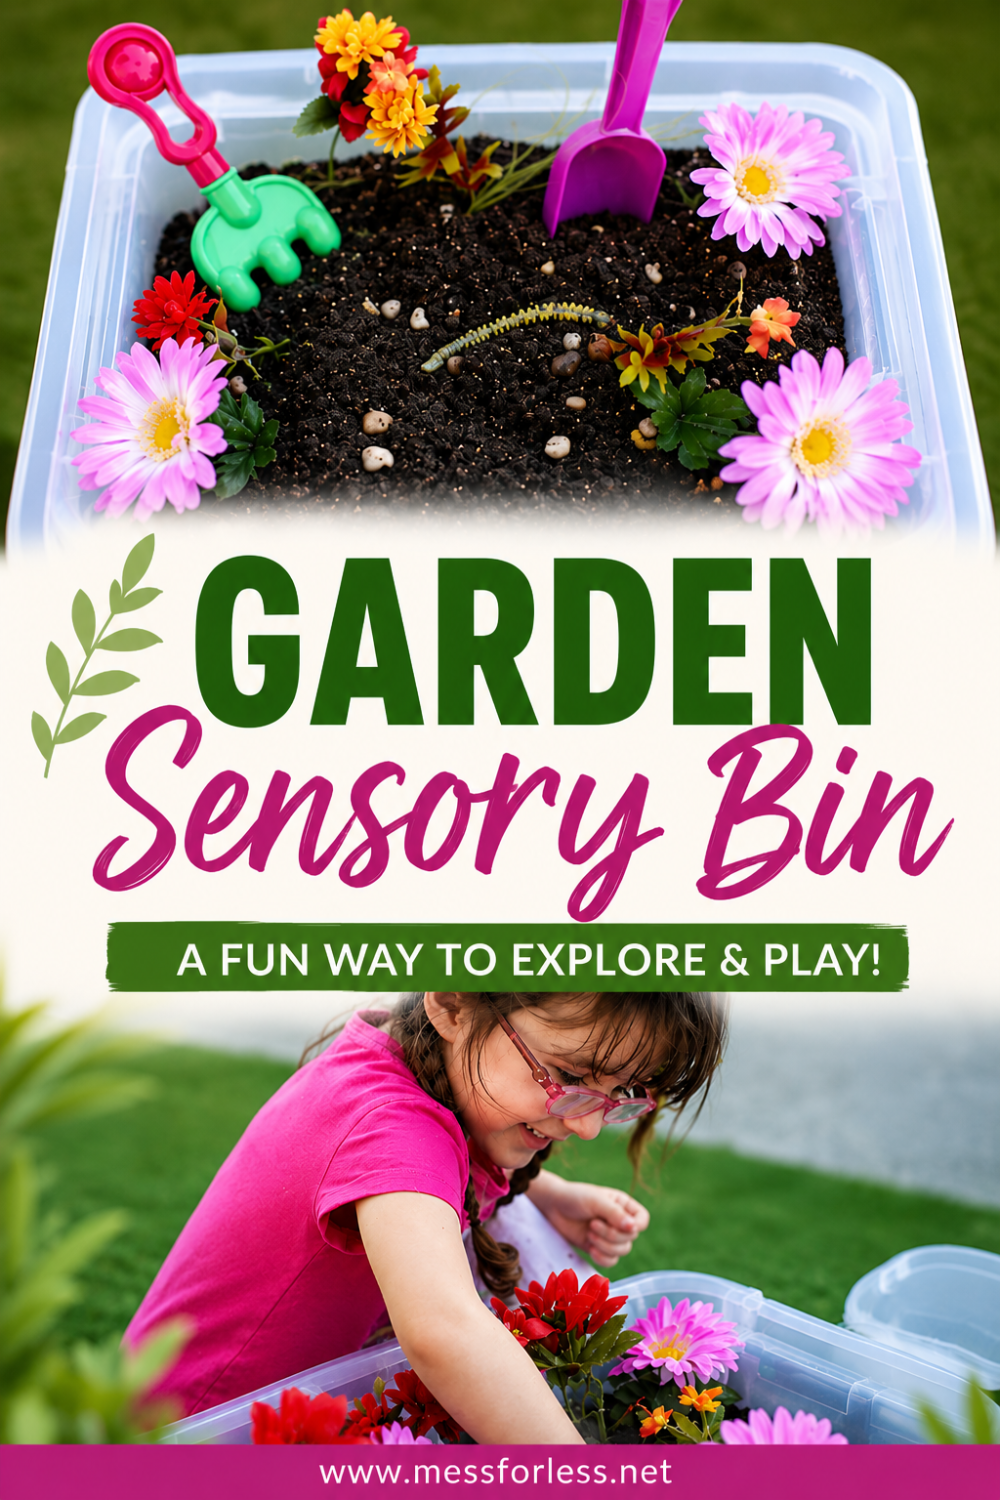
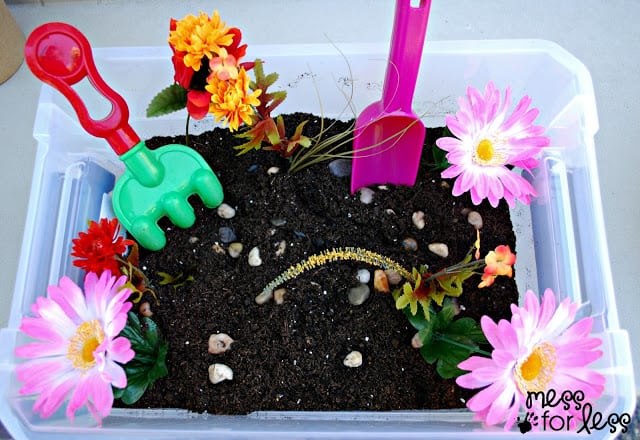
Supplies You Will Need
- Potting soil (or a low-mess swap like brown rice/beans/kinetic sand)
- Artificial flowers (or foam flowers you cut yourself)
- Pots or small containers
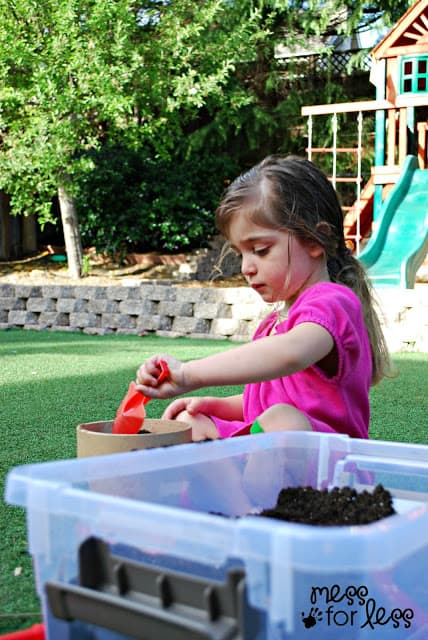
- Kid-sized shovels/scoops
- Rocks (optional; skip for toddlers)
- A plastic bin (wide and shallow is easiest if more than one child is playing)
Tip: If you have two kids playing at once, doubling up on scoops prevents most of the arguing.
How To Make a Garden Sensory Bin
- Choose your spot and lay down a towel or mat if you're indoors.
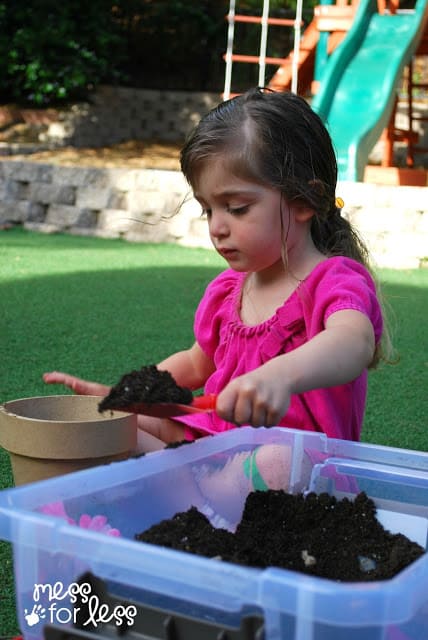
- Pour in your base (soil or your substitute). You want enough depth that kids can dig without hitting the bottom.
- Add rocks (only if age-appropriate).
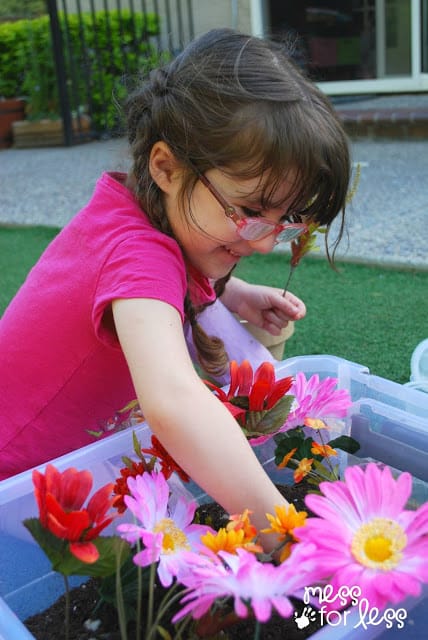
- Put flowers in a small "pile" on one side of the bin so it feels like a supply station.
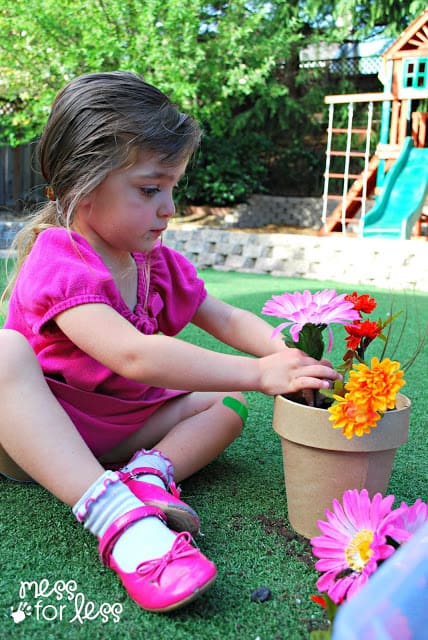
- Add pots and tools and invite kids to start planting.
Tiny detail that helps: Keeping flowers in a separate little pile (instead of mixing them in) naturally creates longer play. Kids "shop" for what they want to plant.
What It Should Look Like When It's Going Well
You'll see a rhythm like this:
dig → scoop → fill pot → pat down → poke hole → plant → repeat
One of my kids loved the feeling of the soil and immediately started poking holes to "plant" flowers. That poking/pressing motion is a great sign that they're getting the sensory input they need-let them linger there.
She also started fishing out rocks and counting them, which turned into an easy learning moment without making it feel like a lesson.
My youngest went the careful route. She focused on filling her pot without spilling and worked slowly until she had it just right.
Easy Ways to Extend Play
If kids start to lose interest after 10-15 minutes, these small tweaks usually restart it:
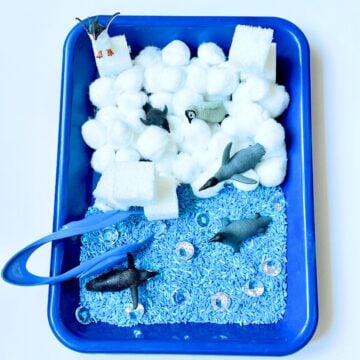
- Add plastic bugs or critters (bees, worms, ladybugs) and ask kids to "hide" or "find" them.
- Give a simple challenge: "Can you make a pot with only purple flowers?" or "Plant 3 flowers in each pot."
- Add "garden markers" by taping pictures of flowers to popsicle sticks.
- Outdoors only: add a watering can for pretend watering (real water turns it into mud play fast).
If you want this bin to last for repeat play, artificial flowers are the easiest choice. Real flowers work, but they won't survive long once kids start digging and rearranging.

Cleanup and Storage Tips
Outdoors:
- Have kids shake tools over the bin before putting them away.
- Let soil dry in the sun, then sweep anything that escaped.
Indoors:
- Keep a handheld broom nearby.
- Make "cleanup" part of the activity by letting kids scoop stray soil back into the bin.
Storage:
- If your soil gets damp, let it dry before covering the bin.
- Store the bin in a garage, covered porch, or somewhere it can be reused.
FAQs
Plastic bugs or critters would be a great addition, along with some fake leaves.
You can, but know that it probably won't last long. Using artificial flowers allows you to do this activity again and again.
More Sensory Play Ideas
If your kids loved this, you can keep the momentum going with:

Sadye says
Excellent post. I'm experiencing a few of these issues as
well..
SmithenWesson says
what kind of soil do you use? [we live in a big city, so no back yards]. I'm clueless when I get to Home Depot or Osh Hardware, what kind of soil?
Vicky says
Just an ordinary basic potting soil will work. It is usually the cheapest one they sell.
Barb says
I love this idea! How did you store your bin? Just with a lid and how long would you say it lasted? I have a lid for mine and I don't want it to get icky before I get rid of it.
Thank you!
Vicky says
Barb, I stored it with the cover on in the shade. It lasted a few weeks. Hope you have fun with it!