Are your kids obsessed with slime? Everyday my kids ask me if they can make slime. But they are not the only ones asking for slime. You readers have been requesting slime as well, and this Easy Slime Recipe is one of our favorites. If you are looking for a borax free slime that is super stretchy and colorful, this is it! Enjoy making and playing with this easy slime! We also have some more Easy Slime Recipes you might enjoy.

Please supervise your kids when making slime and have them wash their hands when they are done playing. This is not edible.
Easy Slime Recipe
- Elmer's Liquid School Glue - White
- Purex Sta-Flo Liquid Starch
- Acrylic Paint in Black, Purple, Blue, Red (these are the exact ones used for this slime)
- 4 glass bowls
- Spoons for stirring
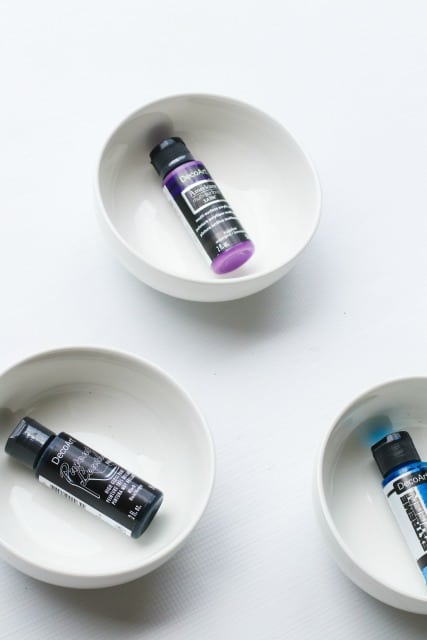
Pour ½ cup white glue in each bowl. Squeeze some black paint into one bowl, red in another, blue in another and purple in the last bowl. You can add more paint for deeper colors or less for more pastel hues.
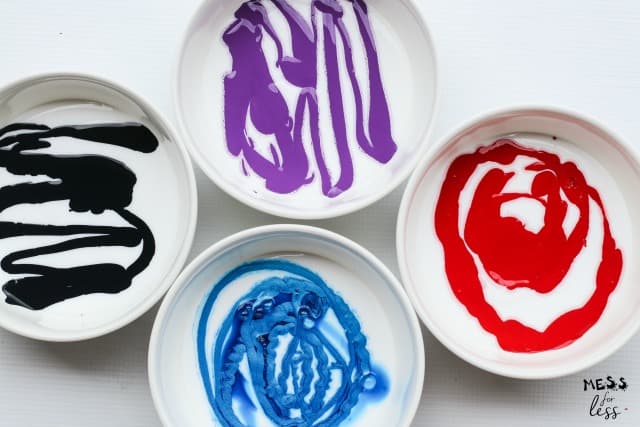
Add ⅓ cup of Sta-Flo Liquid Starch to each bowl.
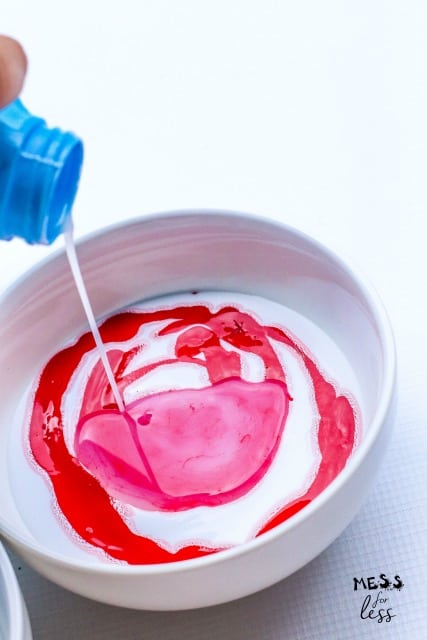
Stir the ingredients together. You can also stir the paint and glue together first before adding the liquid starch. Either order is fine. Make sure you mix the slime well. Often slime errors can be attributed to not mixing enough. It takes a little bit of time to get everything mixed well. If it is still too sticky, add in some more liquid starch, a tiny bit at a time.
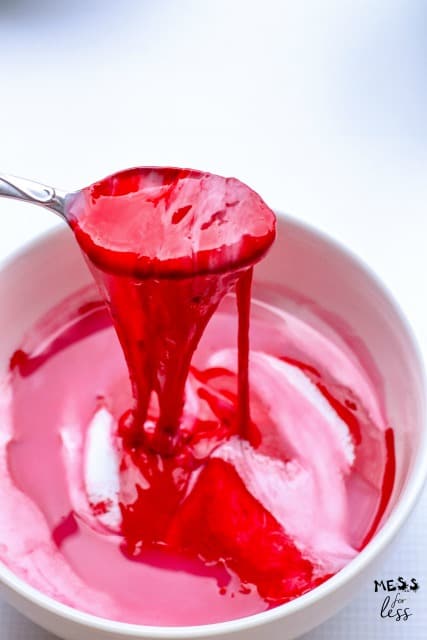
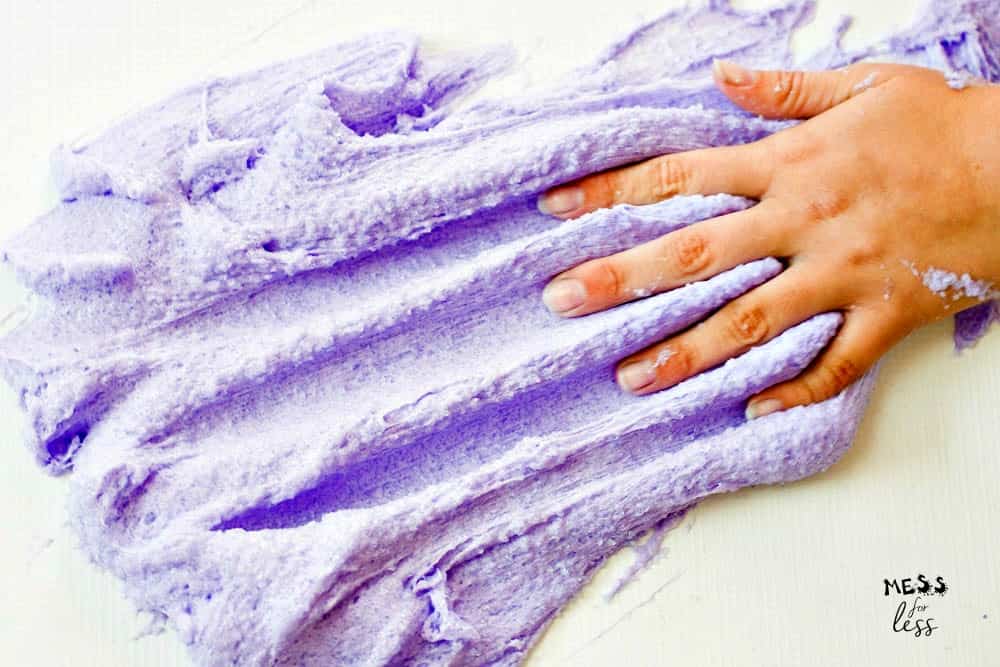
After stirring, remove the starch and start to mold the slime around on your hands. It will be sticky at first, but the more you pull and play with it, the less it will stick.
You will repeat this process with all the colors of slime you are making. By now you should have 4 colors of slime. Next, it is time to line them up.
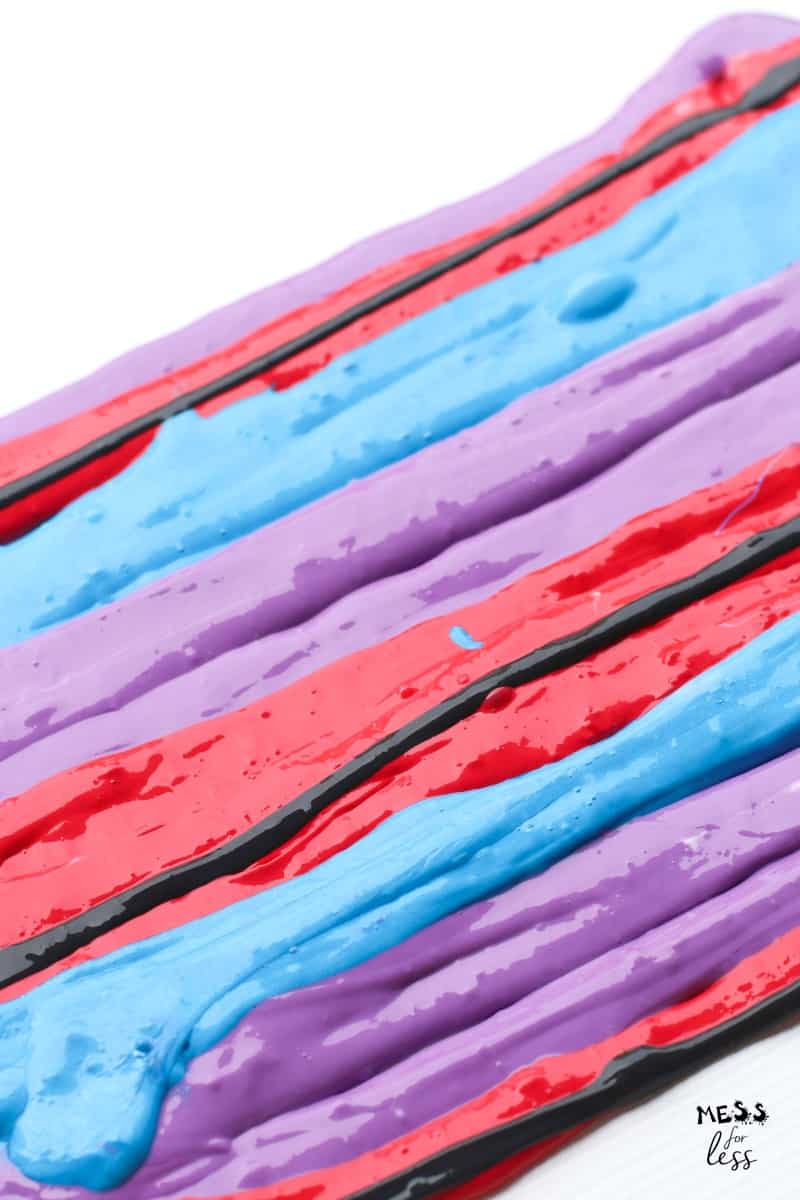
Pour purple slime into a long strip on some wax paper and pour the red slime next to it. Pour the blue slime next to the red, and finally, pour a thin strip of black slime on the red. Don't worry about the widths of the purple, blue or purple slimes. They don't all need to be the same. Of course you can order the colors in any way and size you wish (that is the beauty of slime!). I am just sharing how to get the slime to look like the one in the photo.
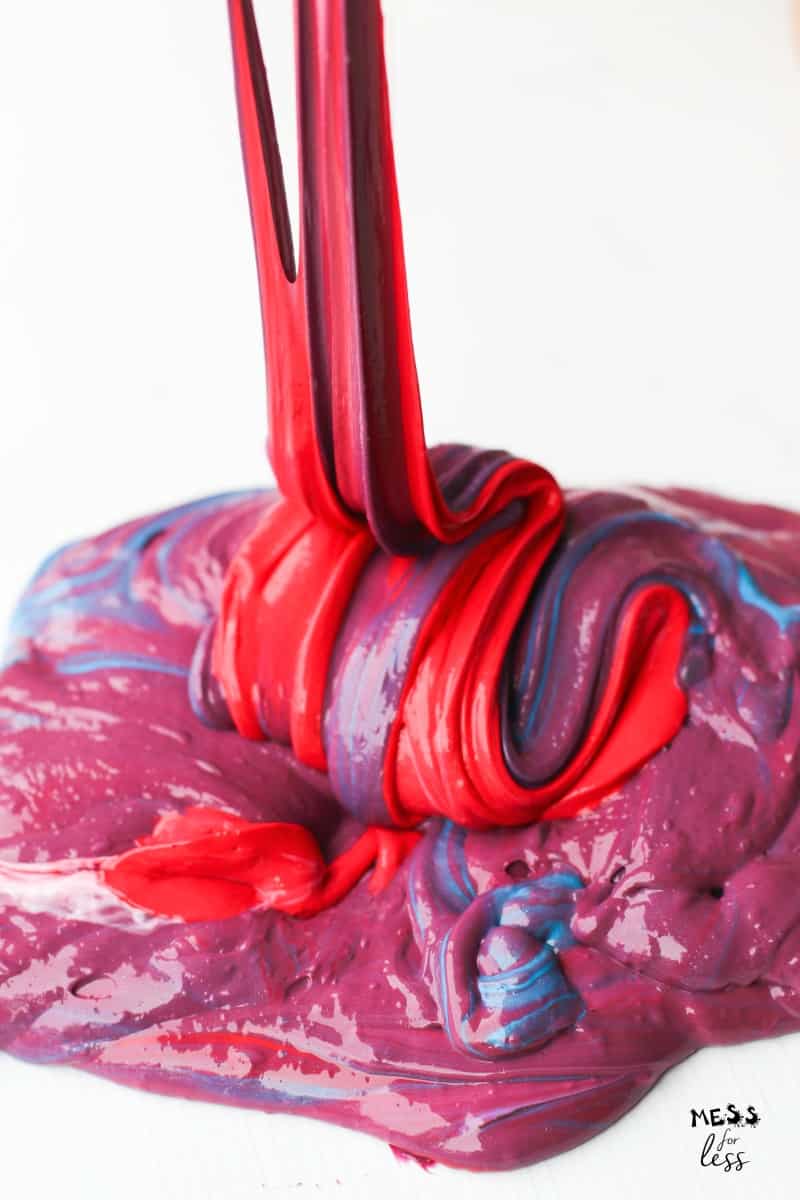
Now you can pick up the slime and fold and twist it and watch as the colors change and new ones appear.
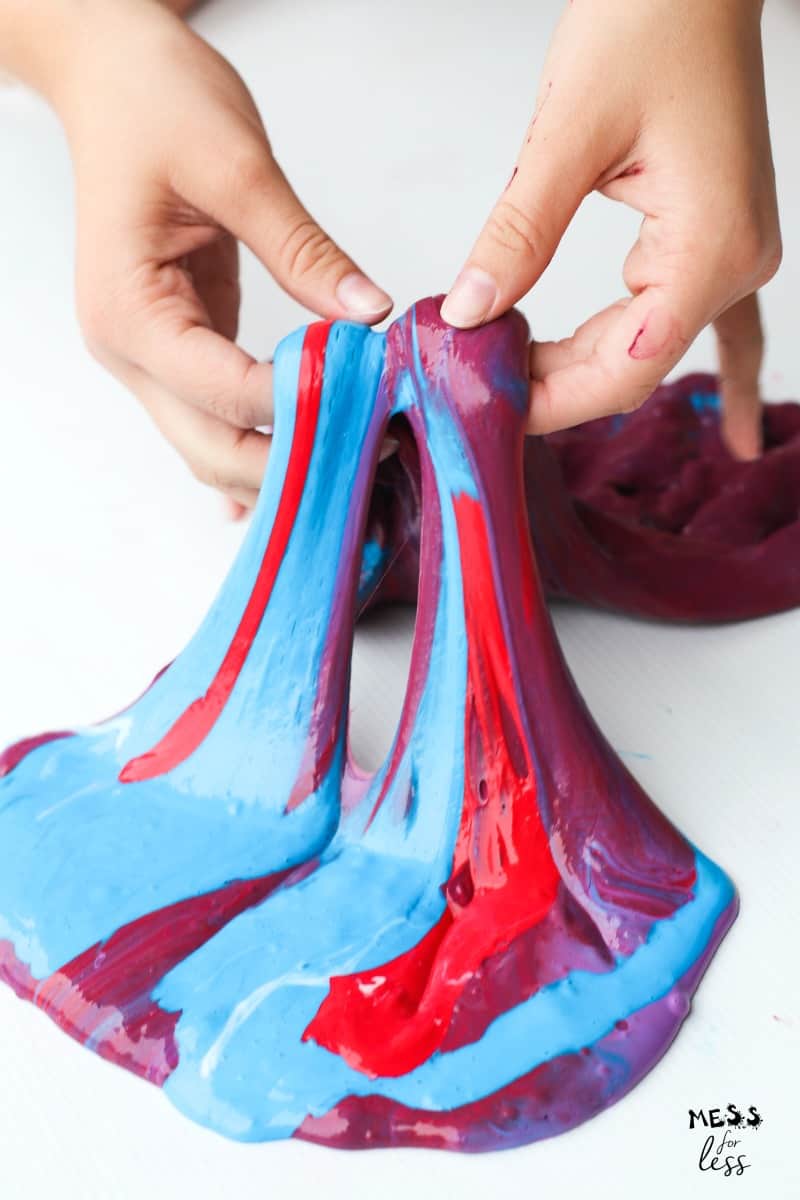
Your kids will be fascinated as they play with and mold the slime and it changes colors right before their eyes.
You can store this in a zip top plastic bag or plastic container with a lid. Making slime is such a fun sensory activity for kids. Try this easy slime recipe with a variety of paint colors or tailor it to any theme you have going on. It is so easy to change this up!
Do your kids love science experiments? The Spangler Science Club offers hands-on science activities each month for little learners. Check them out if your kids love science!

If you liked this easy slime recipe, you'll love:
Leave a Reply