You are going to love these mermaid birthday party cupcakes! I'm a big fan of easy desserts and these might require a bit more work, but it will be worth it!
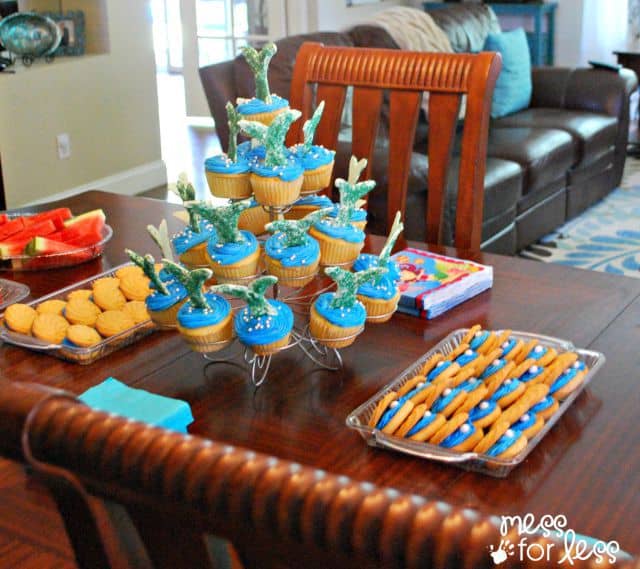
Earlier, I shared these Clam Shell Cookies that I made for a mermaid birthday party for my twins. Today I am showing you how to make these mermaid tail cupcakes. If you are planning a mermaid party, these are a must.
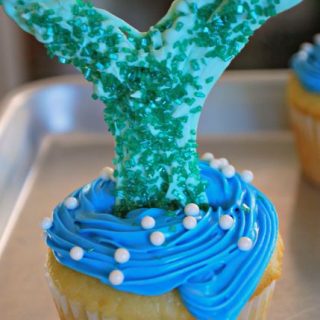
While it may look like the tail is made from a mold, it is actually piped candy melts. This technique will work with your favorite cupcake recipes so bake up a batch and lets get started!
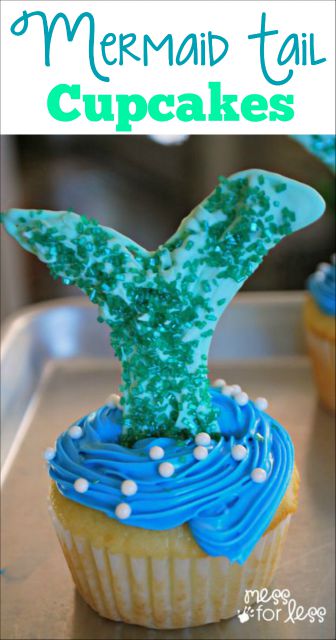
Mermaid BirthdaParty Cupcakes
You will need:
- Cupcakes
- Wilton white candy melts
- Wilton Primary Candy Color Set
- Small zip top bags
- Wax paper
- Permamant marker
- Mermaid tail template - you can find this along with our free printables and worksheets at the end of this post.
- Green sprinkles
- Frosting
- Blue food coloring
- Cupcake decorating kits with bags and tips
- White pearl nonpareils
I was inspired to make these by these mermaid tail cupcakes I saw. I made some changes with the frosting technique and by adding the nonpareils, but I think they turned out just as cute! Through trial and error I created my own mermaid tail. I drew bigger and smaller ones and this is the size that works best. To save you some work, I have included a free printable of the mermaid tail.

Cut out your template and use a permanent marker to trace some tails on wax paper. When you fill these in with melted candy make sure you do so on the other side.
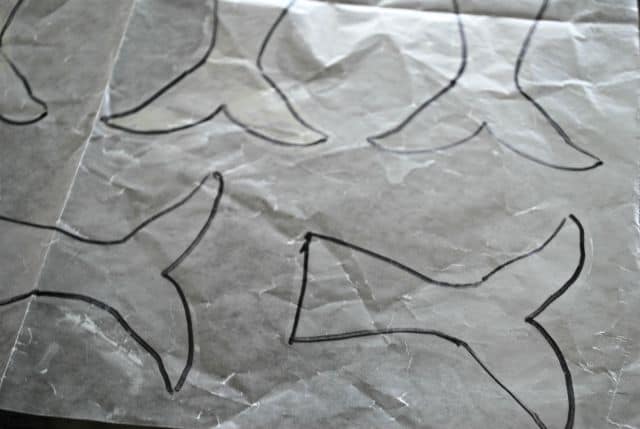
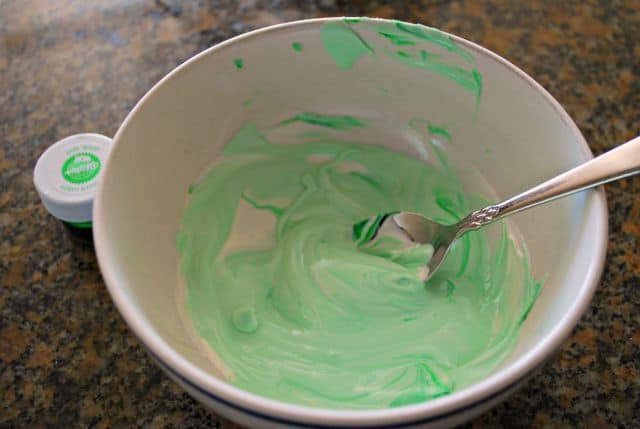
You will want to make the mermaid tails a few days before you need them because they are time consuming. Melt some candy melts in a bowl following package directions. You will be doing this in batches. I melted a cup at a time. When the candy melts have melted, add in your candy color. Please do not attempt to use regular food coloring with candy melts. It will ruin the consistency of the candy. I know this from personal experience. You can add as much or as little green food coloring as you like to get to your desired tail shade. Keep in mind that a little goes a LONG way so start with the smallest amount and add from there.
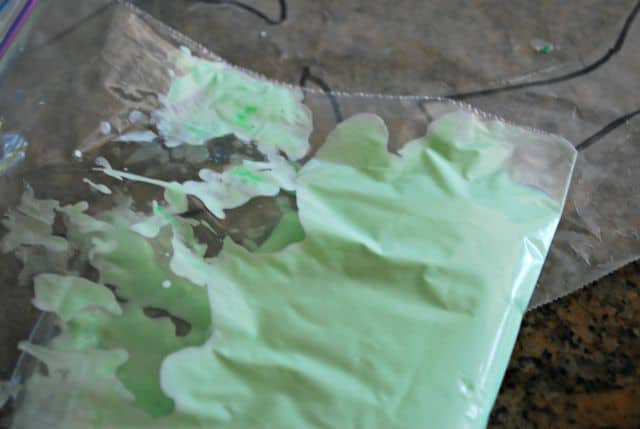
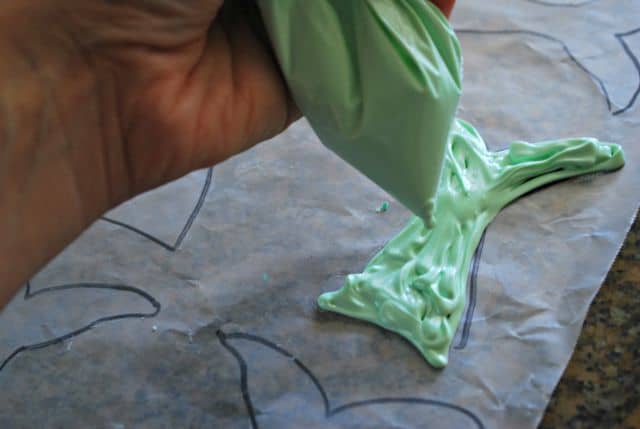
Take a small zip top bag and cut a tiny triangle off the corner. Fill the bag with the melted/colored candy. You will be using this bag as a pastry bag. I must warm you that this mixture will harden quickly so you want to make these tails as fast as you can. Once you are out of melted candy in the bag, you need to dispose of the bag and use a new one for the rest of the tails. Unfortunately, you cannot use the same bag over and over because the candy hardens.
Outline your mermaid tail template on the opposite side that you drew the tail on. My advice here is to use more chocolate than you think you will need. When I tried to skimp on the melted candy, the tails were too thin and broke when they were dry. Be sure to fill in the most narrow part of the tail with enough melted candy as that is where breaks will occur. I started out outlining the tail first and then filling it in. Don't worry if it looks messy, you'll be covering the tail with sprinkles.
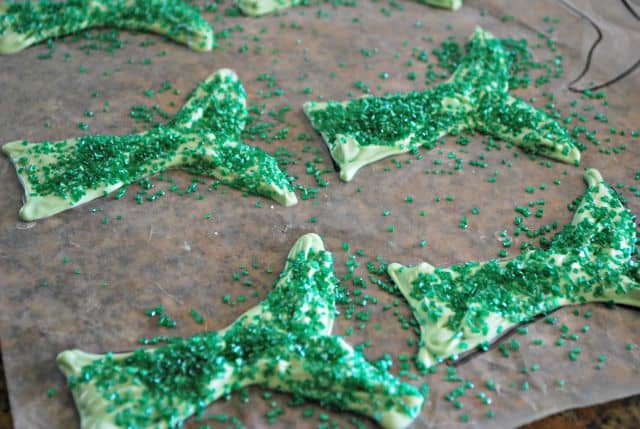
Before the candy melts harden, shake on some green sprinkles. Set the tails out on the counter to harden. Mine did within 30 minutes. Be sure they are completely hardened before you take them off the wax paper. To remove the tails from the wax paper you can carefully lift an edge with your finger or slide and index card underneath to loosen it. If the tail breaks, you have made it too thin. I popped these in the refrigerator for a few days until I needed them.
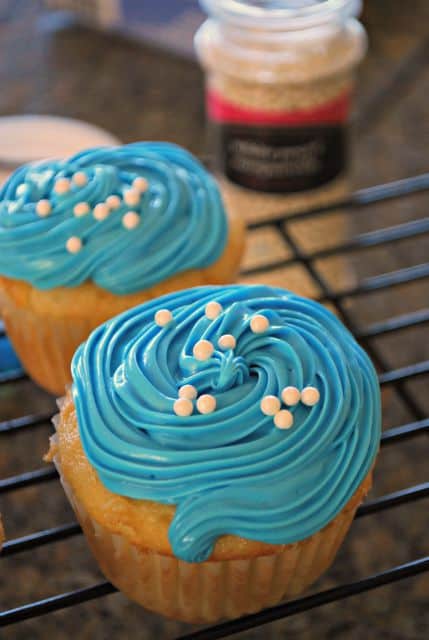
These mermaid cupcakes can be made with any kind of cupcake recipe. So pick your favorite and frost them with some white frosting colored with blue food coloring. Use a pastry bag and an open star tip to pipe on the frosting in a circular motion. Sprinkle on some white pearl nonpareils.
Insert the mermaid tail into the middle of the cupcake. Push it down a little bit to make sure it doesn't fall over. Now how cool is that?
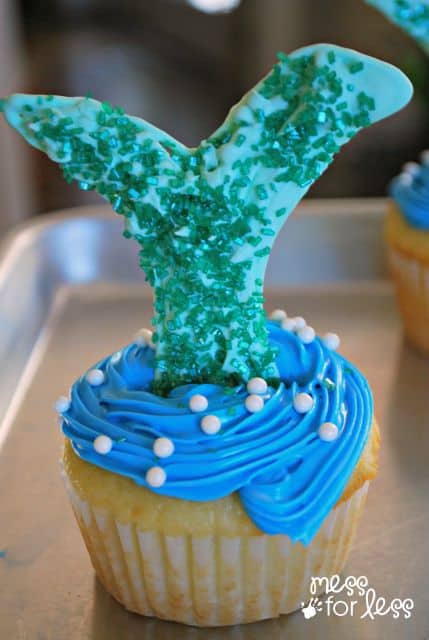
These mermaid birthday party cupcakes were the hit of our mermaid party. I think they turned out darling. Were they a lot of work? Yes, but you can make the tails ahead of time. And I'll let you in on a little secret. I made the cupcakes a few days before the party and froze them. I defrosted them the day before and then decorated them. They were still just as yummy and fresh and no one knew the difference.
📖 Recipe
Mermaid Birthday Party Cupcakes
Video
Ingredients
- 12 Cupcakes
- Wilton white candy melts
- Wilton Primary Candy Color Set
- Small zip top bags
- Wax paper
- Permanent marker
- Mermaid tail template
- Green sprinkles
- Frosting
- Blue food coloring
- Cupcake decorating kits with bags and tips
- White pearl nonpareils
Instructions
- Print out the mermaid tail template, trace and cut.
- Melt some candy melts in a bowl following package directions.
- When the candy melts have melted, add in your candy color.
- Take a small zip top bag and cut a tiny triangle off the corner. Fill the bag with the melted/colored candy.
- Outline your mermaid tail template on the opposite side that you drew the tail on and fill in with the candy melts.
- Before the candy melts harden, shake on some green sprinkles.
- Use your favorite cupcake recipe and bake.
- When cool frost cupcakes with some white frosting colored with blue food coloring.
- Use a pastry bag and an open star tip to pipe on the frosting in a circular motion.
- Sprinkle on some white pearl nonpareils.
- Insert the mermaid tail into the middle of the cupcake.
Nutrition
For more birthday party cupcakes check out:



Leave a Reply