


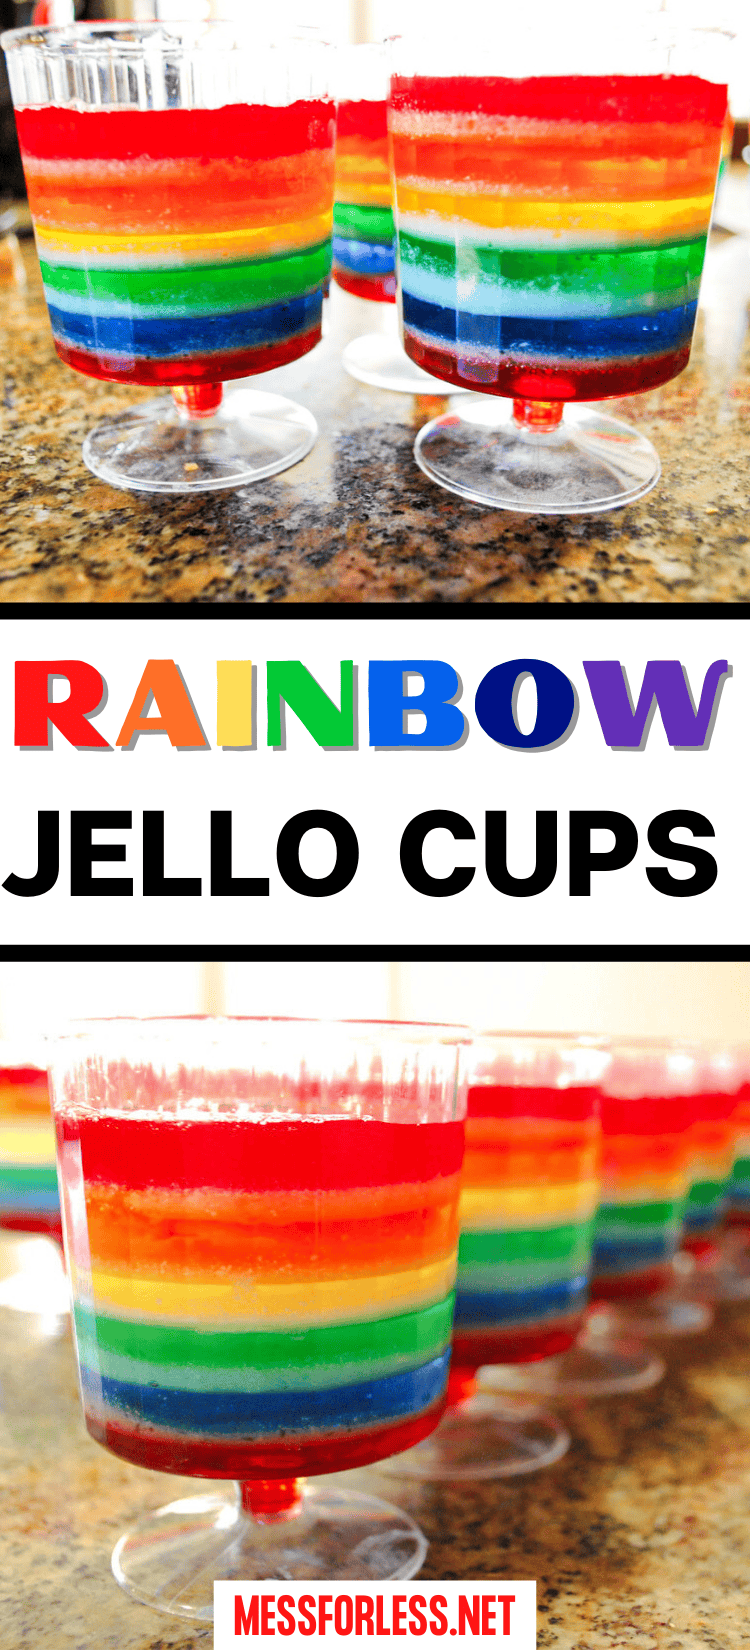
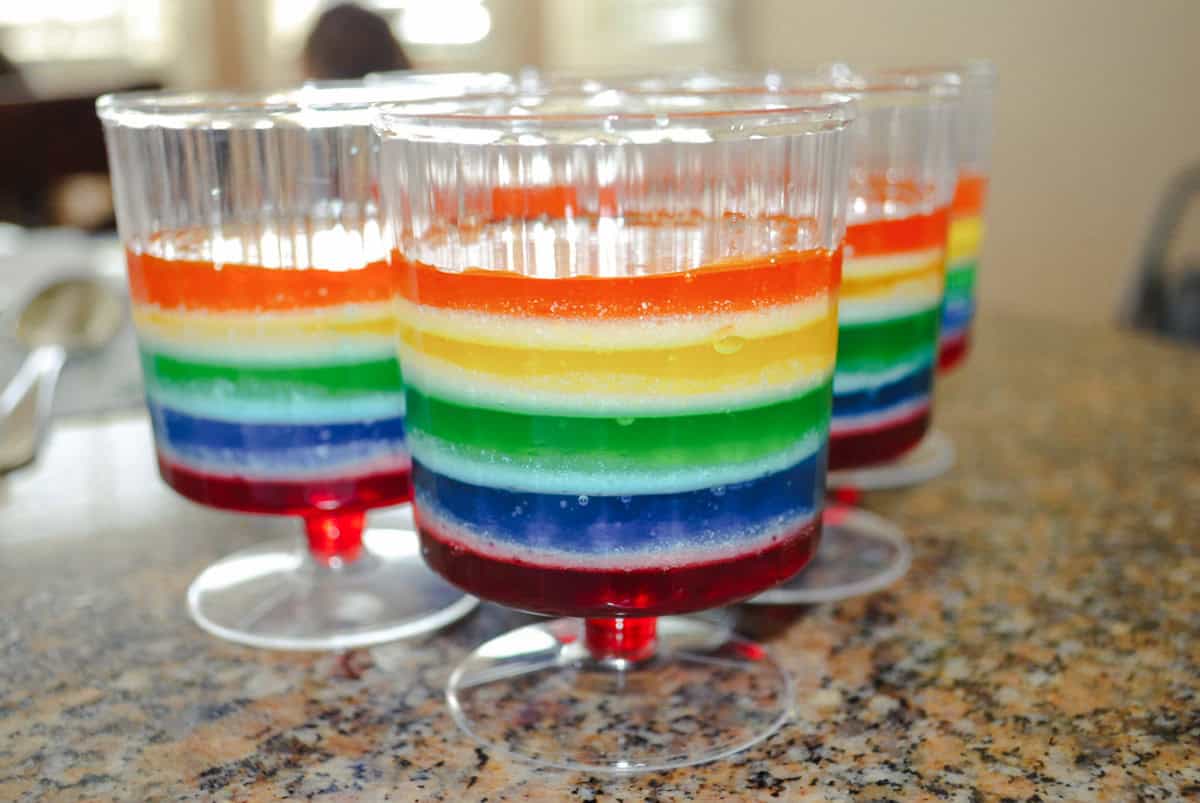
If you're looking for a fun and colorful dessert, these Rainbow Jello Cups are just the thing! Whether you're planning a kids' party or want something eye-catching for a family treat, these Jello cups are always a hit. They're a great addition to any list of easy desserts.
Making this recipe doesn't require any special cooking skills, you just need a bit of patience as the layers set. They were the perfect treat for a DIY Rainbow Party I threw for my girls.
You love how this recipe combines the fruity flavors of jello and creamy goodness in one yummy treat! If you're looking for a fun St Patrick's Day treat, then you must try these Jello cups!
Jump to:
Rainbow Jello Cups
These Jello cups are popular because they are cool looking but relatively straightforward to make. You don't need fancy ingredients, just a few packets of Jello and Cool Whip. They're perfect for parties because you can make them ahead of time, saving you last minute stress.
What makes this recipe really unique is the creamy layer that's added in between the Jello. It's so easy to make, but it takes this Jello dessert to another level. All you do is mix Jell-o with a little Cool Whip. The creamy texture pairs wonderfully with the fruity jello.

Rainbow Recipes
Rainbow recipes make any occasion more fun. With their vibrant colors, these recipes instantly stand out. Rainbow-inspired dishes brighten up any table with their cheerful, bright colors. They're ideal for any celebration!
Ingredients For Rainbow Jello
- Red, Orange, Yellow, Green, Blue, and Purple Jello - You'll need one packet of each color to create the rainbow layers.
- Cool Whip - Mixed with some of the Jello, it creates a creamy layer between the colors.
- Water - Used to prepare the Jello according to the package directions.

Kitchen Tools For Jello Recipe
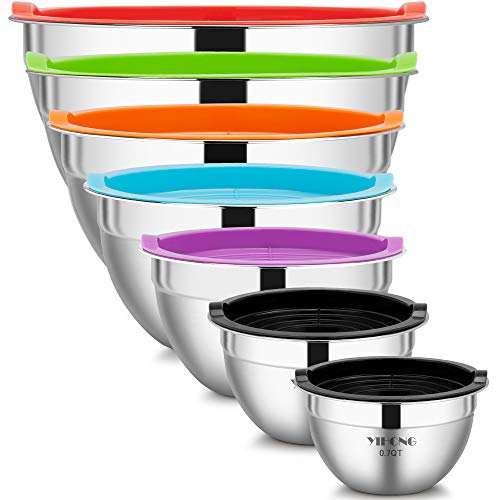
To make this layered jello dessert, you'll want to have a set of clear plastic cups or glass cups to show off the layers. A variety of mixing bowls helps make the different flavors of Jell-O. If you don't own these, you can easily find them on Amazon.
MATANA 50 pc Clear Plastic Wine YIHONG 7 Piece Metal Mixing BowlsKitchenAid Measuring Spoons, Set Of 5,OXO Good Grips Mini Whisk, 7.25


How To Make Rainbow Jello
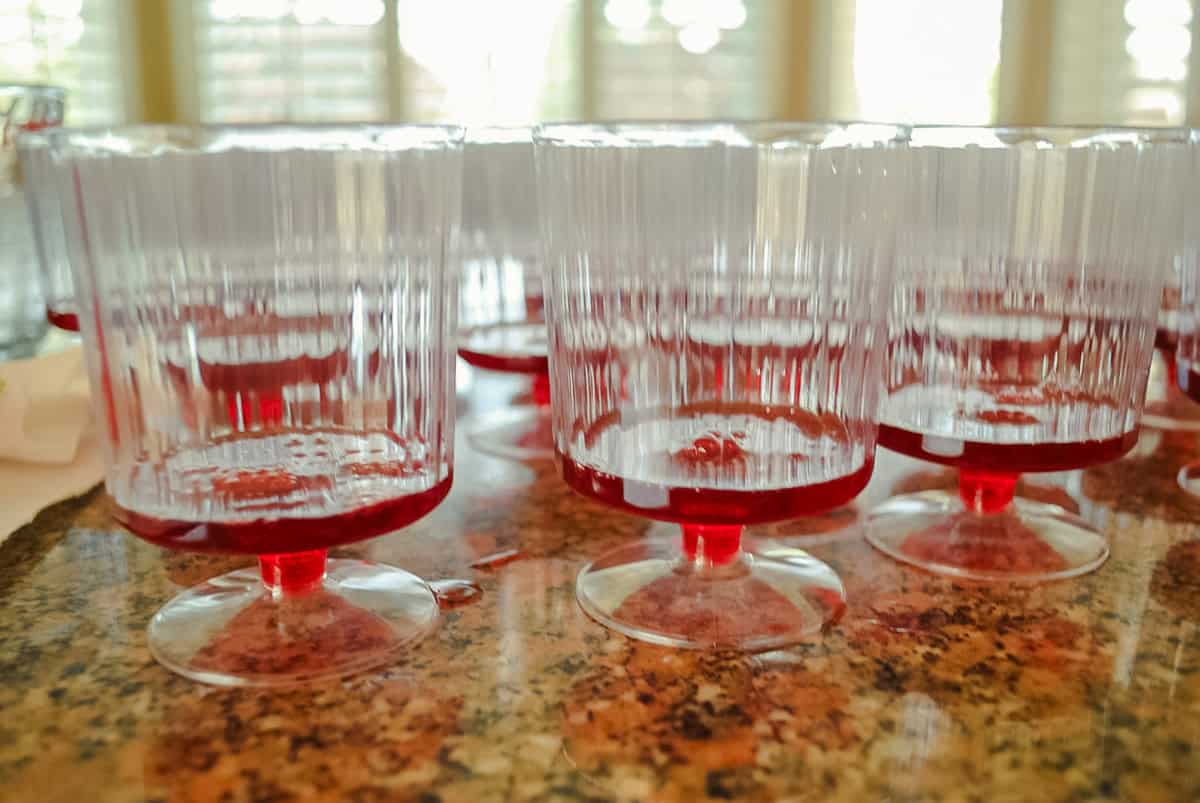
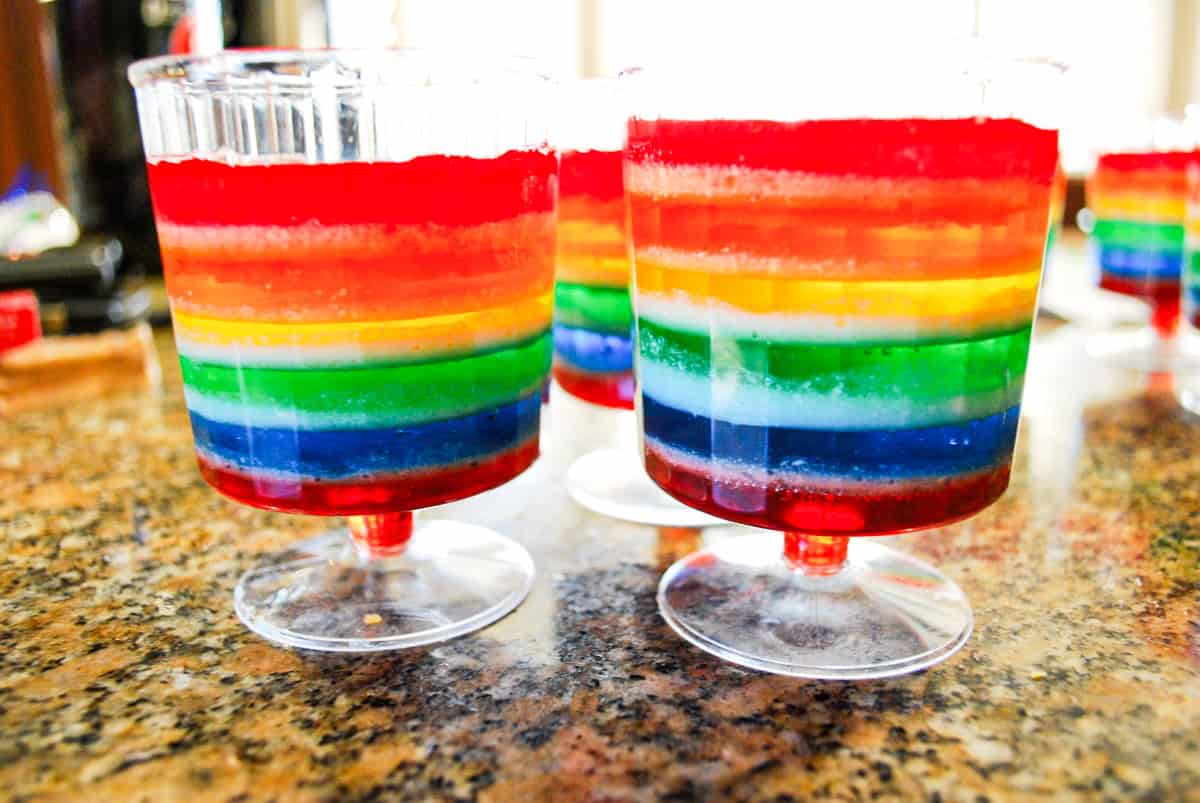
Making these gelatin cups is more about assembly than cooking. Start with the purple Jello for the first layer and make it according to the quick-set method on the box.
Reserve ⅓ of the Jello liquid you make to use later to make the cream. Pour the rest of the purple Jello liquid into your cups. Don't put in too much or there will not be room for all of the colors and cream.
Pop the cups in the fridge to set for about 20-25 minutes. While that's chilling, make the cream layer by mixing some of the reserved liquid Jello with Cool Whip.
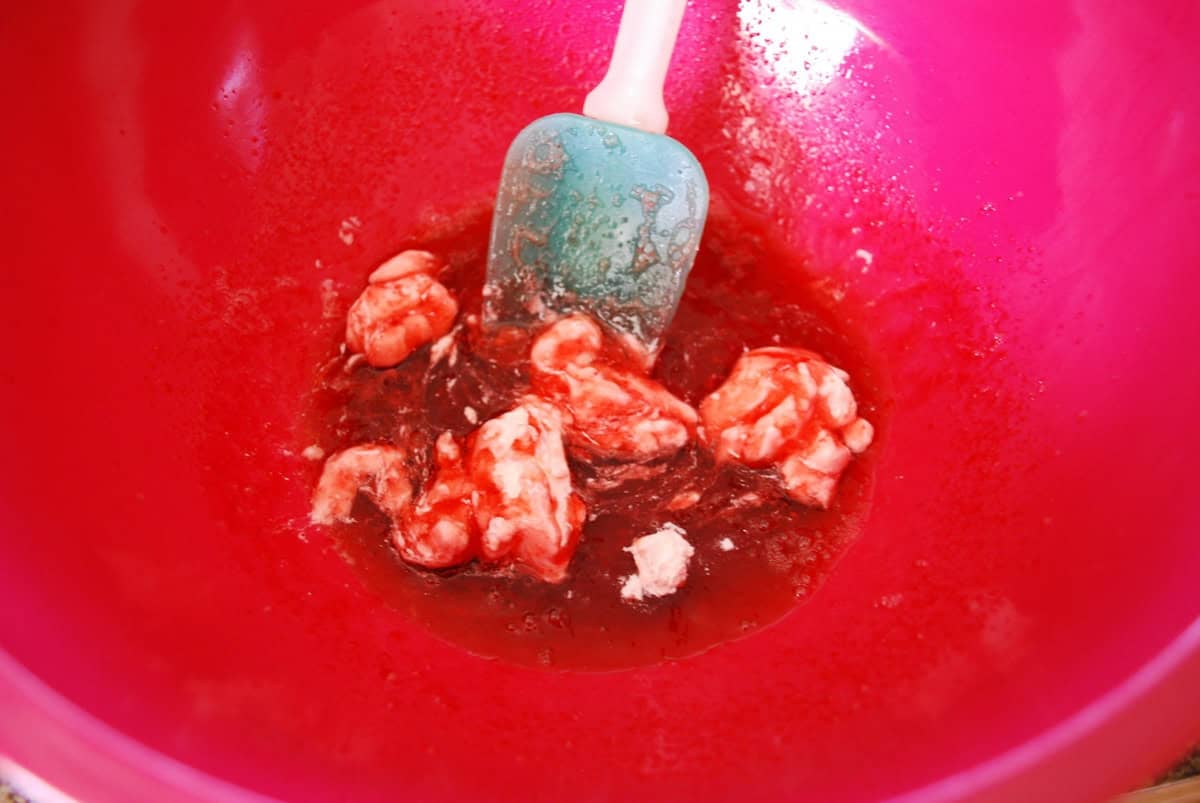
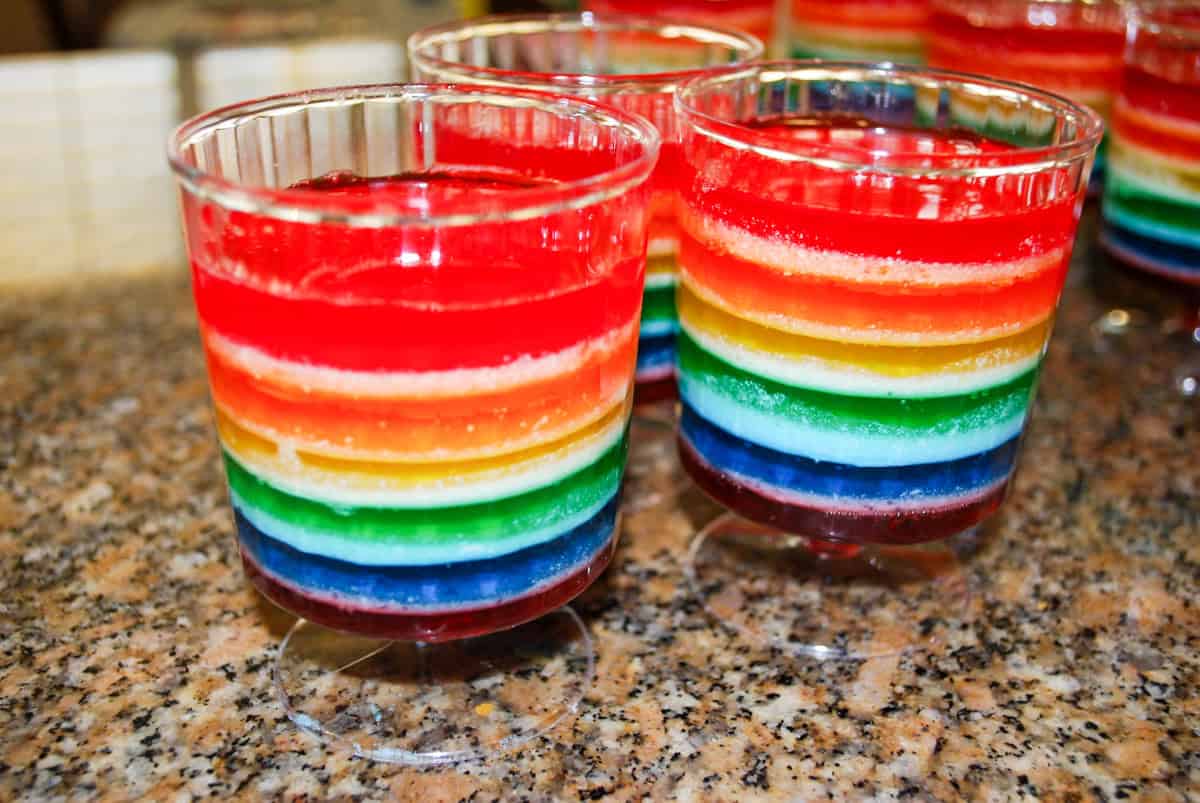
Once the first color is set, you'll carefully add a thin layer of the cream and refrigerate again. You can see with the green cream how it will look when blended.
I recommend using a tablespoon of cream per cup or you will run out of cream. I would simply pour the spoonful of cream into the cup and tilt it around so it covered the Jello completely.


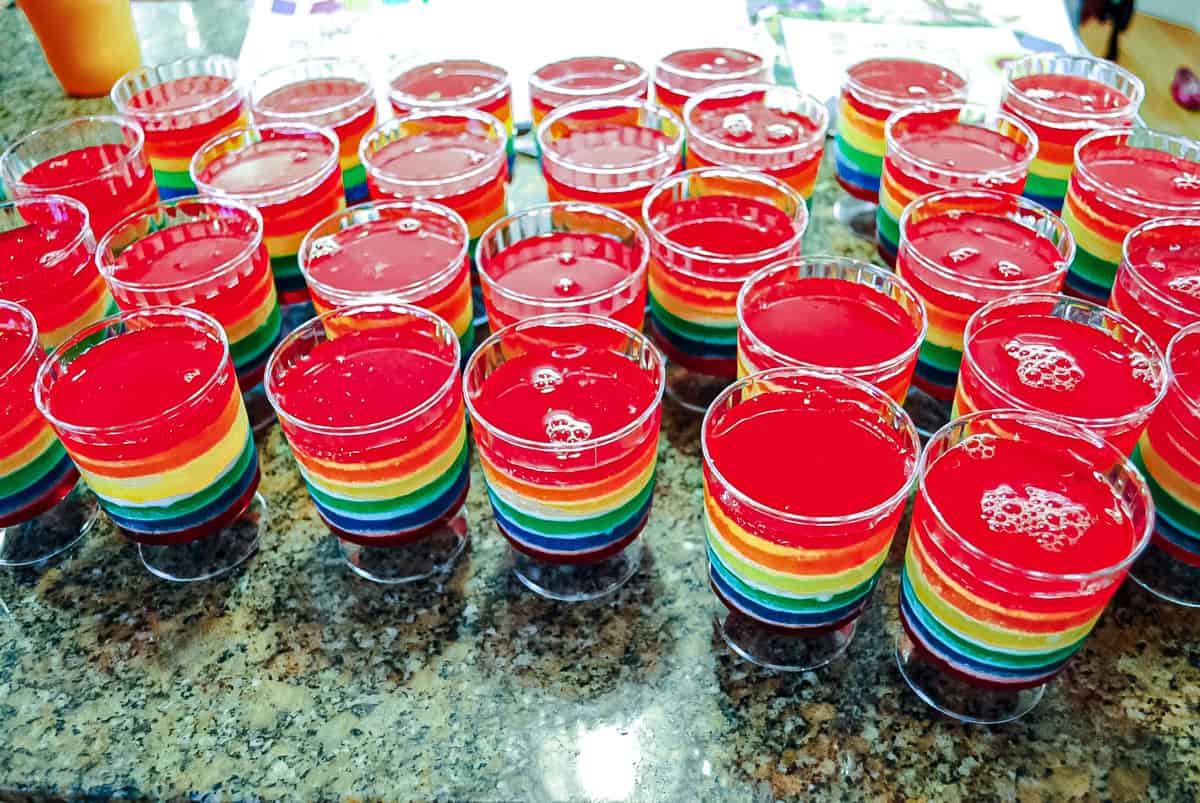
Repeat this process with all six colors in this order, purple, blue, green, yellow, orange, and red, alternating the clear Jello and cream layers. We don't have all seven colors of the rainbow because blue and indigo would look too similar.
You will need to put cups in the refrigerator to set after adding every new Jello color and after each color of cream.


Make sure the cream has set before pouring your next color of Jello on top. Even when it has set, you need to be careful adding the Jello to the cup. Pour it slowly and distribute it evenly in the cup. If you do it too quickly and all in one spot, it can make a hole in the cream layer resulting in bits of cream floating into your next layer.
I chose not to add a layer of red cream on top. I didn't think the cream layer looked as smooth or pretty as the Jello layer and my cup was pretty full at this point anyway. If any of your cups have bubbles on top, pop them before you put them in the refrigerator.
One thing I love about this recipe is that it's actually quite forgiving. If your layers don't set perfectly straight, it just adds character. And if you're running low on the cream mixture, adjust accordingly. You'll have a delicious dessert no matter what.
Tips For Layered Jello Cups
Tip 1: Be patient! Each layer needs time to set before adding the next. Rushing this step could cause the colors to mix together and ruin the look of your rainbow.
Tip 2: If you find it difficult to spread the layers evenly, use a piping bag or zip-top bag with a corner cut off for more control.
Tip 3: You can make these up to a day in advance so they're great for parties.
FAQs To Make Colorful Jello
If you want these to be rainbow cups, then it's pretty important to have all the colors of the jello. Obviously you can substitute some colors with another if you can't find the exact color you need.
Keep your Jello cups covered in the refrigerator until you're ready to serve. I recommend making them no more than a day in advance. You can store any leftovers for up to 3 days in the fridge, but the layers might lose some of their firmness over time.
Yes, but homemade whipped cream has a looser texture than Cool Whip, so the layers might settle or mix more. If you prefer homemade, be sure to whip it to a stiff consistency for the best results.

Recipes Made With Jello
Did you know that Jell-O is a versatile ingredient that you can use in countless recipes? It's bold colors and fruity flavors make it perfect for creating eye-catching desserts, plus, it's super easy to work with. Here are some of our favorite recipes made with Jell-O:
With a cool rainbow look, it's easy to see why this jello treat is such a fun dessert to serve. If you're looking for something for St. Patrick's Day or just to add a little fun, try these!
Easy Kids Recipes


📖 Recipe

Rainbow Jello
Video
Ingredients
- 3 oz Red Jello
- 3 oz Orange Jello
- 3 oz Yellow Jello
- 3 oz Green Jello
- 3 oz Blue Jello
- 3 oz Purple Jello
- 16 oz Cool Whip 2 containers
Instructions
- Open up the box of purple Jello and follow the directions on the box for making it using the quick set method. Reserve ⅓ of the Jello liquid you make to use later to make the cream. Pour the rest into your cups.
- Put in the refrigerator to set for 20-25 minutes. While the purple layer is setting you can get the cream layer ready. Use the jello you set aside and add ⅓ a cup of cool whip. Mix until blended.
- Pour in approximately a tablespoon of cream per cup or you will run out of cream. Pour the spoonful of cream into the cup and tilt it around so it covers the Jello completely.
- After you add your cream layer, put all the cups back in the refrigerator so the cream layer can set. This takes between 15-20 minutes. You will need to put cups in the refrigerator to set after adding every new Jello color and after each color of cream.
- Repeat for each color of Jello that you will be using.
Notes
- Make sure the cream has fully set before pouring your next layer of Jello on top. Even when the cream is set, be careful when adding the Jello to the cup. Pour it slowly and distribute it evenly to avoid creating a hole in the cream layer, which could cause bits of cream to float into your next layer.
- If you notice any bubbles on top of your cups, be sure to pop them before placing them in the refrigerator.
- Additionally, be mindful not to add too much Jello at once; otherwise, there may not be enough space for all the colors and cream.
- Do not use cups that are too big or you will end up using a ton of jello and cream.


Kristy Lawrence says
These are fabulous! I hate jello too so I would not attempt these, but they are great to look at!
Kristy Lawrence says
This are fabulous! I hate jello too so I would not attempt these, but they are great to look at!
Mackenzie says
This is seriously SO fun! I love it! These look delicious! You are a Featured Favorite this week on Saturday Show & Tell on Cheerios and Lattes!
Mackenzie 🙂