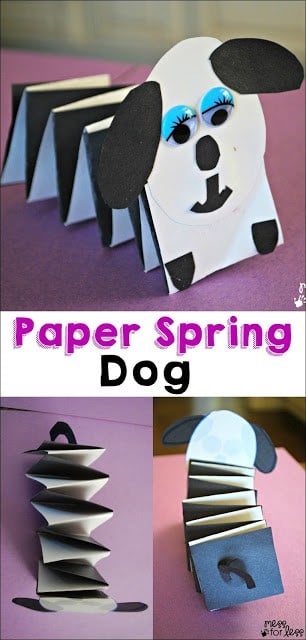
This activity was inspired by a toy dog I had as a kid. Maybe you had one too. It had a dog head and behind with a metal spring in the middle that allowed the dog to stretch and move. When my six year old daughter came home from school one day and showed me how to make these paper springs, the first thing that popped into my head was that dog toy from my childhood. If you want to check out the 2015 version of my beloved childhood toy, check him out here. This is a simple Paper Craft for Kids - Spring Dog. Enjoy our version of a Spring Dog! When you are done with this paper craft, have some fun playing with it in our Pretend Play Vet's Office. You might also enjoy making this Worm Pencil Holder.
- Construction paper (we used 9x12)
- Scissors
- Tape
- Glue stick
- Googly eyes
Pick two colors of construction paper to start with and cut two strips of equal size from each color going lengthwise. You will be taping the strips together to make one really long strip. I ended up with one long strip of black and one long strip of white paper. Feel free to pick whatever colors strike your fancy.
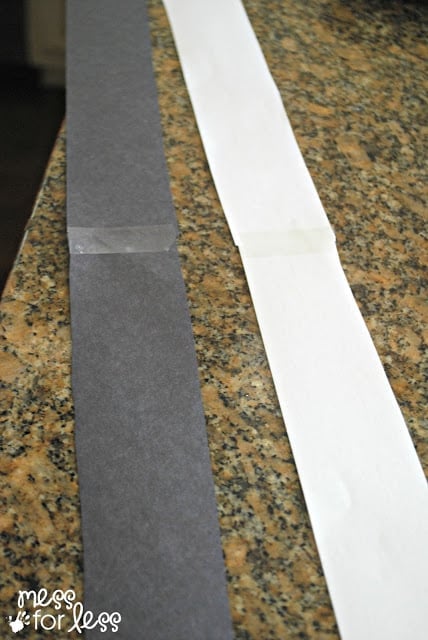
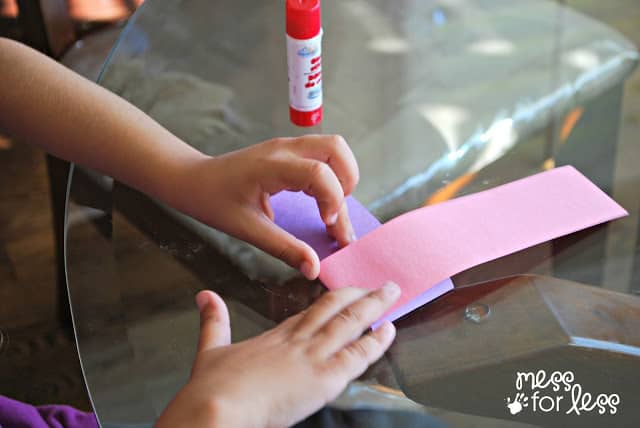
Now it is time to connect the two strips. Glue one strip on top of another until you have an upside down L. In my case, I glued my white strip on top of my black strip. Then I folded over the black strip and folded over the white strip over that. You will keep doing this until you have started to make a spring pattern.
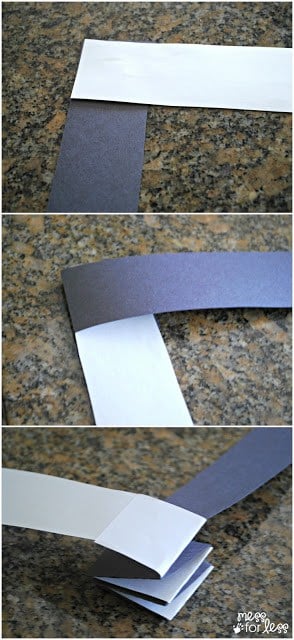
This is a super easy process. So easy in fact that my six year old was able to do it. Once you make your first one you get the hang of it very easily.
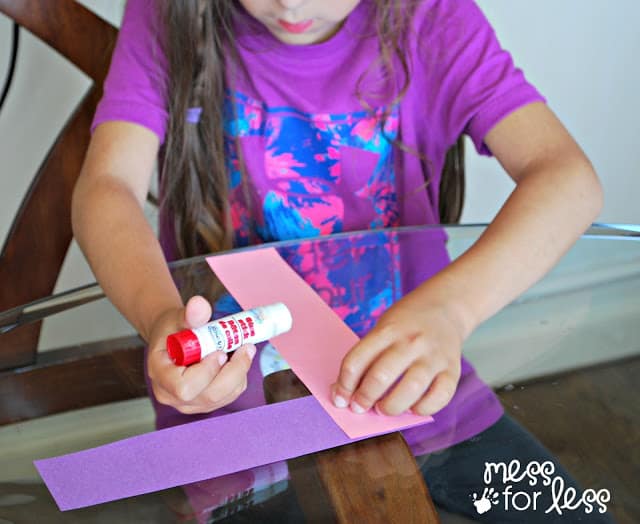
If you want to make super long springs, just tape more strips together in the beginning. Please make sure they are the same size.
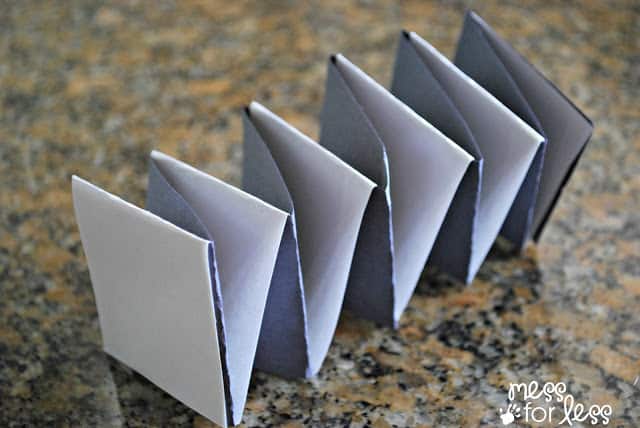
When you get to the end, you can just glue the last ends down. You will be left with something that looks like this which will be the body of your animal.
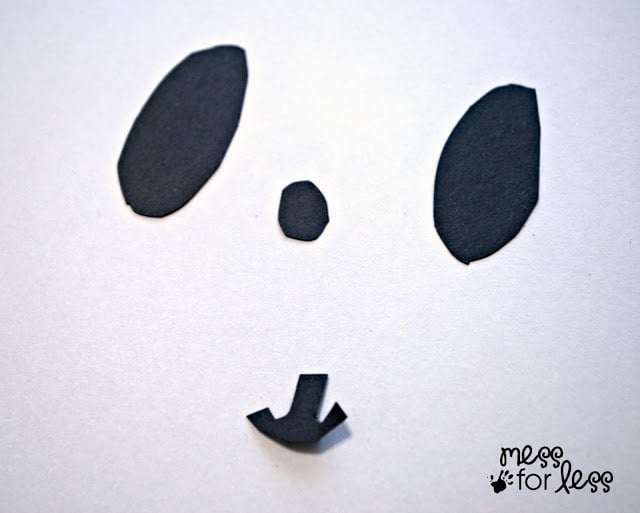
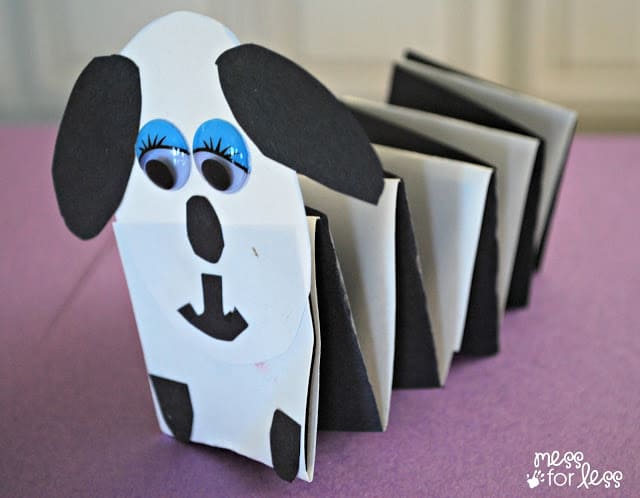
Cut some eyes, a nose and a mouth out of construction paper. I used oval shapes for the ears, a circle shape for the nose and an anchor shape for the mouth.
You will glue those on a larger oval that you have cut out for the head. Since we were making a black and white dog, I used white construction paper for the head and black paper for the facial features. Add some googly eyes. I just love the ones that have eyelashes!
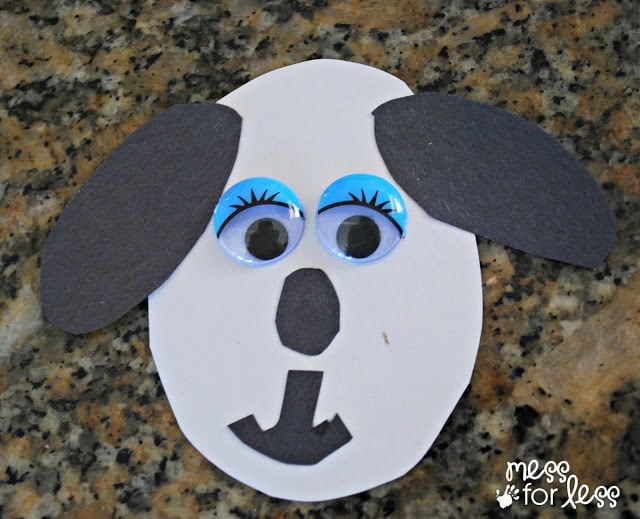
Glue the head on one end of the spring.
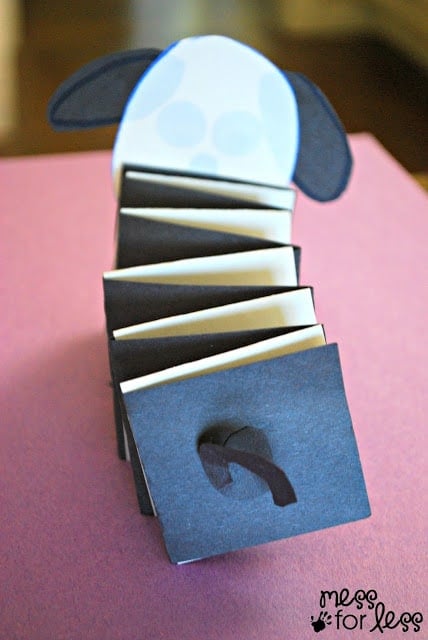
Cut a tail out from the construction paper and glue on the back. Is that just the cutest little end?
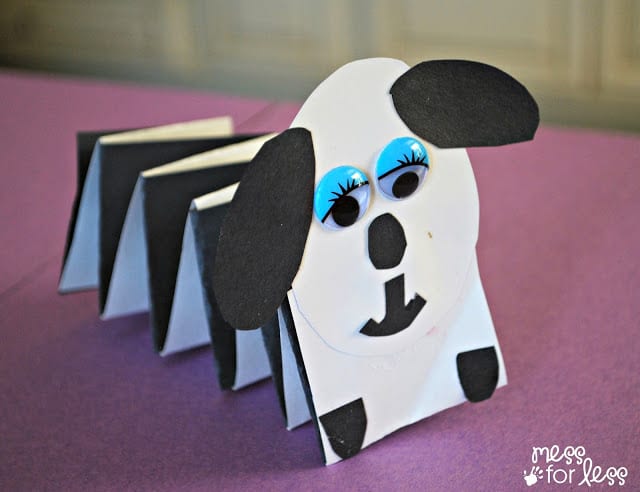
Now this puppy is ready! You can make all sorts of paper animals using this technique. My kids made a cat and a unicorn, but the possibilities are endless. When the animals are done they make great additions to a block area.
For more kids crafts check out:


loveit murphy
Do you have a printable version of the instructions?