
This Silver and Gold Slime Tutorial will teach you how to make the most sparkly slime around. If your kids are anything like mine, then sparkles and glitter are all the rage. Things can never have too much sparkle. This diy glitter slime recipe is easy to make with just a few basic ingredients, thanks to glitter glue. That's right, the glue has already been glittered for you! That means you no longer have to deal with glitter on your floor, on your table, on your chairs, basically everywhere. So check out how to make silver and gold slime tutorial.
Jump to:
Why the homemade slime recipe is awesome
- Made without borax powder or liquid starch
- Easy to make 4 ingredient slime
- No mess from glitter everywhere
- Makes a fun birthday party activity
This slime is not edible. Please supervise your kids when making slime and have them wash their hands when they are done playing.
Ingredients
For gold slime:
Small bowl
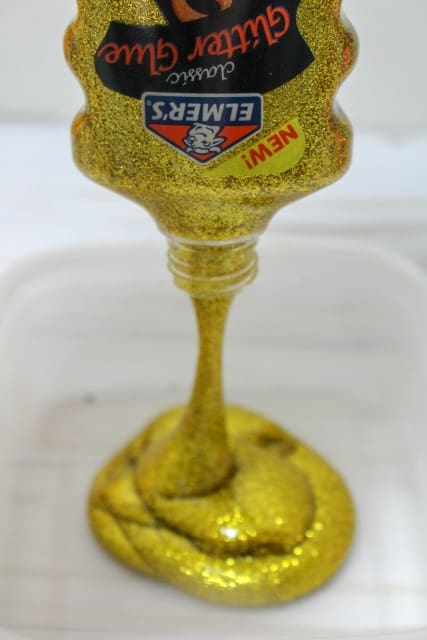
1 5 oz bottle of Elmer's Gold Glue
½ cup water
½ teaspoon baking soda
1 tablespoon contact lens solution
For silver slime:
Small bowl
1 5 oz bottle of Elmer's Silver Glue
½ cup water
½ teaspoon baking soda
1 tablespoon contact solution
How to make silver and gold slime diy
You will need to make the silver and gold slime separately. Luckily, the process is exactly the same for the basic slime recipe. I will take you through the steps to make each color of slime in this silver and gold slime tutorial.
Pour the entire bottle of Elmer's Glue in gold into a small bowl.
Next, add in ½ cup of water and ½ teaspoon of baking soda to the gold glitter glue and stir.
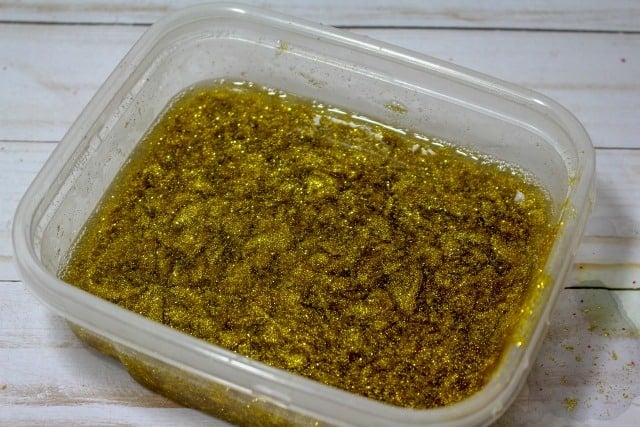
Then, add 1 tablespoon of saline solution as the slime activator. This will cause the slime to begin to form. The slime will be STICKY! But don't panic. Keep mixing the solution into the slime mixture until the slime starts to pull away from the bowl. This may take longer than you think. Just keep mixing and kneading the slime until it is no longer sticky. Set the gold slime aside.
Now it is time to repeat the process to make your silver slime.
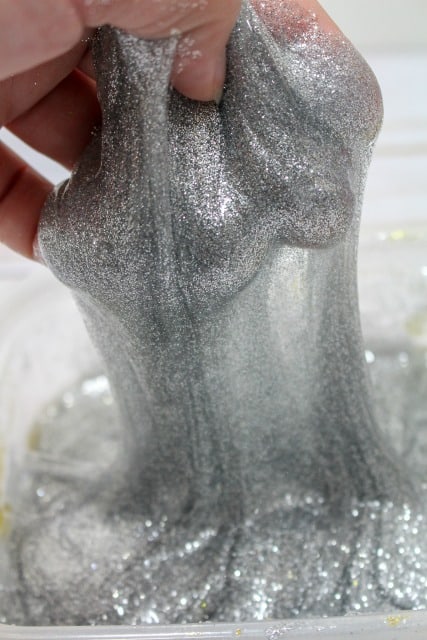
Pour the entire bottle of Elmer's Silver Glitter Glue into a small bowl.
Add in ½ cup of water and ½ teaspoon of baking soda to the sliver glue and stir.
Then, add 1 tablespoon of contact solution. This will cause the sliver slime to start to form. The consistency will be STICKY! Keep mixing the solution into the slime mixture until the sliver slime starts to pull away from the bowl. Then, keep mixing and kneading the slime until it is no longer sticky.
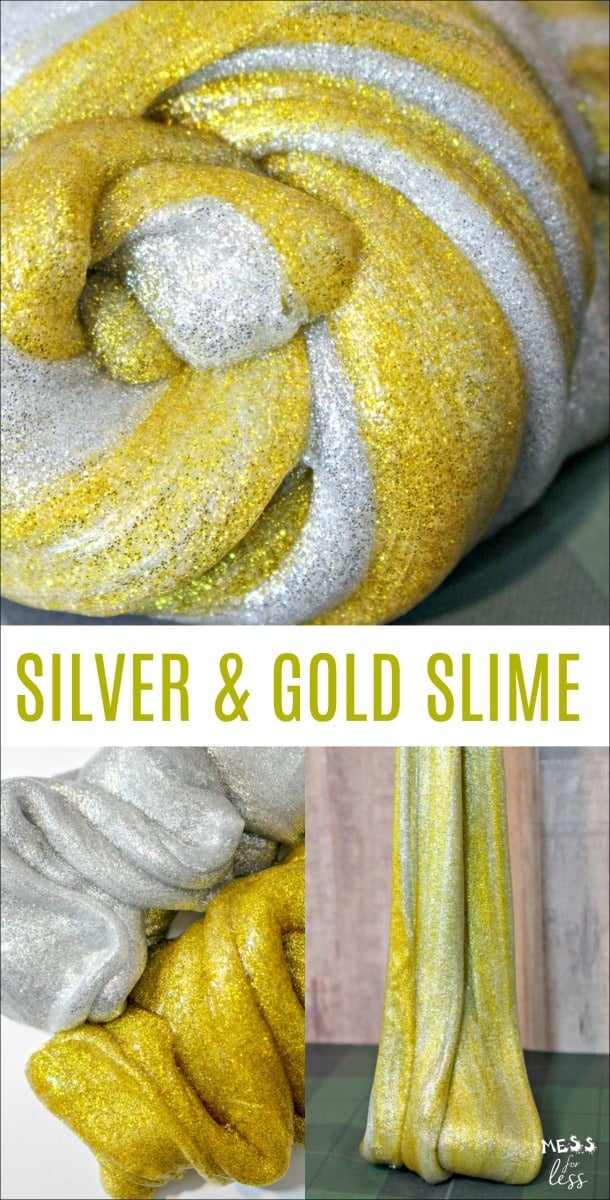
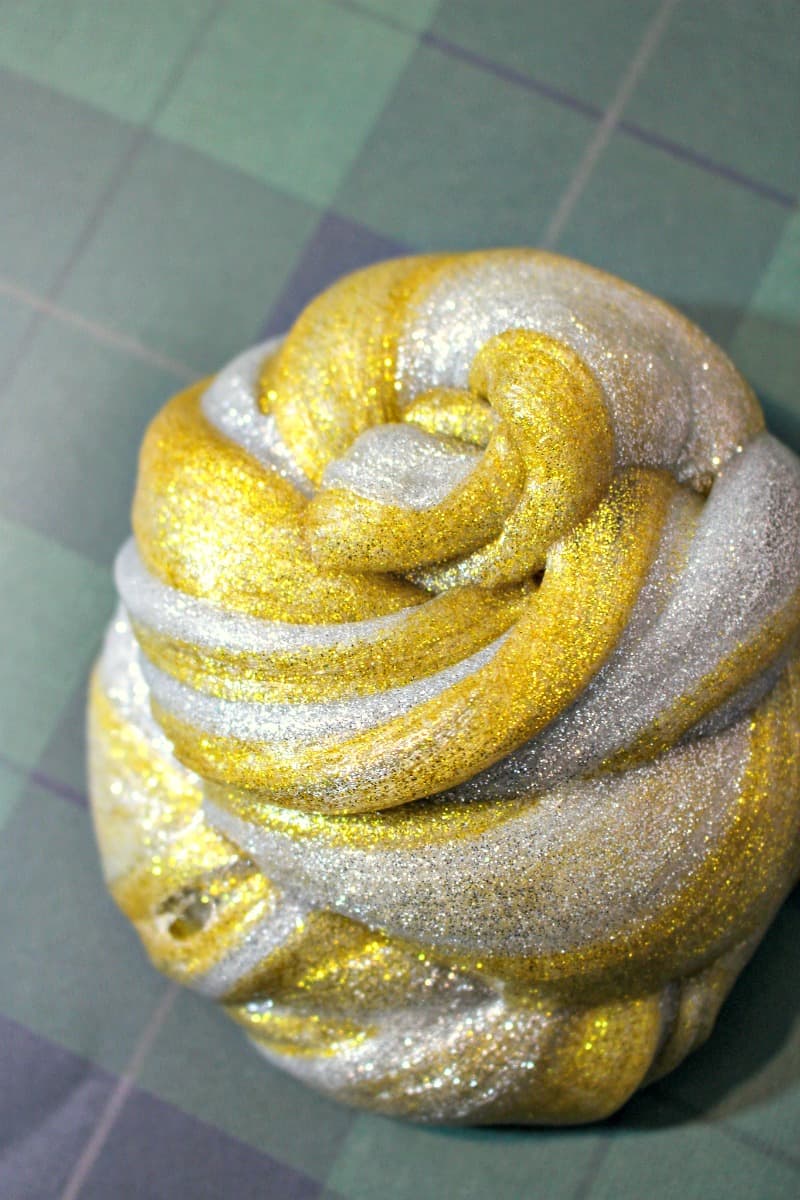
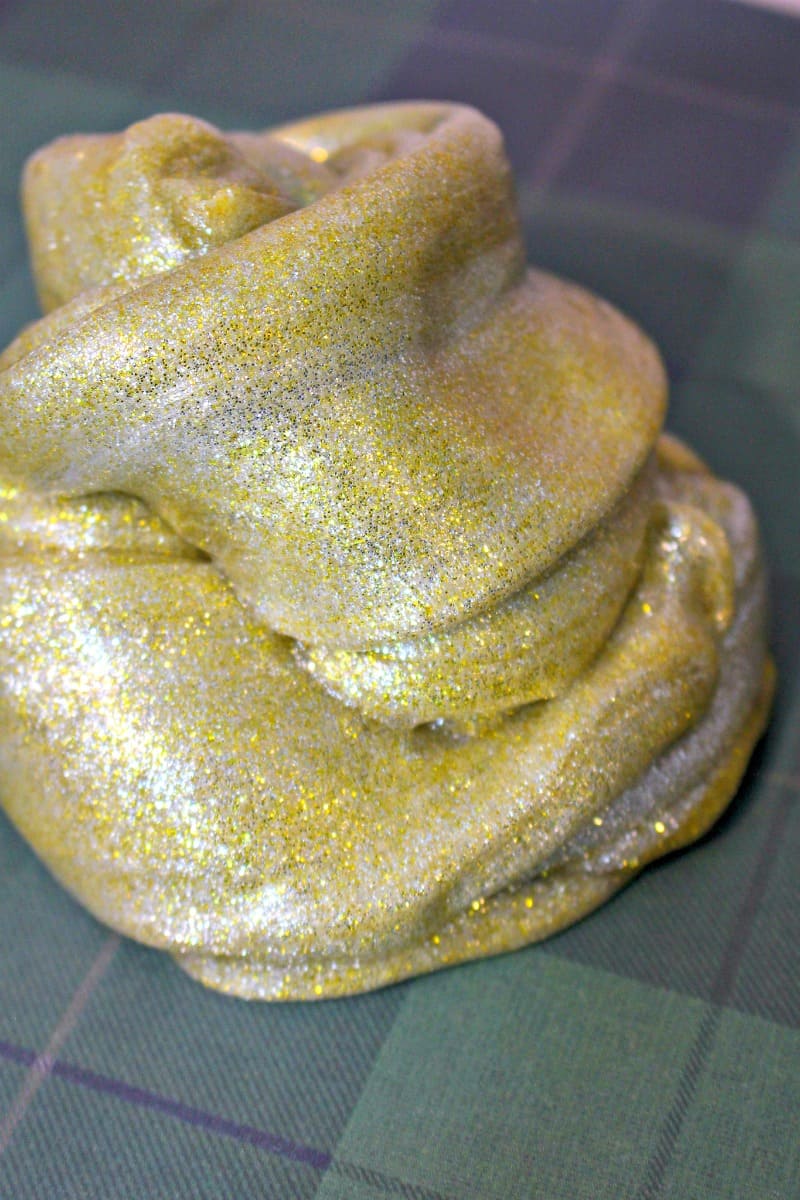
You will now have two colors of slime - sparkly gold and sparkly silver. If your kids want to stop here they can. Each color is cool enough on it's own.
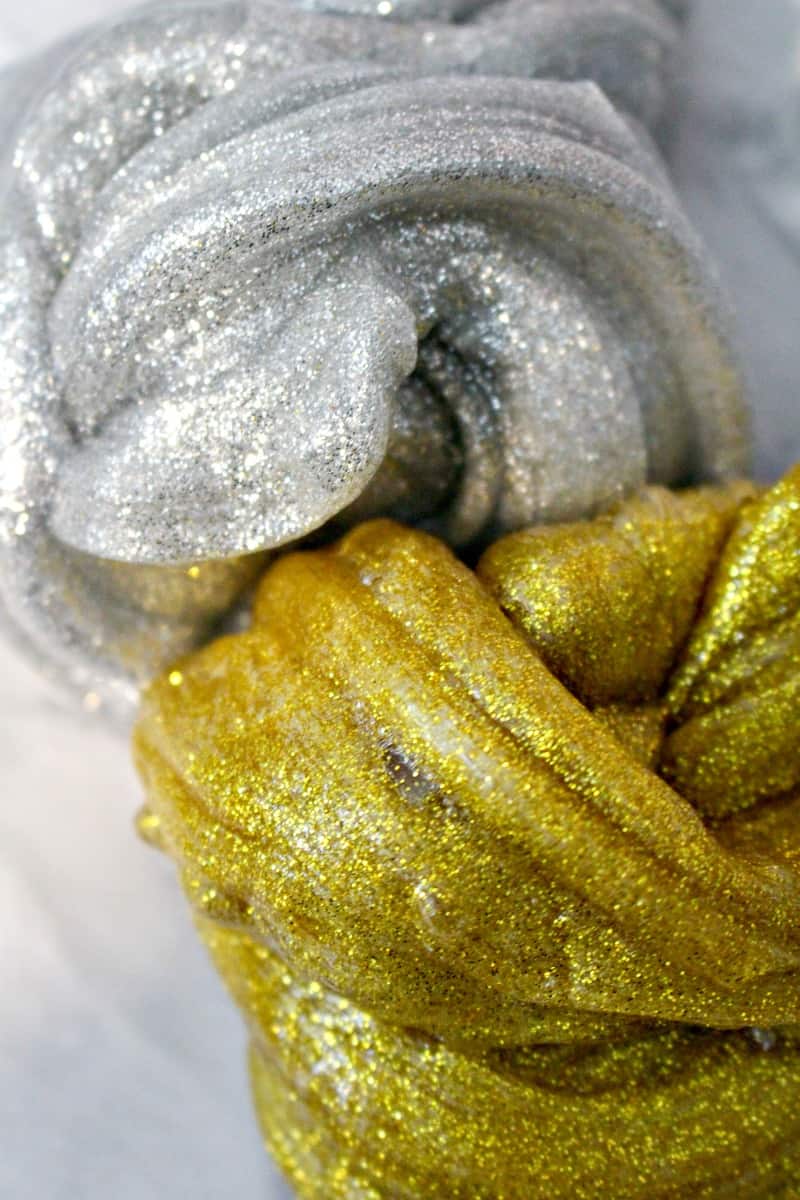
But when the two colors of slime are swirled together, the real magic happens!
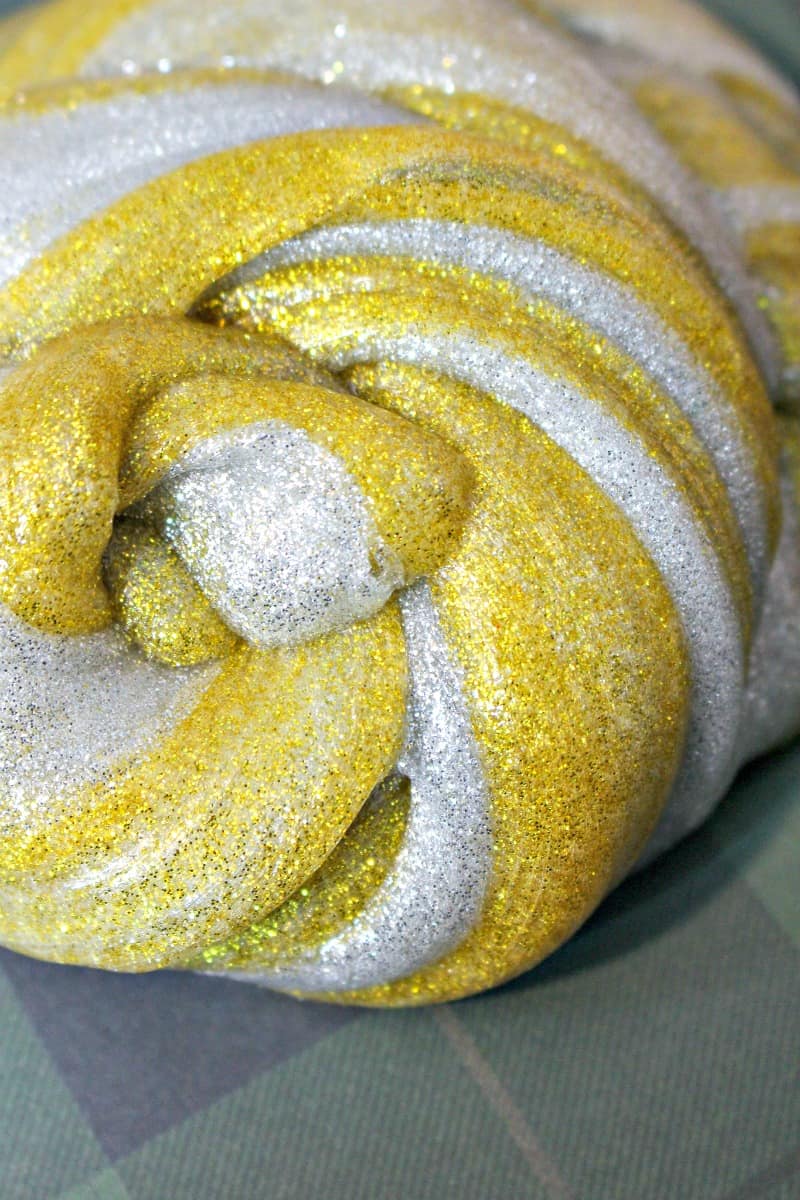
The two colors combine to make a rich looking slime that changes color as you play with it and turn it in your hands.
Easy experiments are fun for kids. If you're looking for more easy experiments, the Spangler Science Club brings you fun hands-on science each month. Join Today!
Eventually, the colors will mix completely, leaving you with a shimmery slime sure to delight your kids.
Frequently asked questions
This slime can be stored in an airtight container if your kids don't want to play with it right away. After noticing my kids leaving slime everywhere and finding lots of messes, I purchased these containers and they have been a life saver.
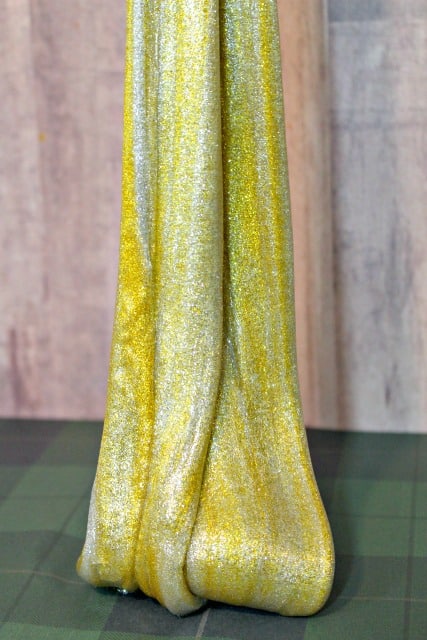
Don't mix it too much. When you start to mix it a lot, it will turn mostly yellow but still look really pretty and sparkly.
Clair says
Love this slime idea and I know my kids would too!
Safi says
My son loves slime! I love how festive it is!
Em says
Wow! You are a PRO in making DIY slime! My boys would love this!
Jen says
My girls are obsessed! This combo would be fun to make on New Year's Eve!
Glenny says
OMG it looks so pretty. I dont have kids of my own but I totally wanna create my own slime lol