We had so much fun playing with our golf tees and golf balls that I decided to use the balls again, this time for painting. We have done marble painting in the past and I wanted to try something similar with golf balls. I was curious about the results we would get since the golf balls were bigger and had some texture to them. Have fun painting with golf balls!
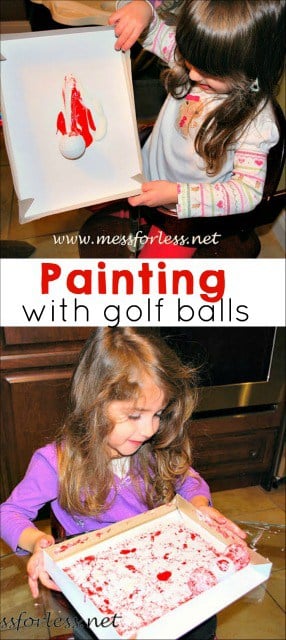
Painting with golf balls
Supplies you will need:
- Paint colors of your choice
- Golf balls
- Shirt box
- Paper (I used plain copy paper)
- Tape
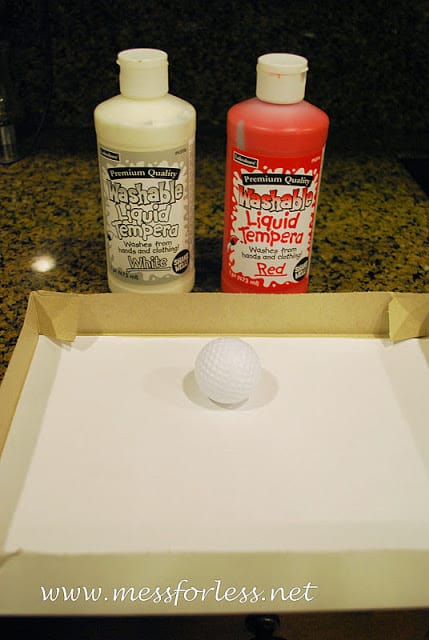
Start by lining a shirt box with a piece of paper. I used copy paper and and tape it to the bottom of the box. You could use colored paper if you wish as well.
My daughters were interested in seeing if they could make the color pink by mixing red and white so we used those two colors of paint. I squirted some paint in the center of the box and had the kids drop in a golf ball. I used a little too much paint on my daughter's golf ball and it got kind of stuck.
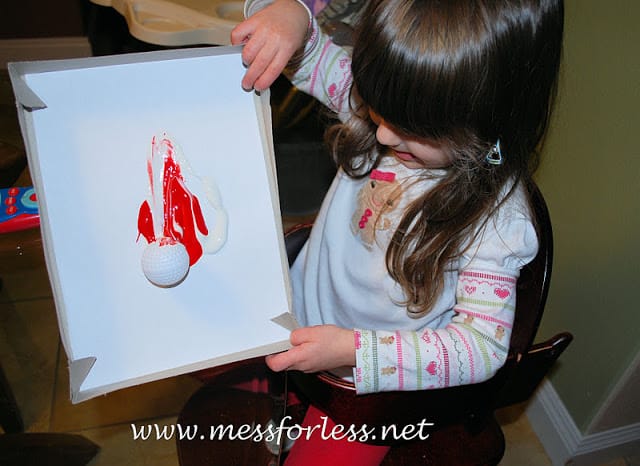
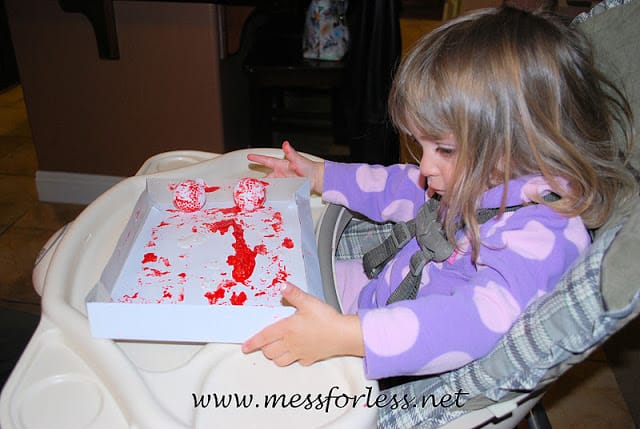
I used a little less paint for my youngest and the ball traveled more smoothly. Kids paint as they tilt the box back and forth and the paint covered ball travels.
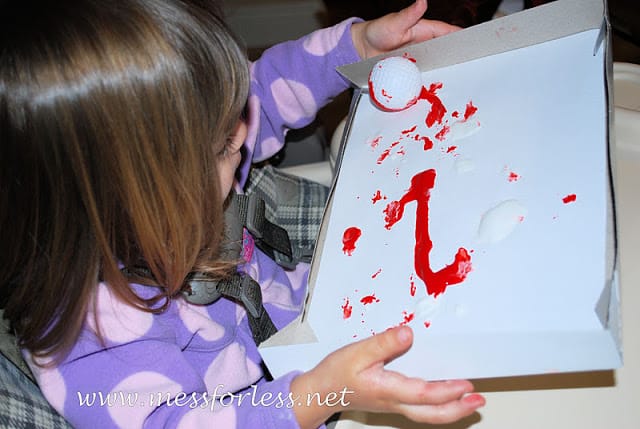
After a while, my daughter wanted another golf ball to add to the mix.
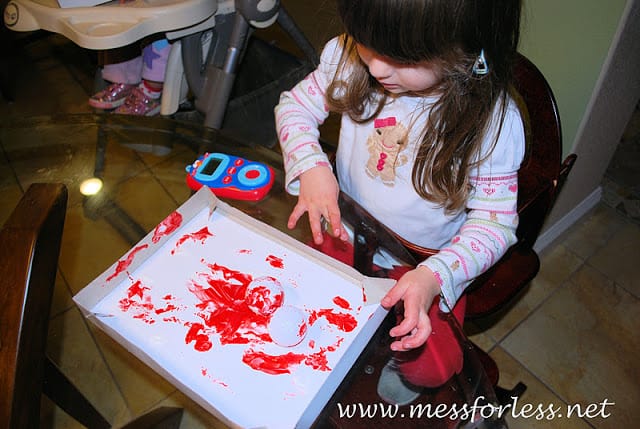
Now you know it was only a matter of time before we added a third golf ball. The tracks made by the golf balls were so unique because of their texture.
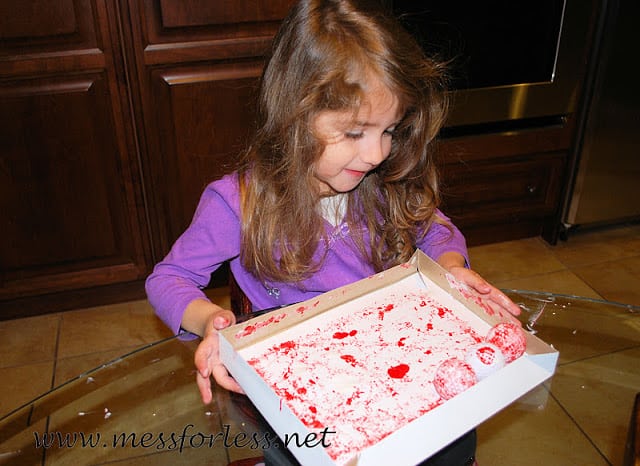
This was a messy activity but the kids painted page after page. We didn't really make much pink though. So if you are doing this as a color mixing activity, keep that in mind. Still, it was a fun and creative way to spend an afternoon.
If you enjoyed this, you'll love:


Leave a Reply