I am a big fan of winter crafts for kids. In the past we have done some fun Snowman Activities and even made a snowman during our Snow Gak Sensory Play. Recently, we used one of our favorite learning and play tools, q-tips, to create an adorable Q-Tip Painted Snowman Craft. The best part of this craft is that you can make this snowman indoors!

Jump to:
⭐Why This Craft is Awesome
- This snowman craft helps kids to strengthen their fine motor skills as they hold the small q-tip in their hand and paint. They can also work on fine motor skills with this Penguin Sensory Bin.
- Kids get to use a household item in a new way.
- All the supplies are common household items used in a new way, like how you can use a coffee filter to make this Coffee Filter Snowflake Craft.
🖍️Supply Notes
- White, black and orange tempera paint - for the snowman's body, nose and mouth
- Tray - to squirt the paint
- Q-tips - to paint the snowman
- Different sized cups - you will use these to make the outline of the snowman's body
- 12x18 blue construction paper - this size gives you a large area for your snowman
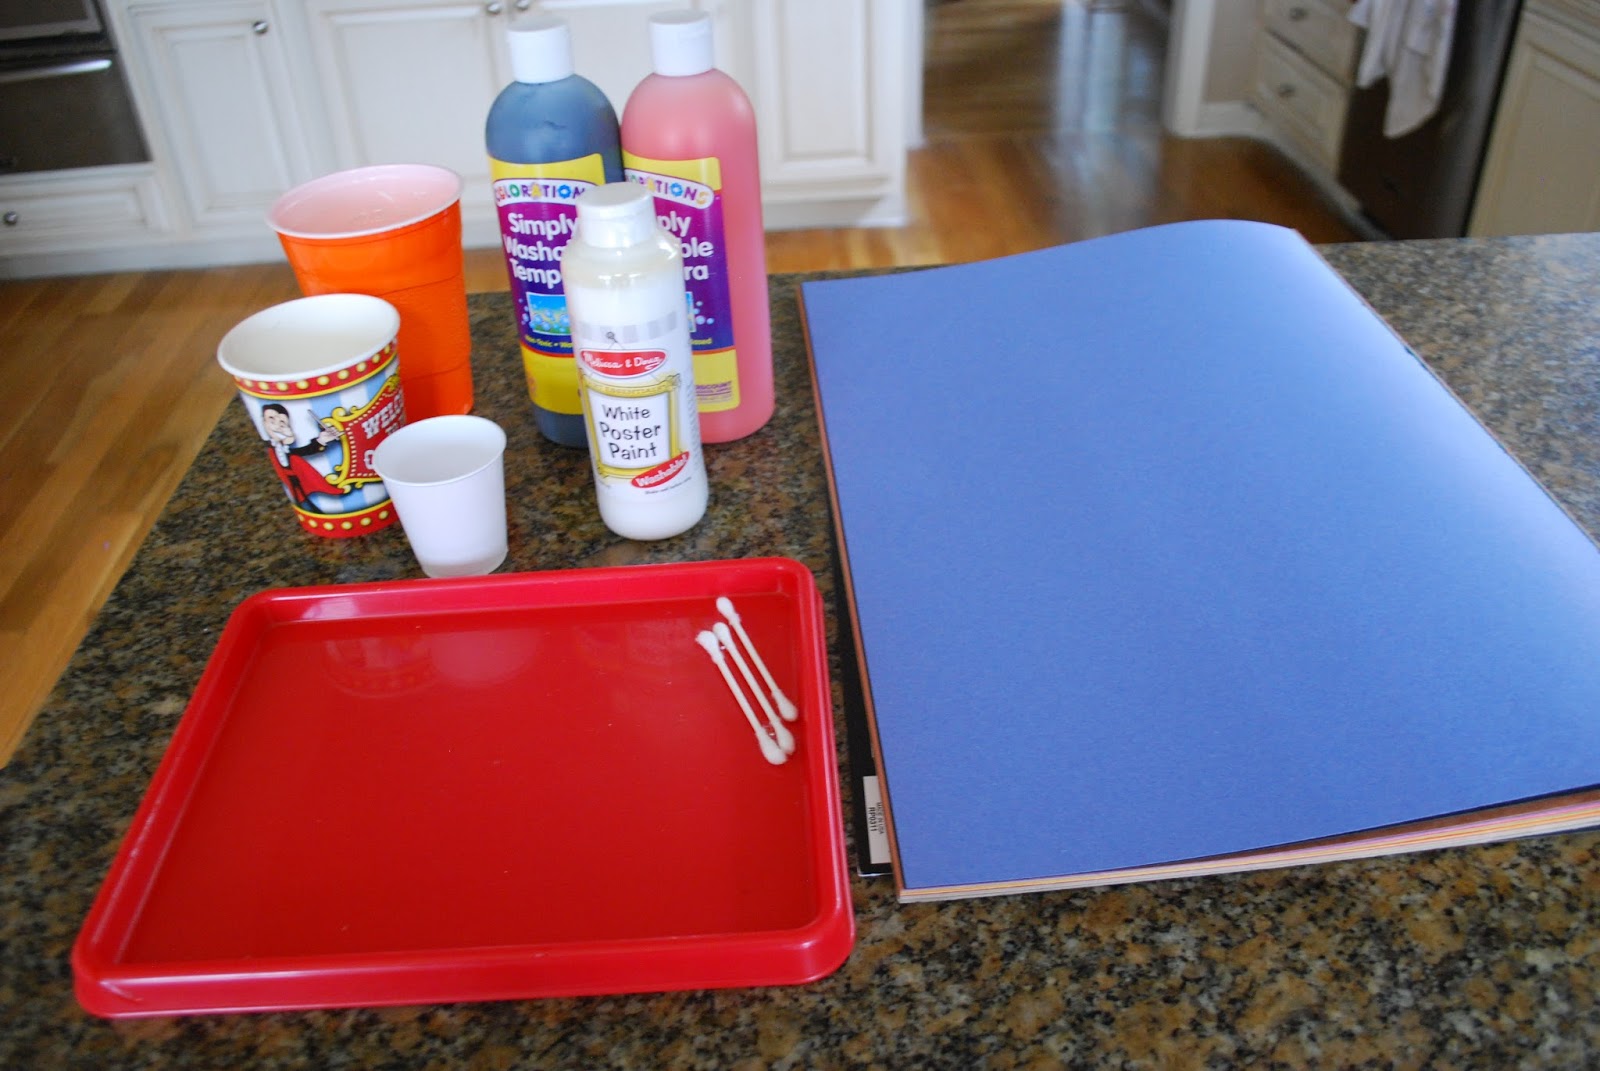
📋Step by Step Instructions
STEP 1: Pour some white paint into the tray. Dip the open part of the large cup into the white paint and press down on the blue construction paper. Leave some space on the bottom of the paper to make a snow bank.
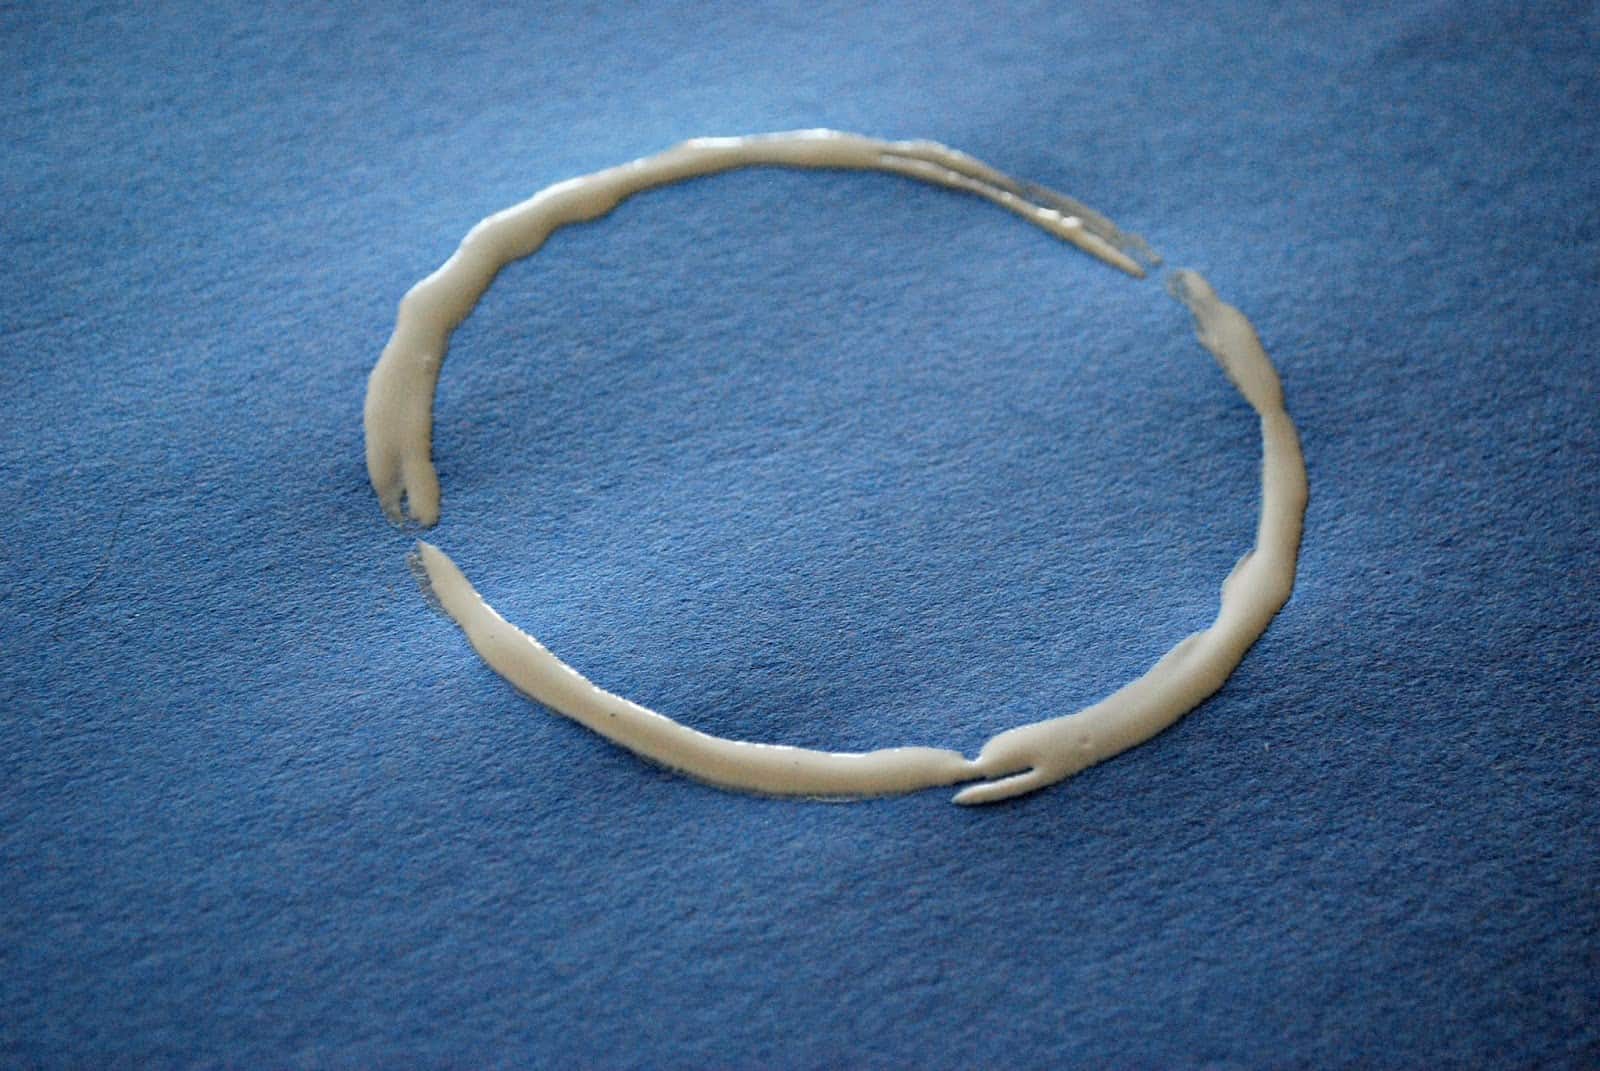
STEP 2: Dip the medium cup into the white paint and press onto the paper directly over the large white circle you previously made.
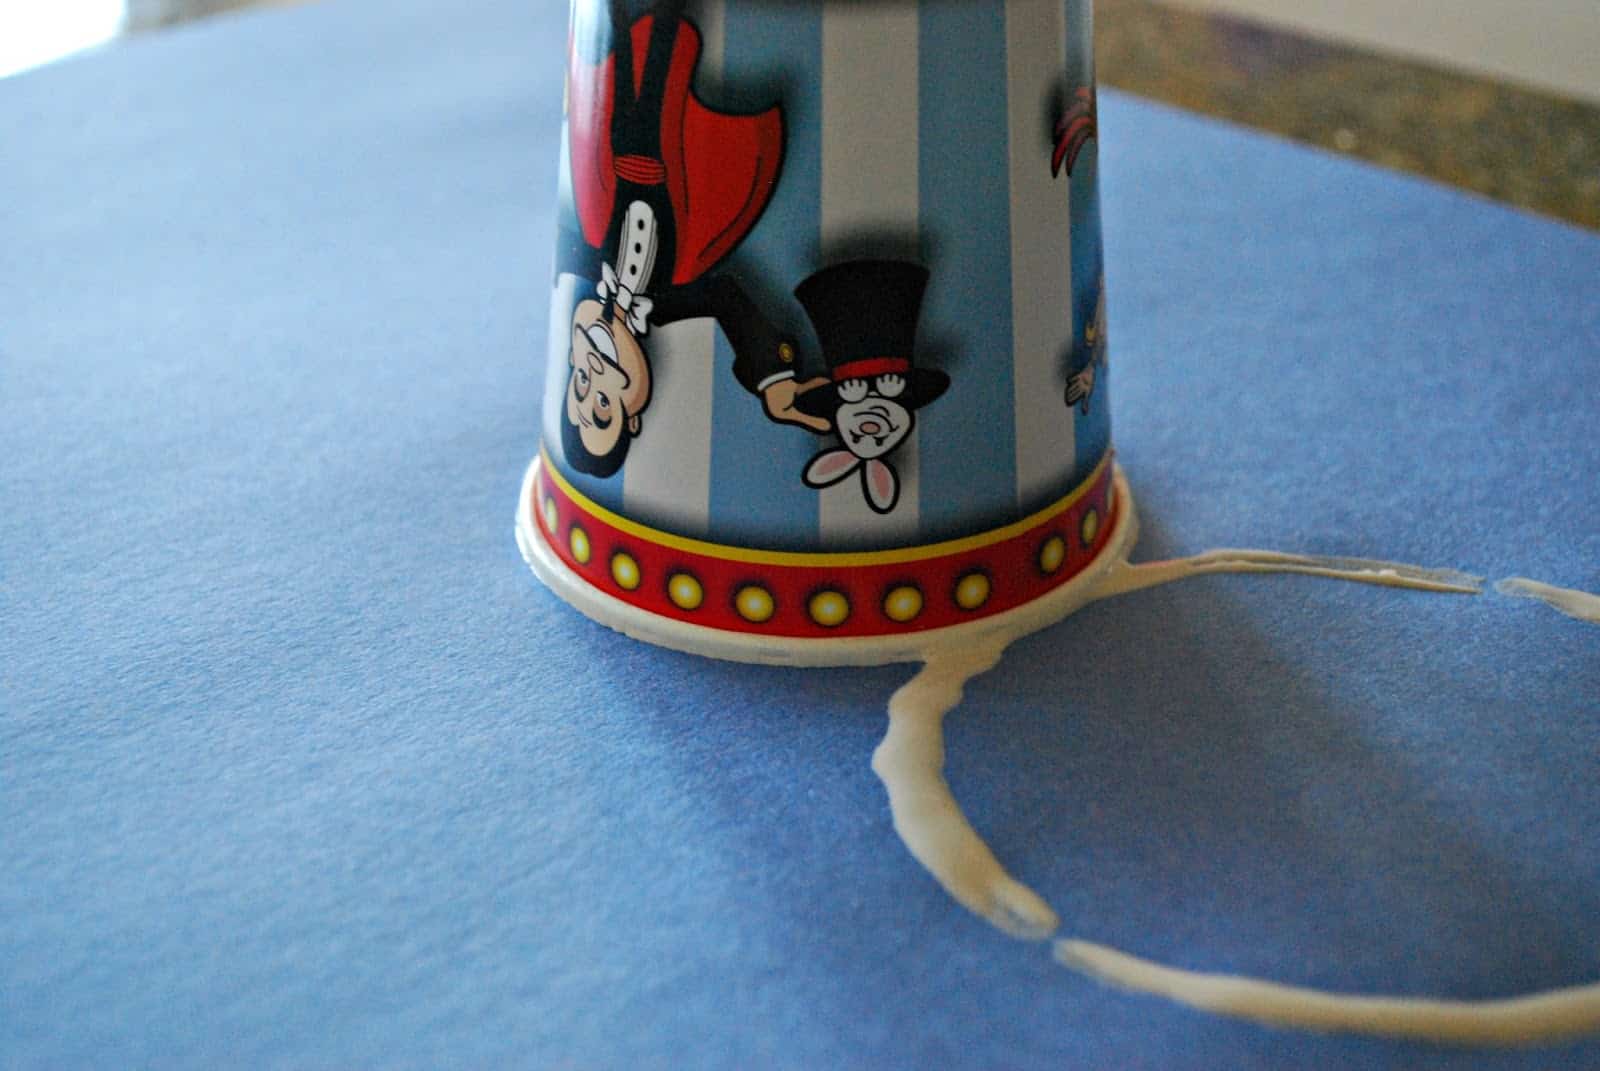
STEP 3: Dip the small cup in the paint and press on the paper to make the snowman's head.

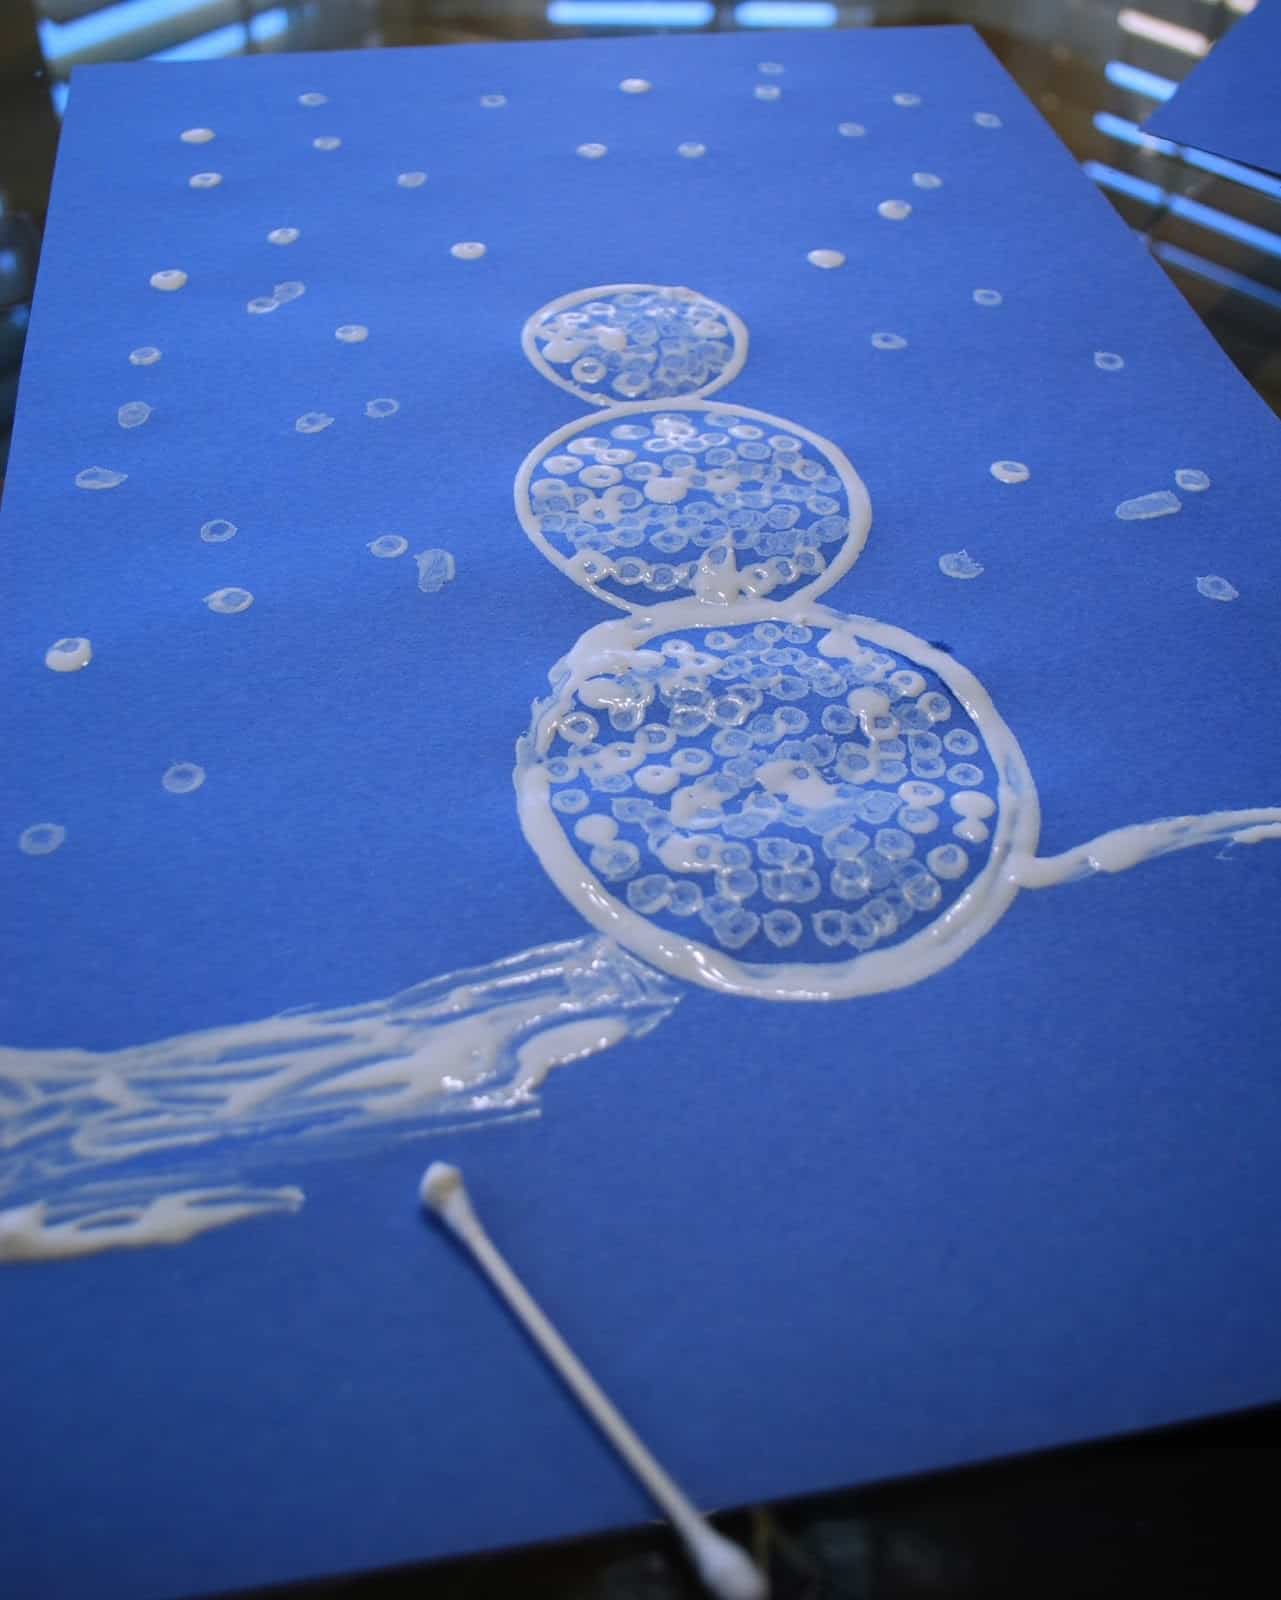
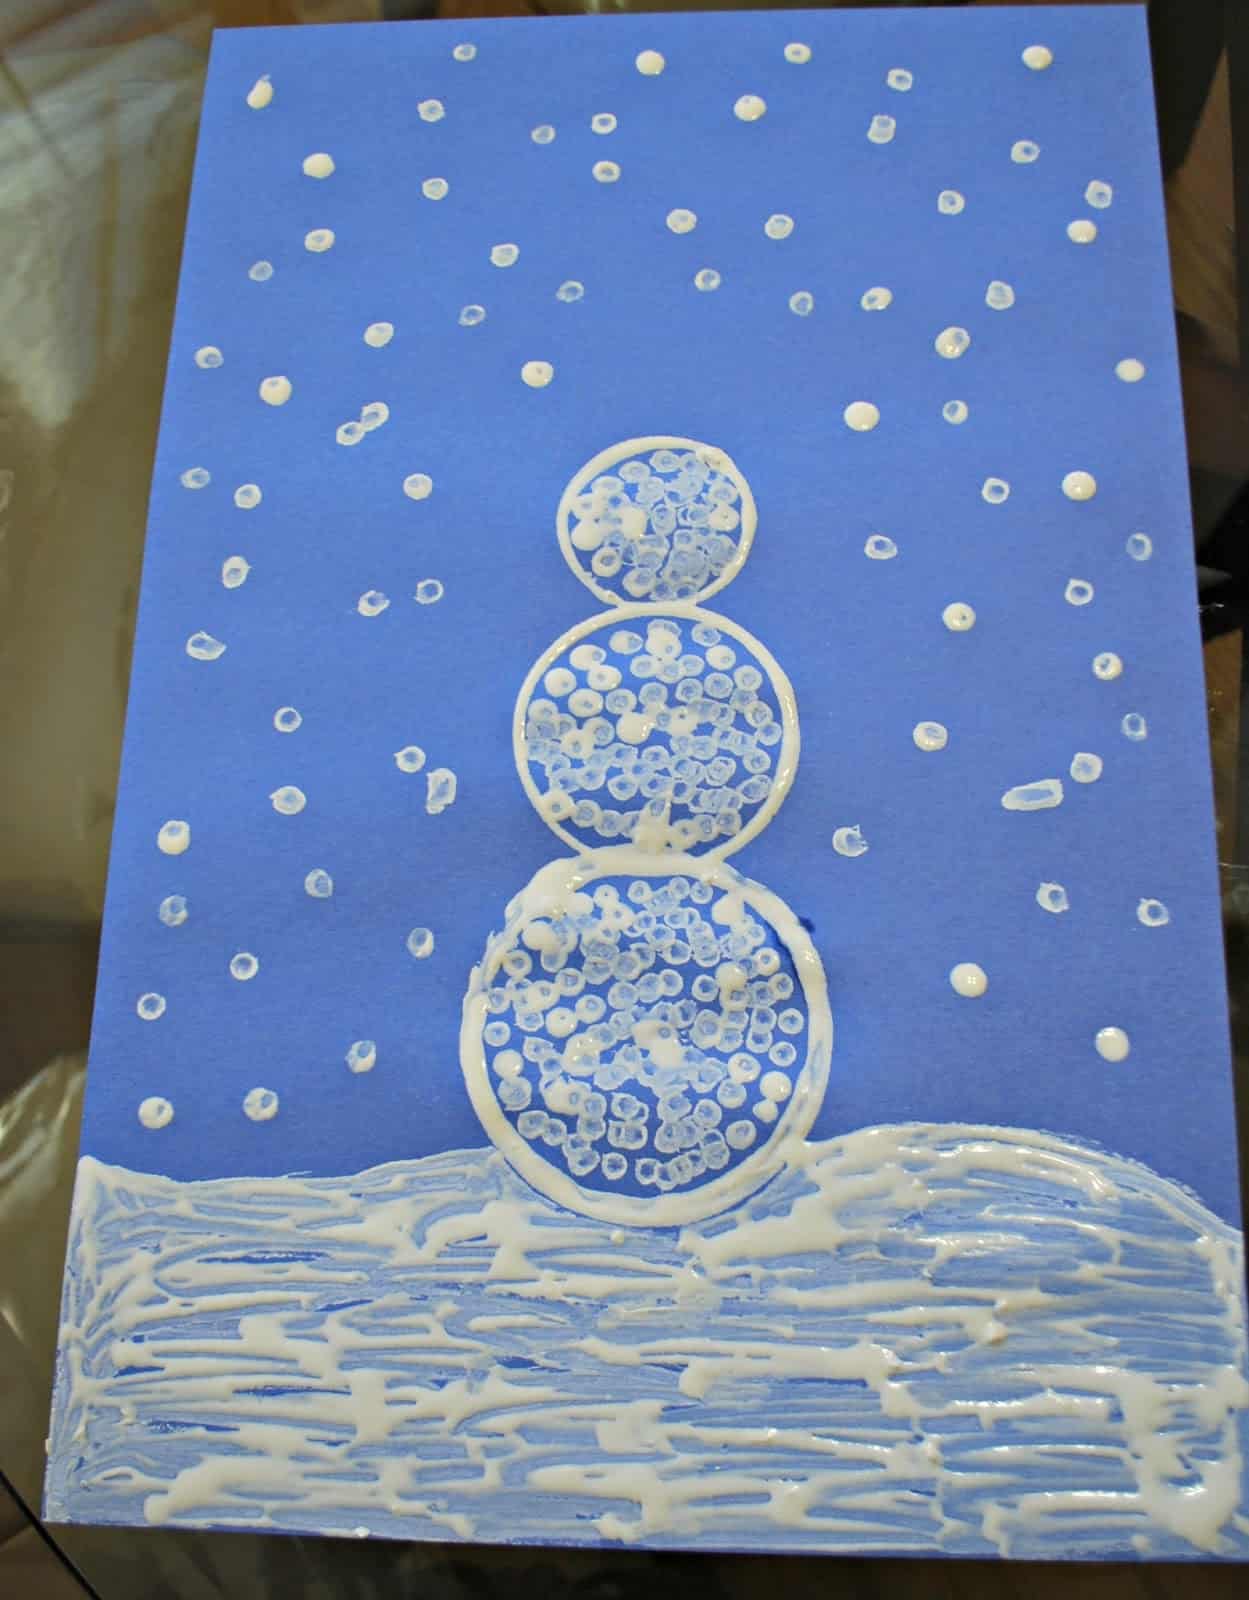
STEP 4: Wait for the snowman to dry. Pour some white paint onto a tray and use a q-tip to start painting the snowman.
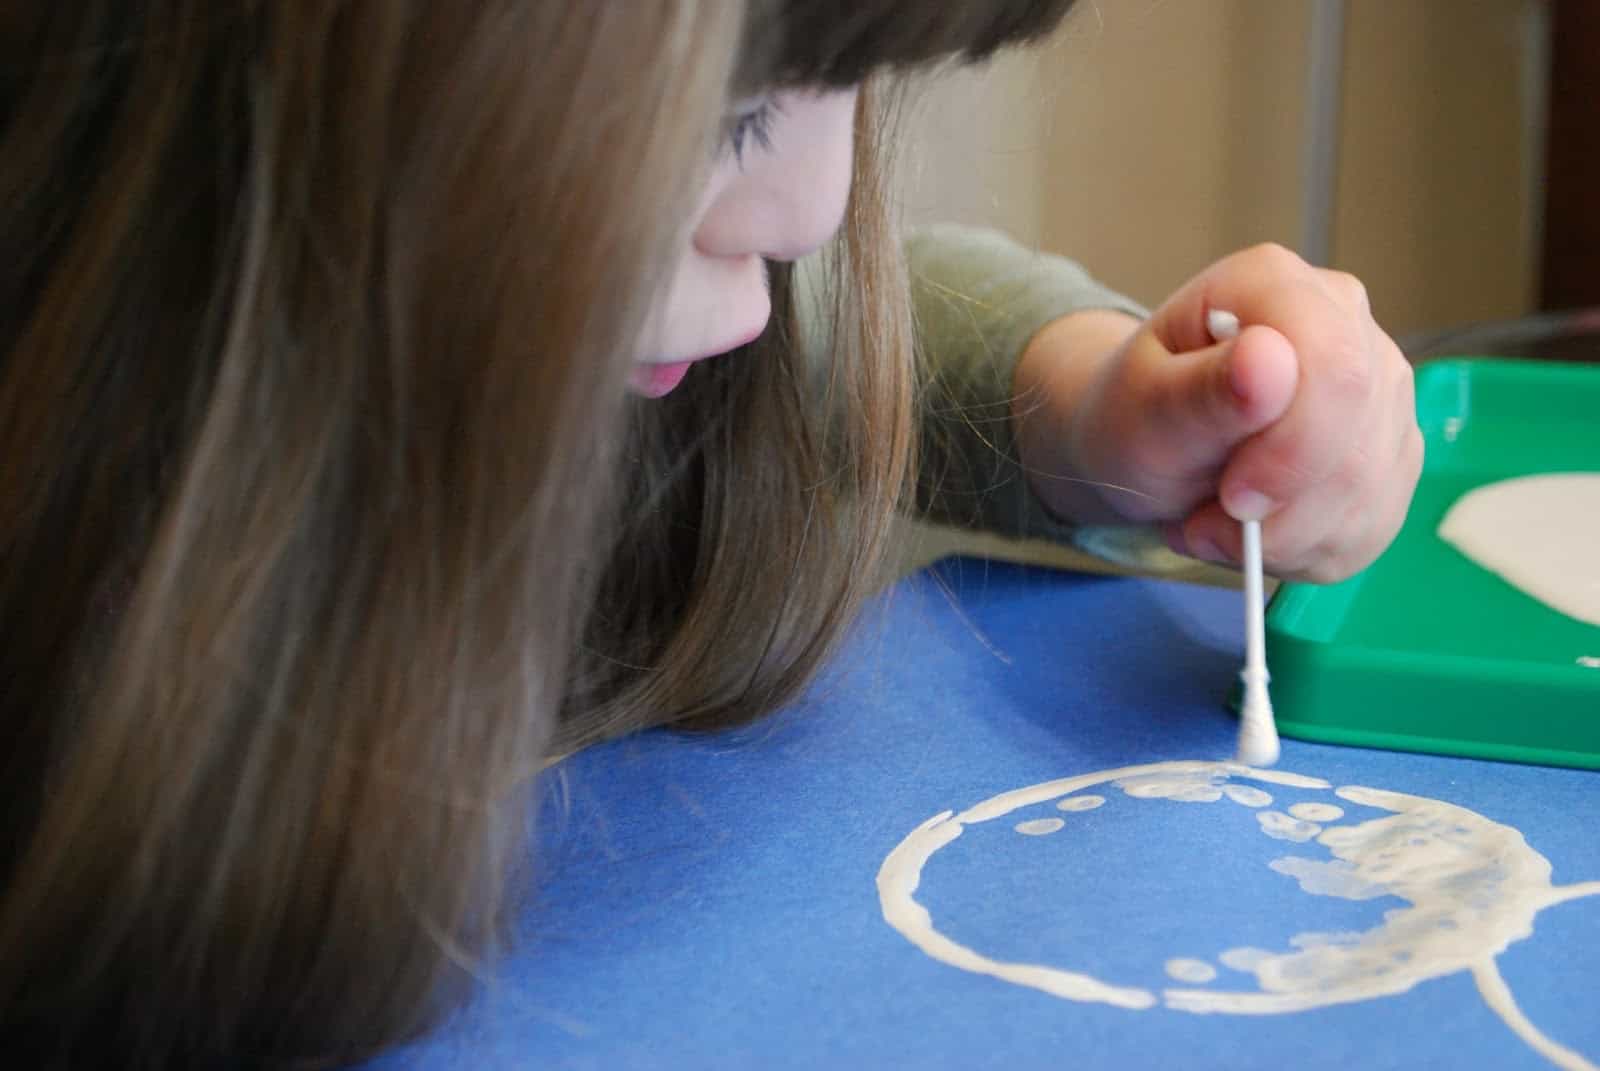
STEP 5: Use a q-tip to paint the snowflakes and snowbank.
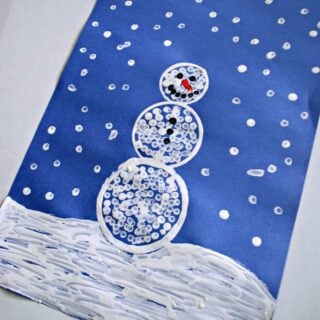
STEP 6: Use black and orange paint and q-tips to paint the face on the snowman.

Isn't this snowman adorable? If your kids can't get enough of snowmen, try this Snowman Craft Printable.
✂️Expert Tips
Tip 1: To make the circles for this snowman craft you will be using three cups of various sizes. I tried to find one large cup, one medium cup and one small cup.
Tip 2: We let our snowman outline dry overnight and came back to the project the next day to fill it in.
🤷🏻♀️Craft FAQs
Your child can use their fingers for a fun sensory experience. You can also use a cotton ball held in place with a clothespin though the "snow" will be bigger.
It doesn't really matter as long as they are 3 different sizes. You will use the smallest one for the snowman's head, the middle sized one for the midsection and the biggest one for the bottom.
☃️Related posts
🌟If you try this craft, leave a star rating below or a review in the comment section. Be sure to sign up for my newsletter to get my latest crafts!
Q-Tip Painted Snowman Craft
Materials
- White, black and orange tempera paint
- Tray
- 3 Q-tips
- 3 Different sized cups
- 1 12x18 blue construction paper
Instructions
- Pour some white paint into the tray. Dip the open part of the large cup into the white paint and press down on the blue construction paper. Leave some space on the bottom of the paper to make a snow bank.
- Dip the medium cup into the white paint and press onto the paper directly over the large white circle you previously made.
- Dip the small cup in the paint and press on the paper to make the snowman's head.
- Wait for the snowman to dry. Pour some white paint onto a tray and use a q-tip to start painting the snowman.
- Use a q-tip to paint the snowflakes and snowbank.
- Use black and orange paint and q-tips to paint the face on the snowman.
Notes
- To make the circles for this snowman craft you will be using three cups of various sizes. I tried to find one large cup, one medium cup and one small cup.
- We let our snowman outline dry overnight and came back to the project the next day to fill it in.


Leave a Reply