Tis the season for Christmas crafts for kids! If you have kids that love art and being crafty then you have probably done your fair share of Christmas crafts. I knew we have. Over the years we have made a Cardboard Tube Christmas Tree and Angel Christmas Ornament just to name a few. Today I am sharing a simple Q-Tip Tree that you can make, and the good news is you probably already have all the supplies you need. In addition to being a fun activity for kids, the painting method helps strengthen fine motor skills.
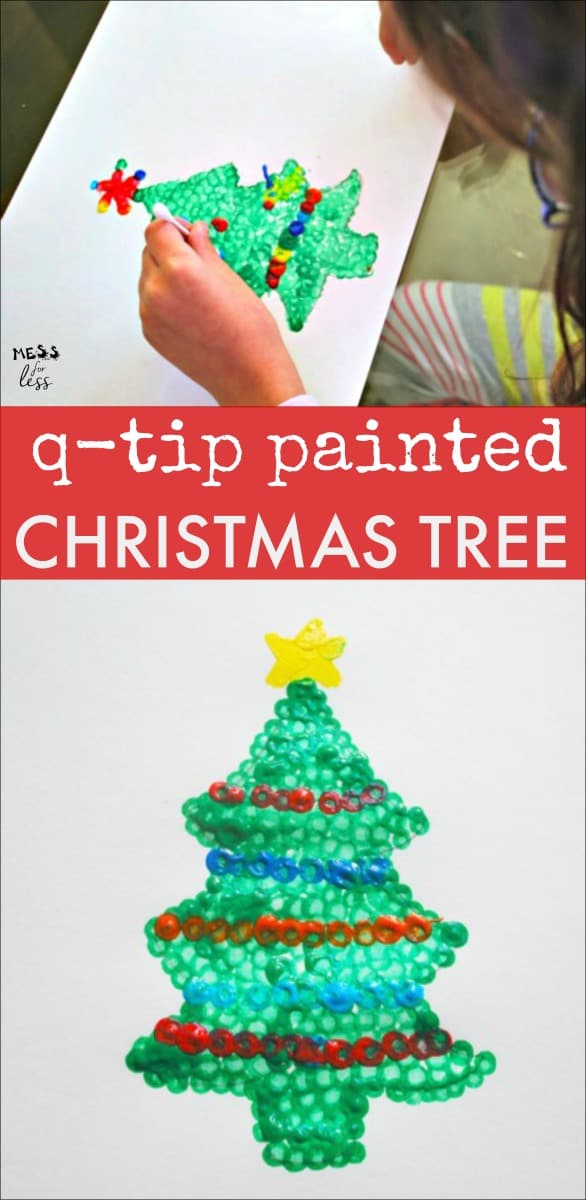
You will need:
- Tempera Paint in assorted colors (make sure you have green)
- White 9x12 construction paper
- Scissors
- Paint palette
- Q-Tips
- Pencil
- Christmas tree printout
- Napkin
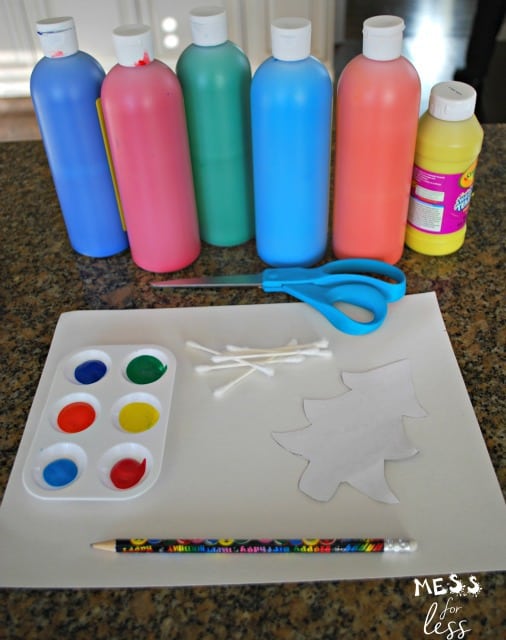
Print out the Christmas tree cutout which you can get here. Cut it out and trace it onto white construction paper using a pencil.
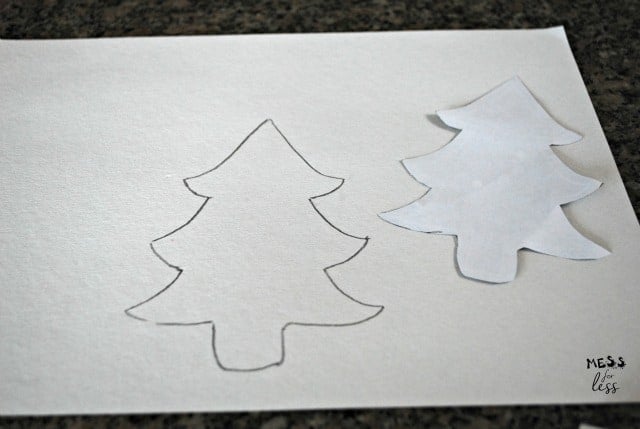
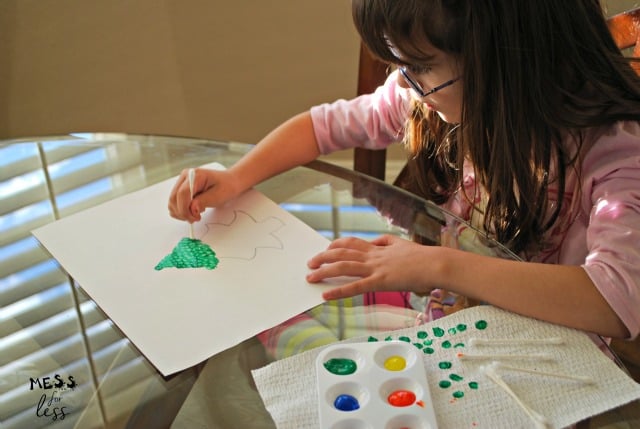
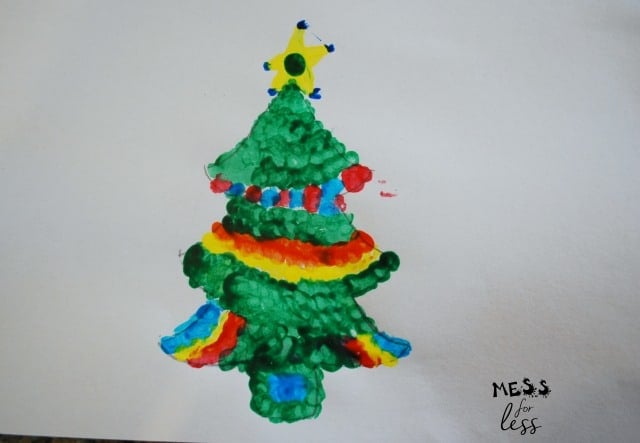
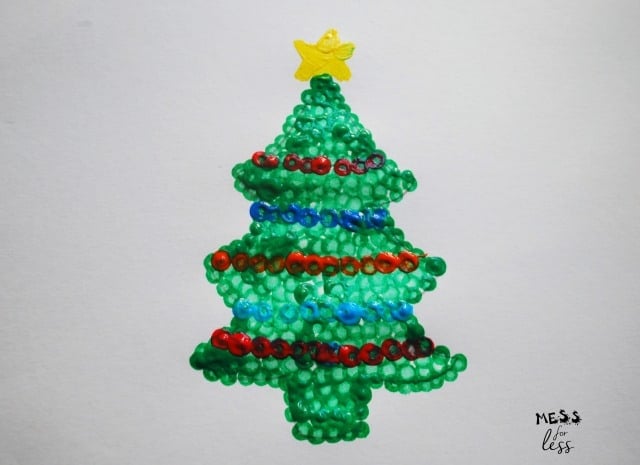
Dip a q-tip in green paint and start dabbing on the tree. Some kids might do the outline first while others might just do it at random like my daughter. In the past, when my daughter has painted with q-tips, she has just used the q-tip to spread the paint around. This time we talked about dabbing the paint and she really like the effect that dabbing produced.
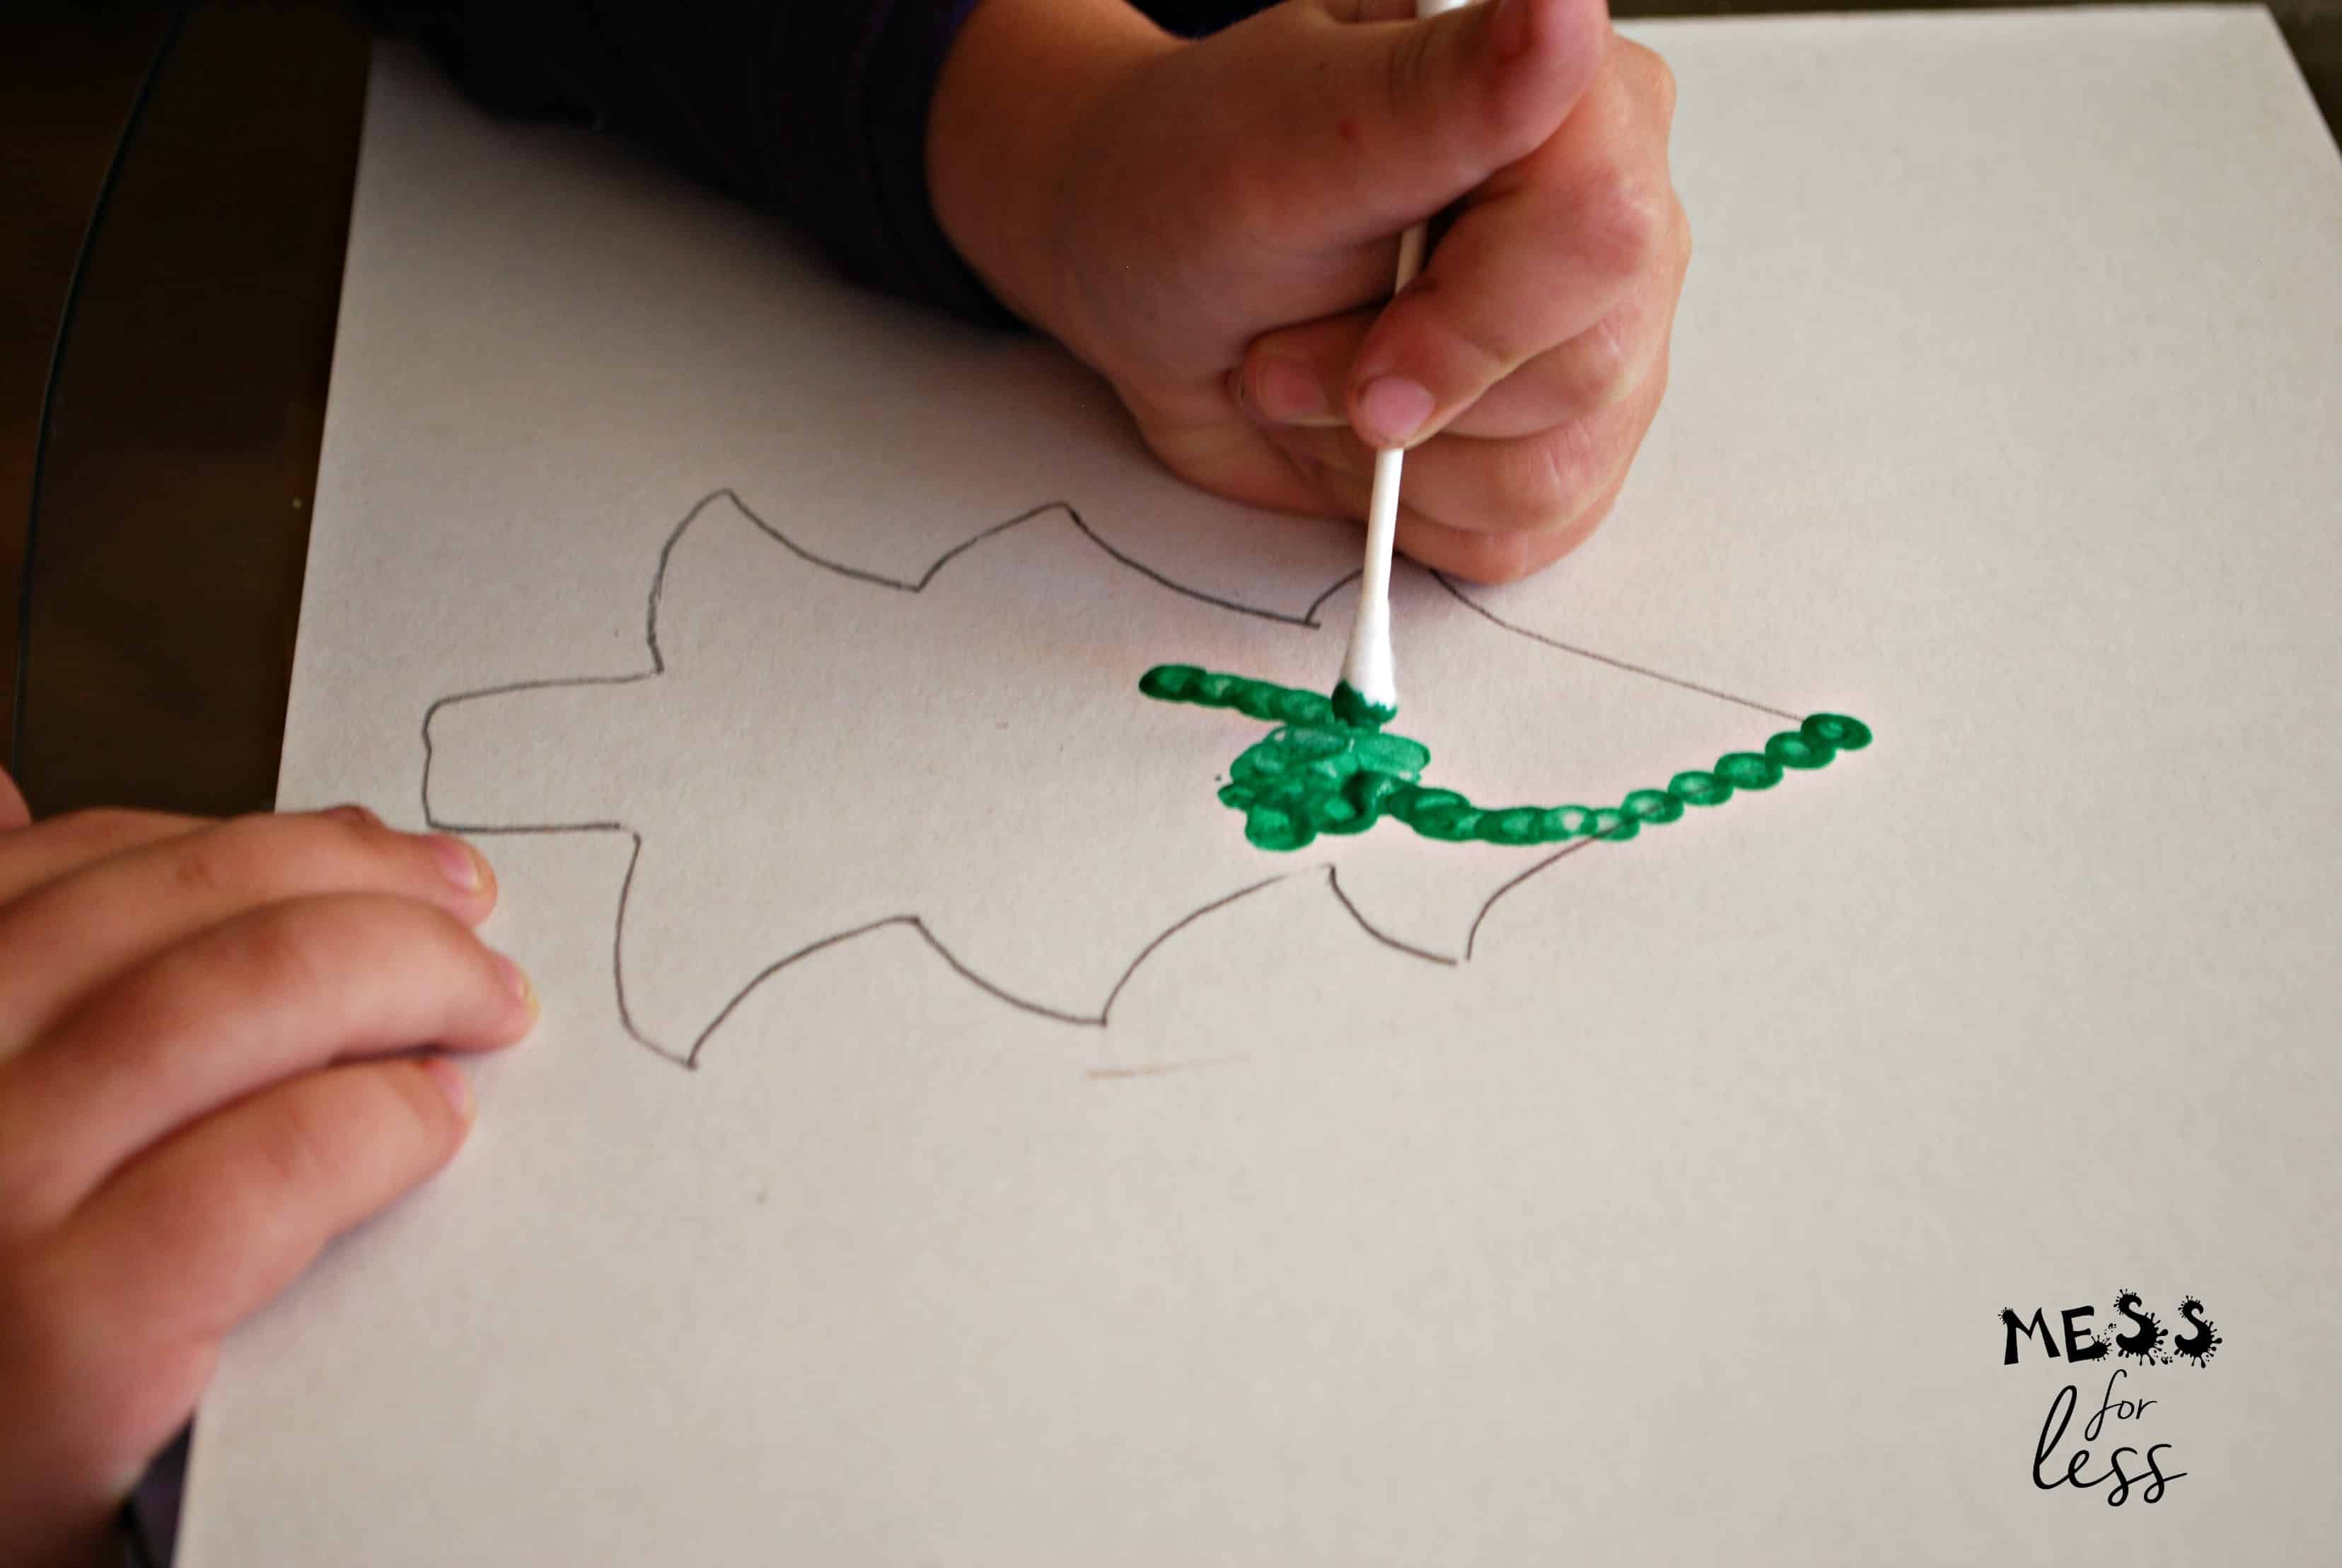
My daughter found too much paint was getting on her q-tip so she would dab it on a napkin first before using it. You can get quite a few dabs before reloading with paint.
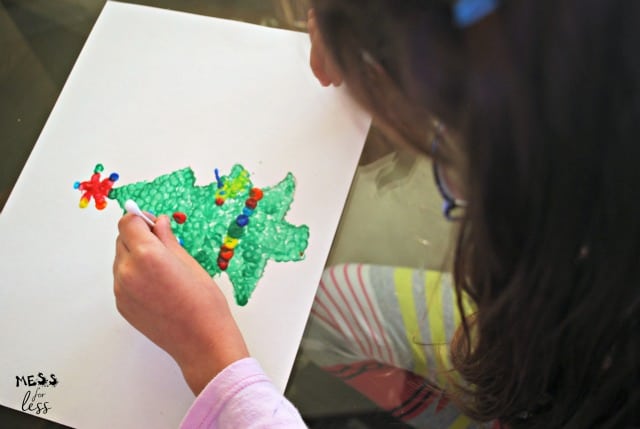
At this point you have two options. You can wait for the green paint to dry or if you have impatient kids like me, you can speed things up by using a napkin to carefully blot the paint so that you can add on the decorations.
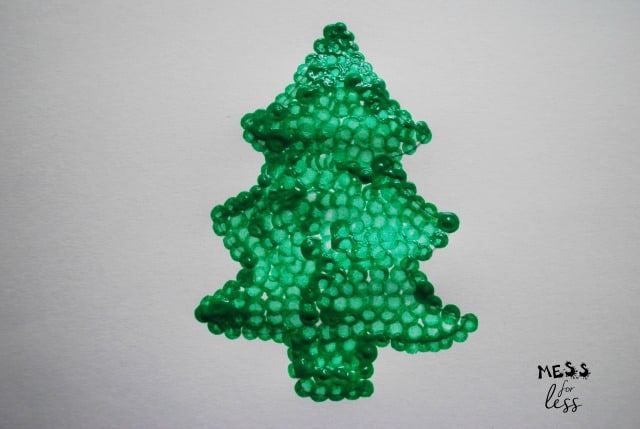
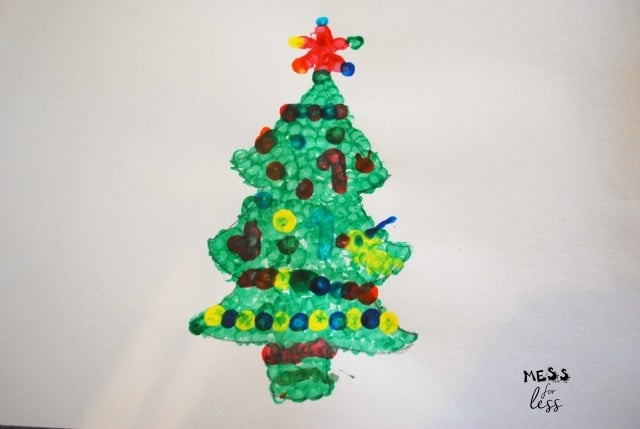
The kids got really creative with decorating their trees. They made simple colored garlands, candy canes and stars.
As you can see the possibilities for painting and decorating this tree are endless. I just thought of another way! Adding some white paint to make it look like a tree with freshly fallen snow. How will your kids decorate this Christmas craft?


Leave a Reply