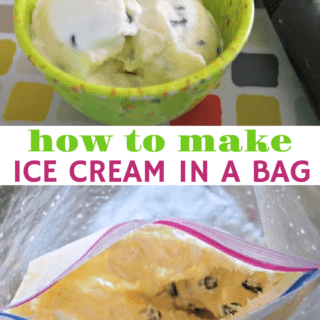


Are you looking for some easy desserts to make with your little ones? Making this Homemade Ice Cream in a Bag recipe is fun and easy to do with kids. You just need a few ingredients to make it and the ice cream is ready in less than 30 minutes!
Jump to:
- Why You'll Love Homemade Ice Cream In a Bag With Heavy Cream
- Fun Kids Recipes
- Ingredients for Homemade Ice Cream
- Supplies Needed For Ice Cream In a Bag With Heavy Cream
- How to Make Homemade Ice Cream in a Bag
- Tips For Ice Cream In a Bag
- FAQs for Making Ice Cream in a Bag
- Summer Treats For Kids
- Recipes Made With Cream
- 📖 Recipe
Why You'll Love Homemade Ice Cream In a Bag With Heavy Cream
- So much fun for kids - They'll love shaking things up and getting hands-on in the kitchen.
- Science meets sweetness - It's like a mini science experiment you can eat!
- Watch the magic happen - It's pretty cool to see liquid turn into creamy ice cream right before your eyes.
- Totally customizable - Add your favorite mix-ins or flavors and make it your own.
- No fancy tools required - Just a few simple ingredients and zip-top bags!
- Perfect for parties or summer days - A great way to cool off and entertain at the same time.
Fun Kids Recipes
I've been cooking with my kids since they were little, and it's always been one of our favorite ways to spend time together. There's so much kids can learn just by helping out in the kitchen - measuring, following directions, even a little science.
That's why I love using Raddish, a fun subscription box that teaches kids real cooking skills (and sneaks in some learning, too!).
There are so many recipes that are perfect for getting kids involved in the kitchen. Whether they're stirring, measuring, or just being your little helper, cooking together is a great way to build confidence and make memories. Here are some of our favorites:
- Carrot Muffin Recipe for Kids
- Cooking Cheesy Beef Taco Crescent Cups with Kids
- Crescent Roll Recipes: Pizza Crescents
- Cheese Cracker Recipe
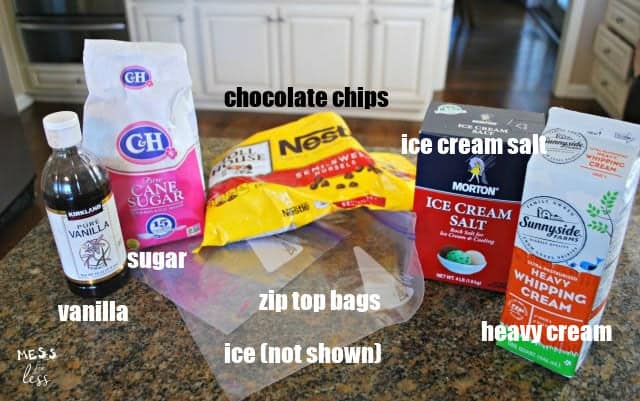
Ingredients for Homemade Ice Cream
All you need are the ingredients below (plus ice of course) to make delicious chocolate chip ice cream.
- Heavy whipping cream - Creates a rich and creamy texture for your homemade ice cream.
- Sugar - Adds just the right amount of sweetness.
- Vanilla - Brings a classic flavor to your ice cream base.
- Chocolate chips - A fun mix-in that adds texture and extra chocolatey goodness.
- Crushed ice - Helps freeze the ice cream quickly during the shaking process.
- Rock salt or table salt - Lowers the temperature of the ice, which is key to freezing the cream mixture.
- Gallon-sized zip top bag - Holds the ice and salt and acts as your mini ice cream machine.
- Quart-sized zip top bag - Holds your ice cream mixture and fits inside the larger bag for freezing.
Supplies Needed For Ice Cream In a Bag With Heavy Cream
You don't need any special equipment to make this ice cream in a bag with kids. Quart-sized zip top bags holds your ice cream mixture, while the gallon-sized bag is used to surround it with ice and salt for freezing.
You'll also want a towel or oven mitts to protect your hands while shaking, since the bag gets really cold.
Rock Ice Cream Salt 4 Lb (2 Pack), by Litezout KitchenAid Ribbed Soft Silicone Oven Mitt Set, 7Hbaushun 26 Pack Plastic Ice Cream Bowls with Spoons,Reusable PlasticLegredic 50ct 8oz Plastic Dessert Cups with Spoons, Clear Flower


How to Make Homemade Ice Cream in a Bag
1. Prepare the ice cream mixture
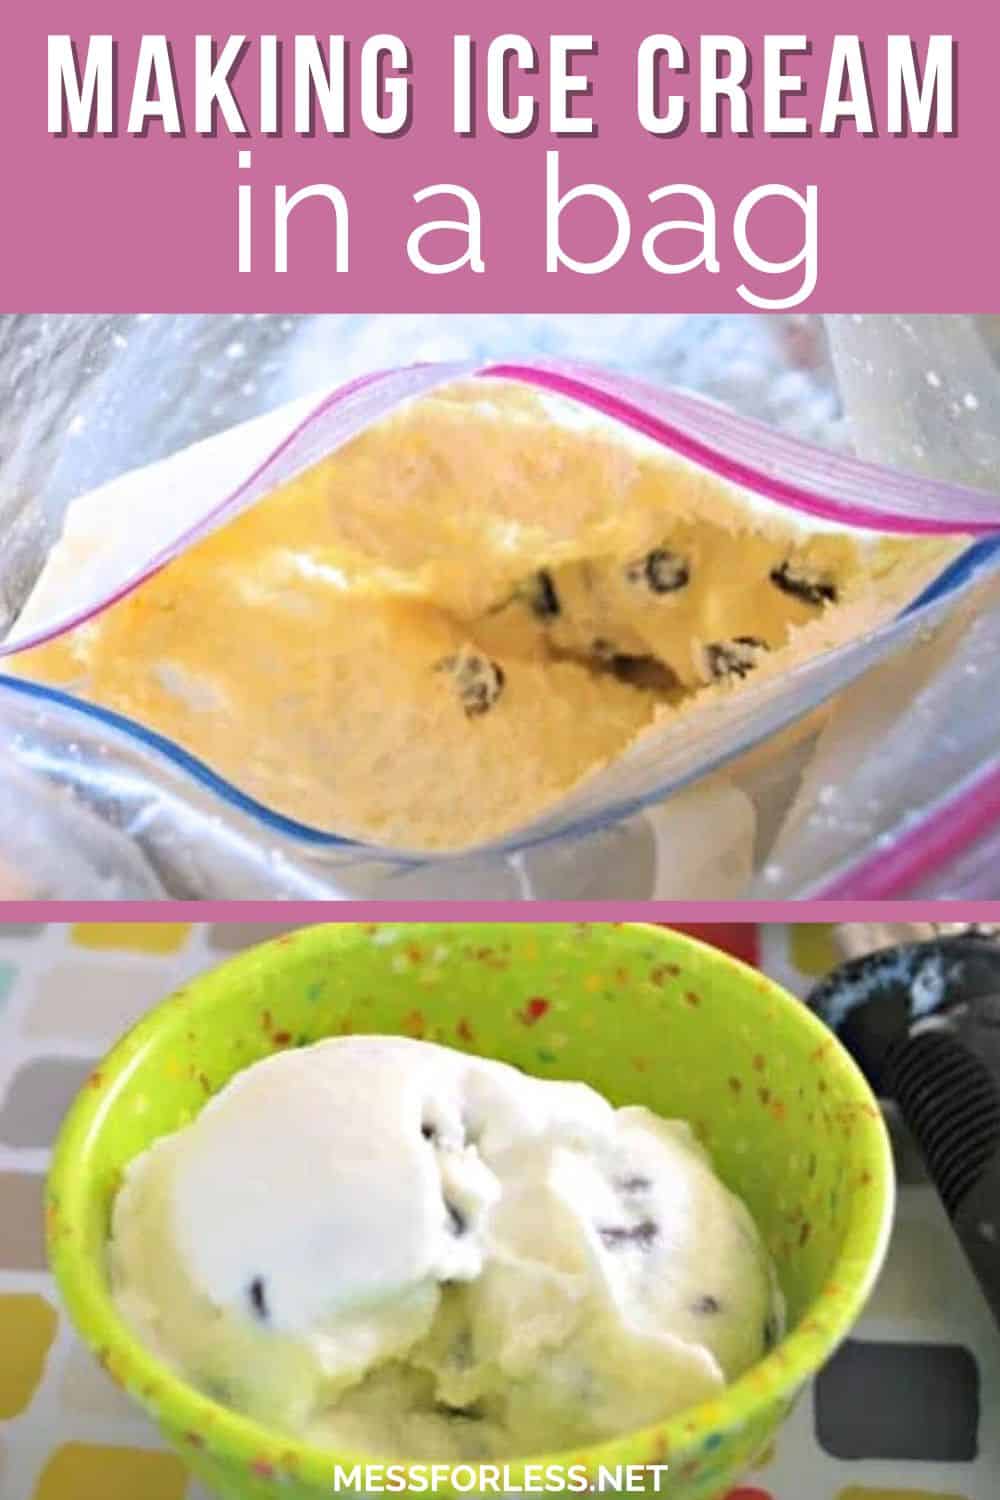
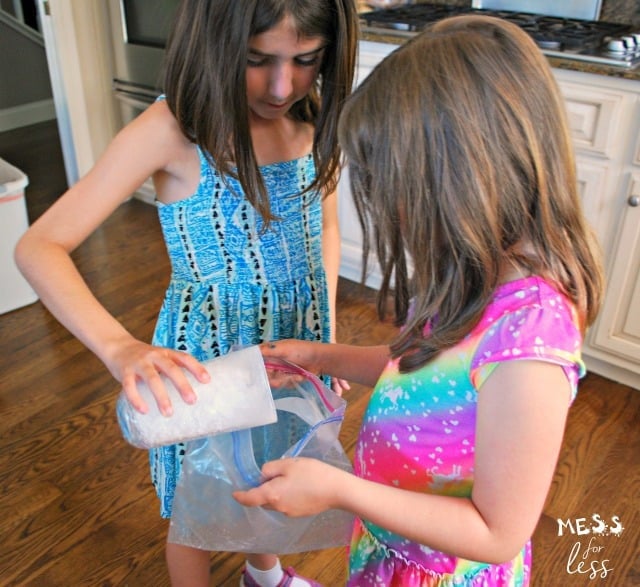
This homemade ice cream will be made in zip top bags. Simply pour your ingredients into the quart-sized bag and close. Make sure the bag is tightly sealed.
2. Add ice and salt
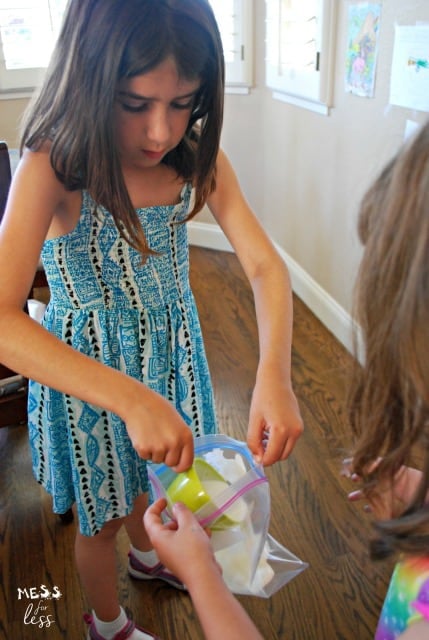
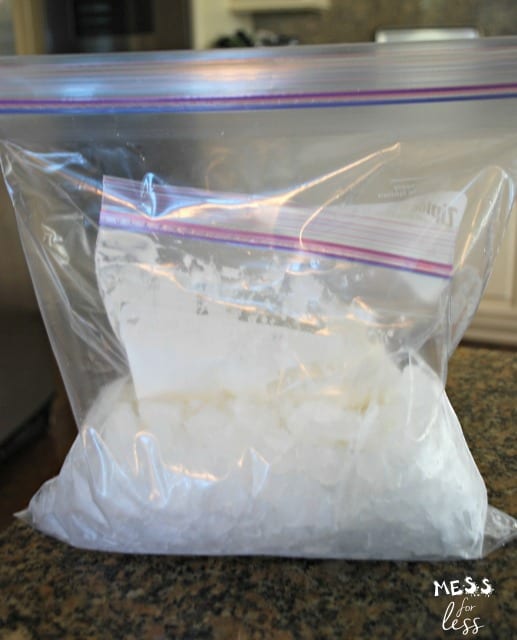
Fill the gallon-sized bag with crushed ice and ice cream salt.
3. Combine the bags
Put the smaller bag with the cream into the ice-filled gallon-sized bag. Make sure this bag is tightly sealed as well.
4. Shake it up
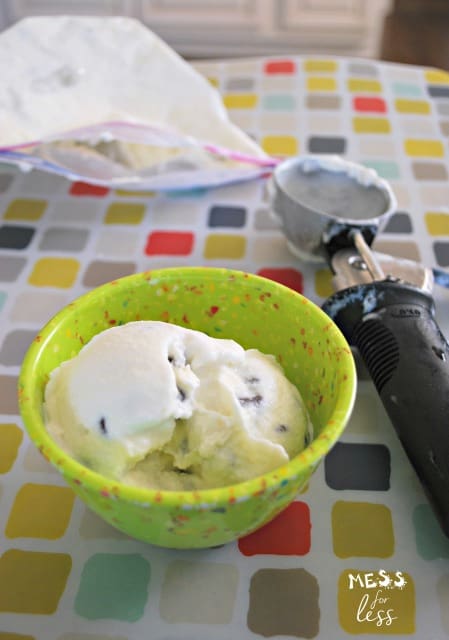
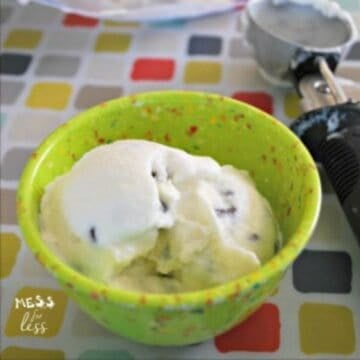
Now it's time to shake and squeeze the bag to make ice cream. Our hands got pretty cold doing this step since it takes about 10 minutes for the ice cream to form. We used pot holders and took turns shaking the bag to keep our hands from getting too cold.
5. Enjoy your treat
After 10 minutes, your ice cream will be ready to eat! You can just grab a spoon and eat it out of the bag or scoop it into a bowl and enjoy it like traditional ice cream.
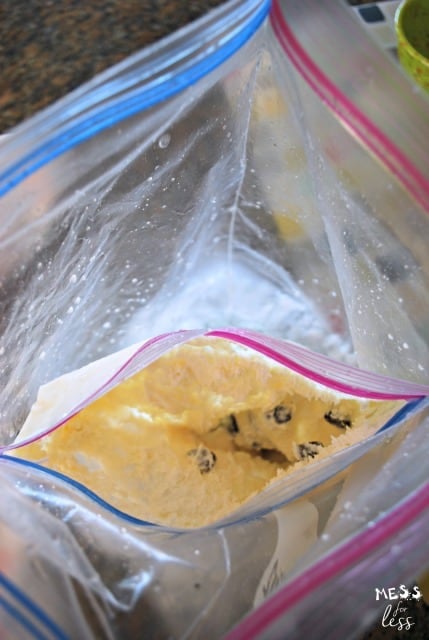
Be sure to eat your homemade ice cream before it melts. I find homemade ice cream like this tends to melt quicker than store bought ice cream. It has never been an issue for us, because we eat it so quickly.
Tips For Ice Cream In a Bag
Tip 1: Double-bag the quart-sized bag if you're worried about leaks. This is especially helpful if you have little hands helping.
Tip 2: Use a kitchen towel or oven mitts while shaking to protect hands from the cold and make the process more comfortable.
Tip 3: Want to speed things up? Be sure your ice is well crushed and don't skimp on the salt as it is key to freezing the ice cream quickly!
FAQs for Making Ice Cream in a Bag
You can use table salt for this recipe. The ice cream will set in a little less time with the ice cream salt, but table salt will be just fine.
We have made it in different ways including using half and half instead of heavy whipping cream.
You can freeze the leftovers. We have frozen leftover ice cream to have at a later point. It will be pretty hard when it comes out of the freezer, so just let it thaw for a minute or two.
This recipe uses whole cream instead of half and half. You can also substitute an equal amount of whole milk if you don't have cream or half and half. If you use milk, the ice cream will be less creamy.
Summer Treats For Kids
Summer is the perfect time to whip up homemade treats that are as fun to make as they are to eat. There are so many simple, kid-friendly ideas that will keep kids cool. Here are a few that my kids love:
- Berry Yummy and Healthy Protein-Rich Popsicles
- Strawberry Creamsicles
- Marbled Pudding Pops
- Root Beer Float Popsicles
Making ice cream in a bag is such a fun way to cool off, get a little messy, and create fun memories with your kids. It's simple, educational, and totally delicious!
Recipes Made With Cream


📖 Recipe
Homemade Ice Cream in a Bag
Video
Ingredients
- 1 cup heavy whipping cream
- 2 tablespoons sugar
- ⅛ teaspoon vanilla
- 3 tablespoons chocolate chips
- 5 cups crushed ice
- ¾ cup rock salt or table salt
- 1 gallon sized zip top bag
- 1 quart sized zip top bag
Instructions
- In a quart sized zip top bag, add cream, sugar, vanilla extract and chocolate chips. Seal bag.
- In a gallon sized zip top bag, add crushed ice and rock salt.
- Place the small bag with the cream into the larger bag with the ice and seal the larger bag.
- Shake and squeeze for 10 minutes or until the cream has started to harden and turn into ice cream.
- Remove from the bag and serve.
Notes
- This ice cream tends to melt faster than traditional ice cream, so keep that in mind when serving.
- If you're worried about leaks, double-bag the quart-sized bag.
- The bag gets cold, so wrap it in a kitchen towel or use oven mitts to keep little hands comfy while shaking.


Jenni says
Thank yiu for this simple, kid-fun recipe! We used a dairy-free whipping cream and it set in about 7 minutes.
Senda says
So lovely. Thanks for the guide and photos.
Paula says
What a fun idea - we used to have an ice cream maker, and I'd never thought to use a bag instead. Nothing beats the taste of fresh ice cream!
Kylie says
It doesn't even work . I spent over 30 minutes making it because it never formed. Dont listen to them and get an ice cream maker it's easier
Nadya A De Leon says
It worked for us. We followed the instructions just as they are and we got some tasty ice cream out of it 😊 It was a workout but taking turns did help.